Quick Links
As many a system administrator has learned over the years, making sure that a system is highly available is crucial to a production operation. Managing and maintaining a load balancer can often be a difficult task. DigitalOcean offers a Load Balancer product for only $10/month that greatly simplifies the task of managing and maintaining a load balancer.
What are the features of the DigitalOcean Load Balancer? A lot of options are available that can influence how well the load balancer works and performs.
- Redundant Load Balancers - Configured with automatic failover
- Add Resources by Name or Tag
- Supported Protocols: HTTP(s), HTTP/2, TCP
- LetsEncrypt SSL Certificates (if DigitalOcean is your DNS provider)
- PROXY Protocol Support
- Sticky Sessions via Cookies
- Configurable Backend Droplet Health Checks
- Algorithm: Round Robin or Least Connections
- SSL Redirect to force all HTTP to HTTPS
- Backend Keepalive for Performance
Limits of DigitalOcean Load Balancers
There are a number of limitations to DigitalOcean Load Balancers that one needs to be aware of.
- Inbound connections only support TLS 1.2, but connections to droplets support TLS 1.1 and TLS 1.2
- No support for IPv6
-
SSL passthrough does not support headers, such as
X-Forwarded-ProtoX-Forwarded-For - Sticky sessions are not visible past the Load Balancer, the cookies are set and stripped at the edge and not passed on
- When keep-alive is turned on, there is a time limit of 60 seconds
- Load balancers support 10,000 simultaneous connections spread amongst all resources (i.e., 5000 to two different droplets)
- Health checks are sent as HTTP 1.0
- Floating IP addresses cannot be assigned to Load Balancers
-
Port
5005350055 - Let's Encrypt is only supported when DigitalOcean is used as the DNS
- Let's Encrypt on Load Balancers do not support wildcard certificates
Creating a Load Balancer
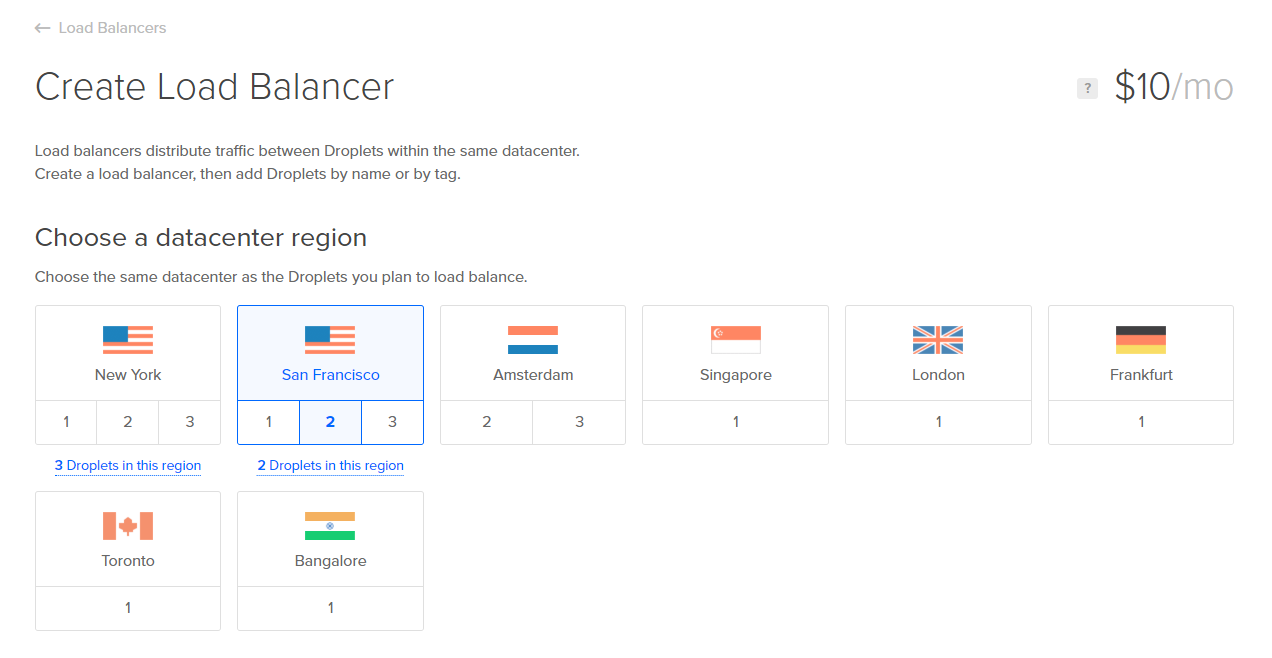
After choosing to create a new Load Balancer, it's necessary to choose the region that the Load Balancer will be created in and co-located with the droplets to load balance. Load balancing does not work over different datacenter regions, so all Droplets must be located together.
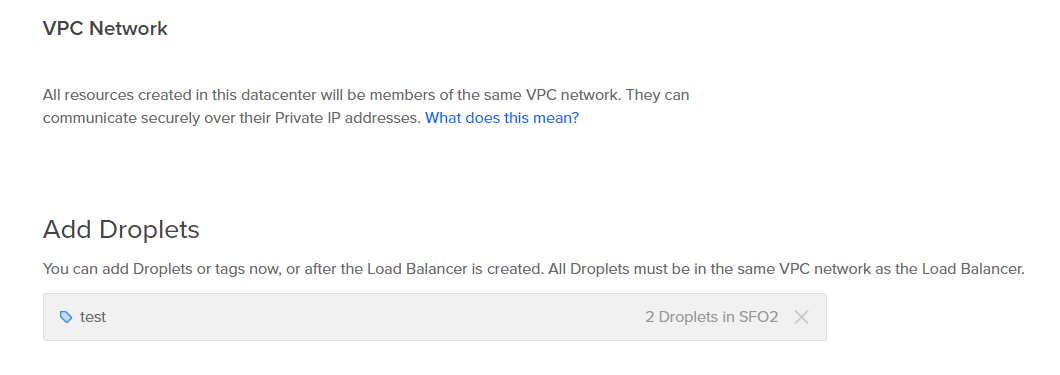
Next, we need to define the resources to add to the load balancer. The best way to do this is via tags, as any new resource tagged will then be added to the load balancer. Because there is a limit of 10 droplets that can be individually added, using tags is a great way around that limit because it does not limit the number of Droplets to add.
After adding resources, it's necessary to create all the traffic forwarding rules needed. In this example, we are just using a standard web server and non-SSL traffic. Therefore, all we need is a simple rule to forward to port 80.
There are advanced settings that you can set, but they also can be changed later on, if need be. Those settings pertain to the Algorithm, Sticky Sessions, Health Checks, SSL Redirection, Proxy Protocol Support, and if Backend Keepalive is enable.
Finally, choose a name for the load balancer and click on Create Load Balancer.
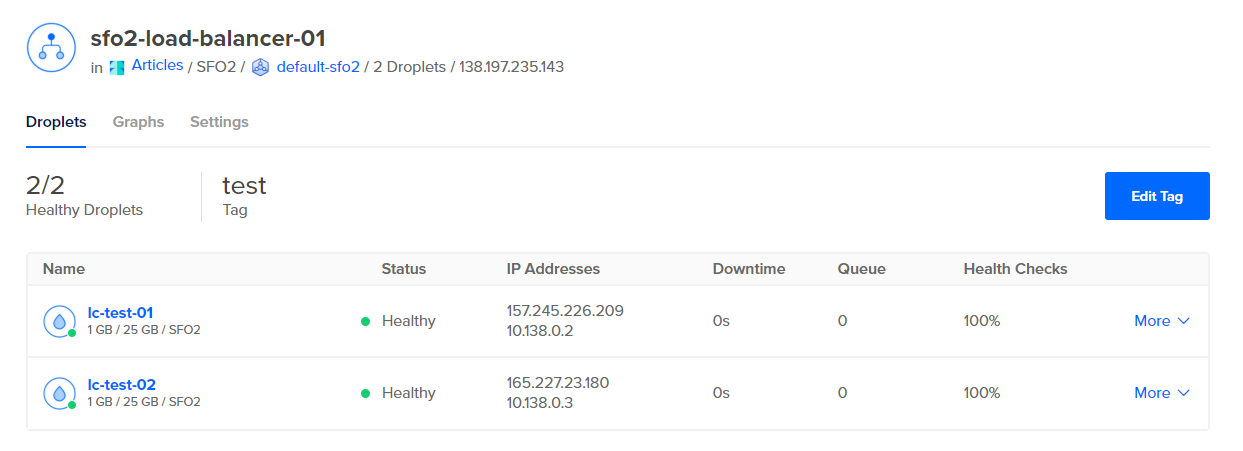
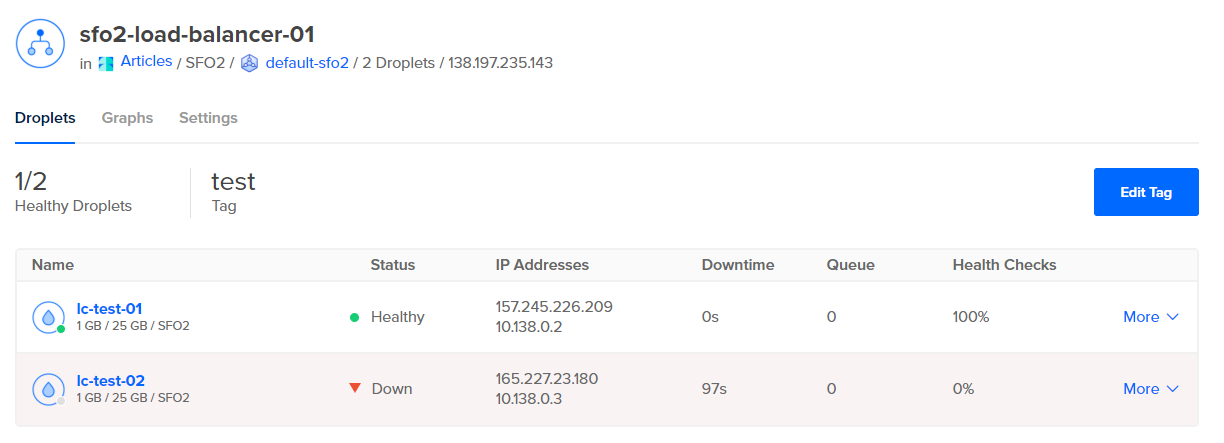
Once the Load Balancer has been created, you can navigate to see the assigned resources and their status. If you have applied firewalls to the Droplets, make sure that you have opened the correct inbound ports to allow the health checks to work.
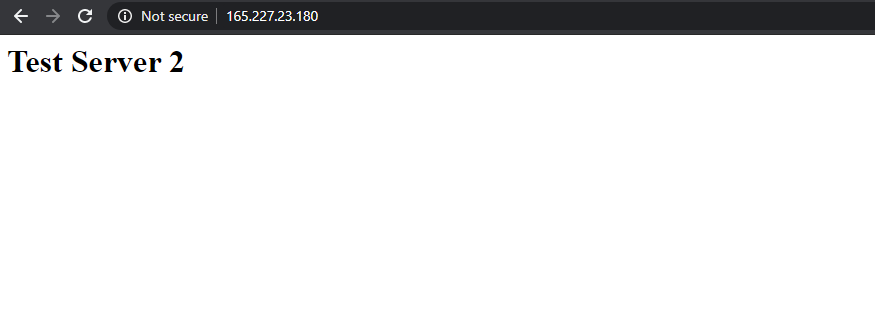
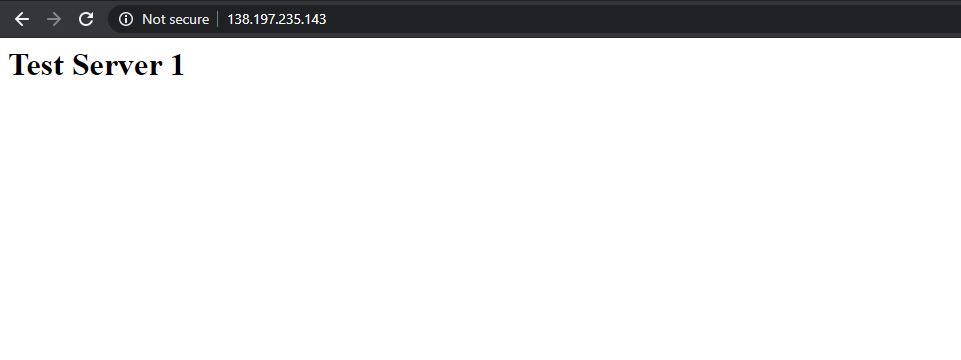
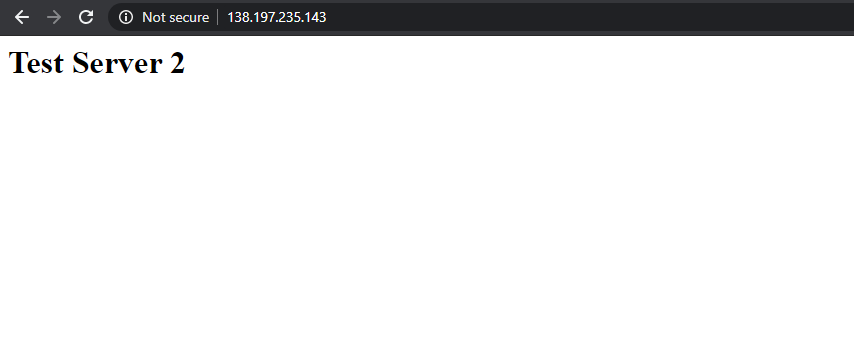
To see this working, first navigate to each individual Droplet's IP. In this case, we have simply installed Nginx and created an
index.html
file in
/var/www/html
that has identifying text for each server.
As you can see, each server shows the correct text that we would expect. Now we want to test out what happens when we go to the IP address of the load balancer itself. After several reloads, you will see that both pages will come up on the same IP address as connections are routed between the associated Droplets.
Backend Connection Health
Health connection checks run constantly depending on the schedule set. As soon as a backend Droplet is determined not to be working, the load balancer will stop directing connections to the broken backend Droplet.
As you can see in the below screenshot, after turning off
lc-test-02
, the load-balancer stopped directing connections there. Upon refreshing the page, all you would get is the page from test server 1.
Conclusion
As you can see, DigitalOcean Load Balancers are an incredibly useful and low-cost way to easily load balance connections across any number of droplets. With the addition of HTTP/2 support, SSL passthrough and termination, and Let's Encrypt support using DigitalOcean Load Balancers will easily add high availability and the ability to load balancer to many applications.

