Quick Links
If you're tired of building and releasing your application manually, it might be time to set up a CI/CD pipeline. Github Actions makes this process easy and free for most projects, and can save you time by automating your app's building process.
What Are Actions?
Github Actions are tasks that run in the cloud. They can be set up with YAML configuration files, and triggered based off things happening in your account. This is commonly something like "new commit pushed to master branch," but Actions can actually be set up for lots of different events, including when new issues or made, or even on a schedule as a cron job.
In this case, we'd like to set up an automated build. This process usually will run whenever changes to the repository are made. You can set this up however you'd like---it's common practice to run it on the master or
release
branch, but you can also run builds on dev and feature branches.
Most build processes will also involve testing, and Github Actions can do that too. This can be helpful to catch commits that cause the build to fail. You probably don't want to deploy failed builds either, so running testing beforehand in all cases can be beneficial.
With Github Actions, you can also automate the release portion of your deployment. If you have a
release
or master branch that you always update from, you can treat that branch as your deployment source. You servers will download the binaries from the Github Action's output and update your code. This is made even easier if you're using a package manager or registry like NPM, Maven, or the Docker Hub---updates can be pushed directly to the registry and pulled when needed.
Setting Up an Automated Build
Github Actions use a YAML based configuration system. You'll need to define two basic things---when the action triggers, and what steps are taken once it does.
Your exact configuration is going to very wildly depending on what language, framework, and build system you're using for your application. The general process is fairly similar though, and for this example, we'll set up a build for a Java based application using the Gradle build tool.
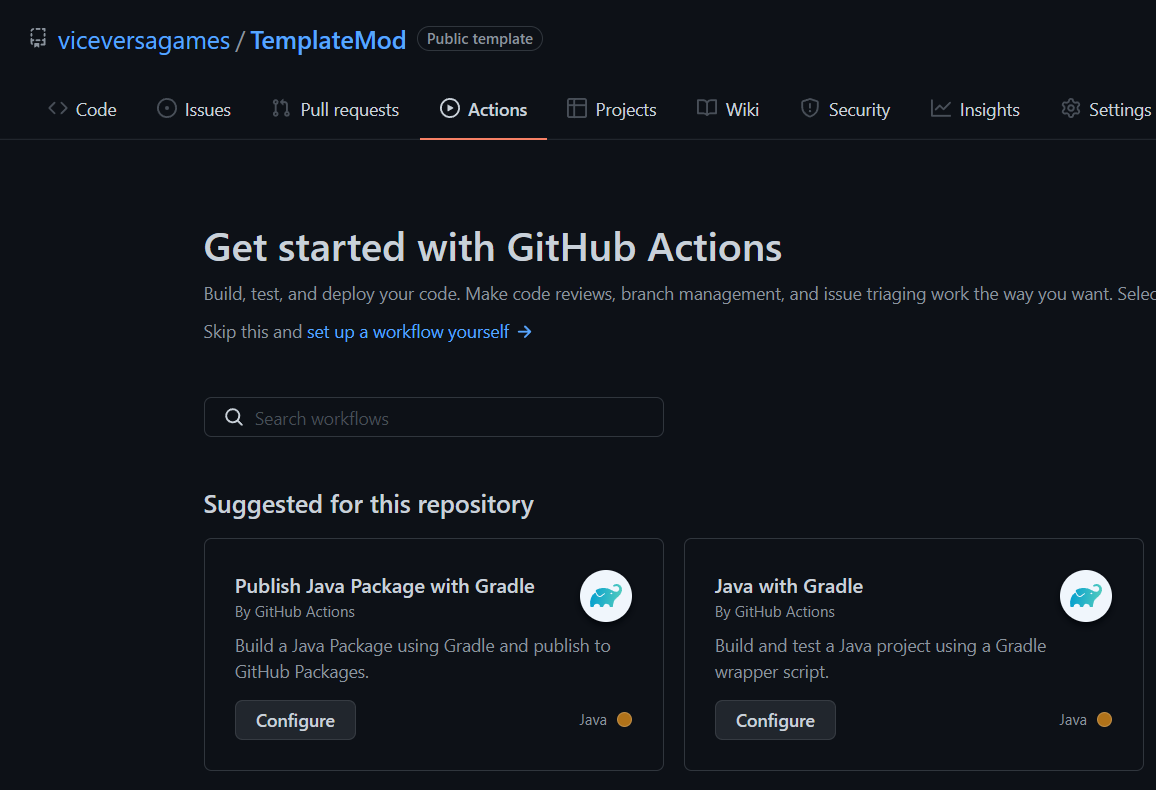
Head over to your repository and click on "Actions." Github is smart enough to recognize the kind of app your repo contains, and here it recommends a few different actions for building Java.
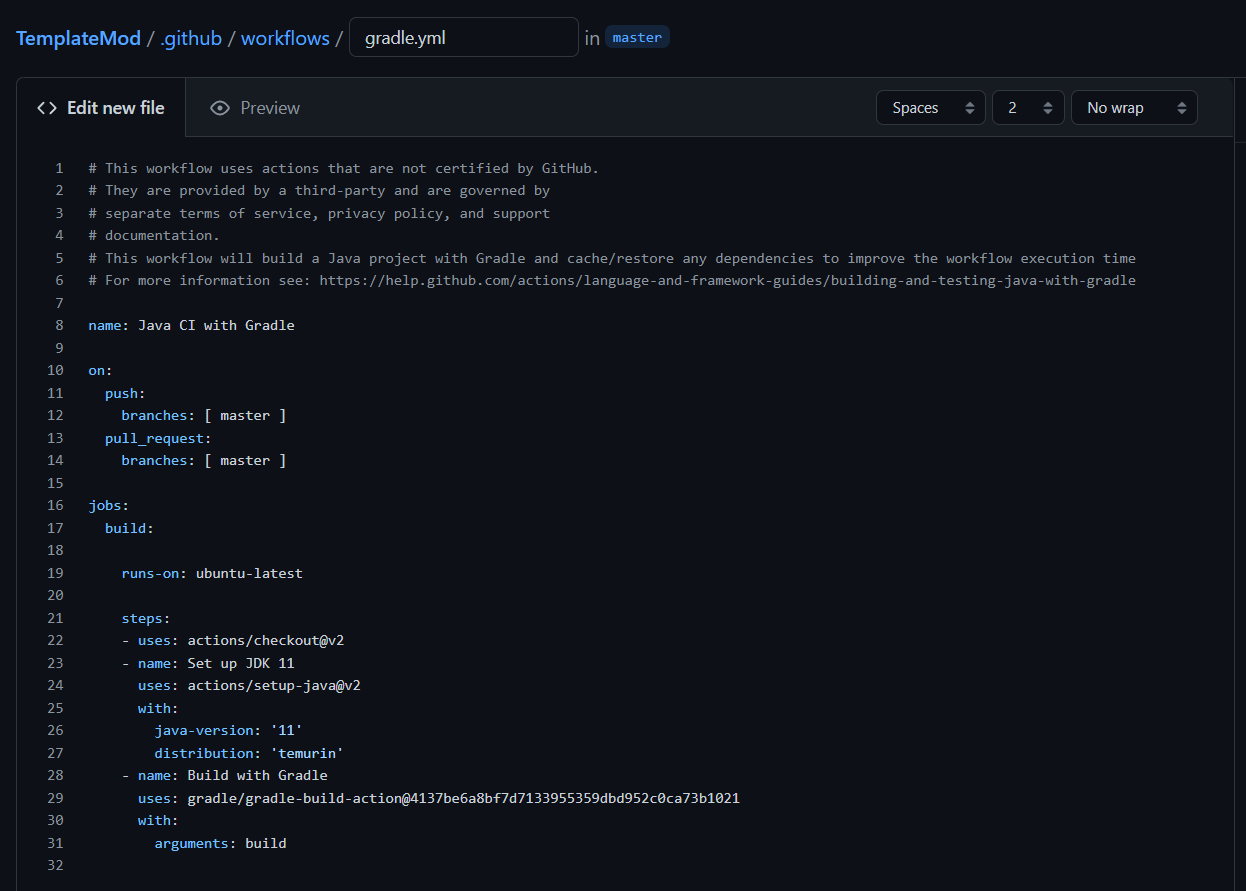
Clicking on "Java with Gradle" brings up the Github editor for the YAML file, preconfigured with a Java build. This runs on every push to master, and every pull request to master. You can change this to run on other branches as well, or set up a different action for dev/feature branches.
You can edit any variables here and click "Commit" on the right when you're done. Committing will trigger a build if you have it set up to run on push.
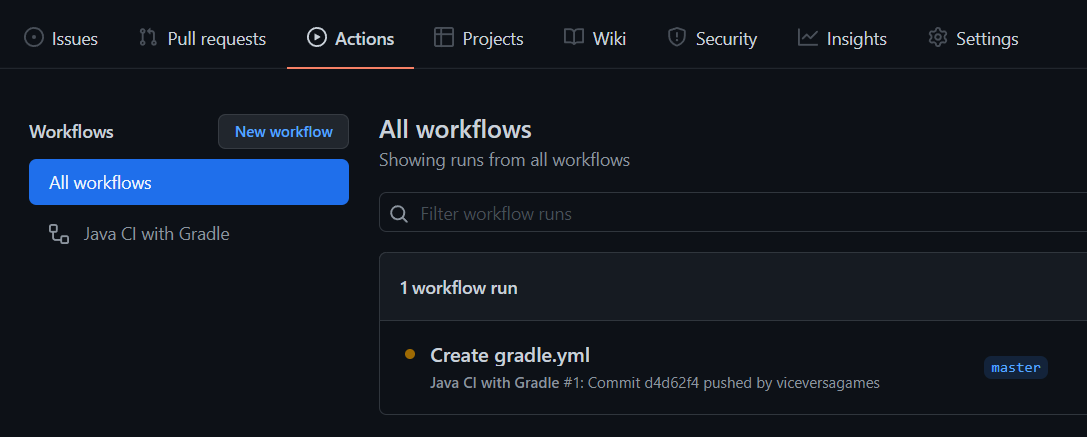
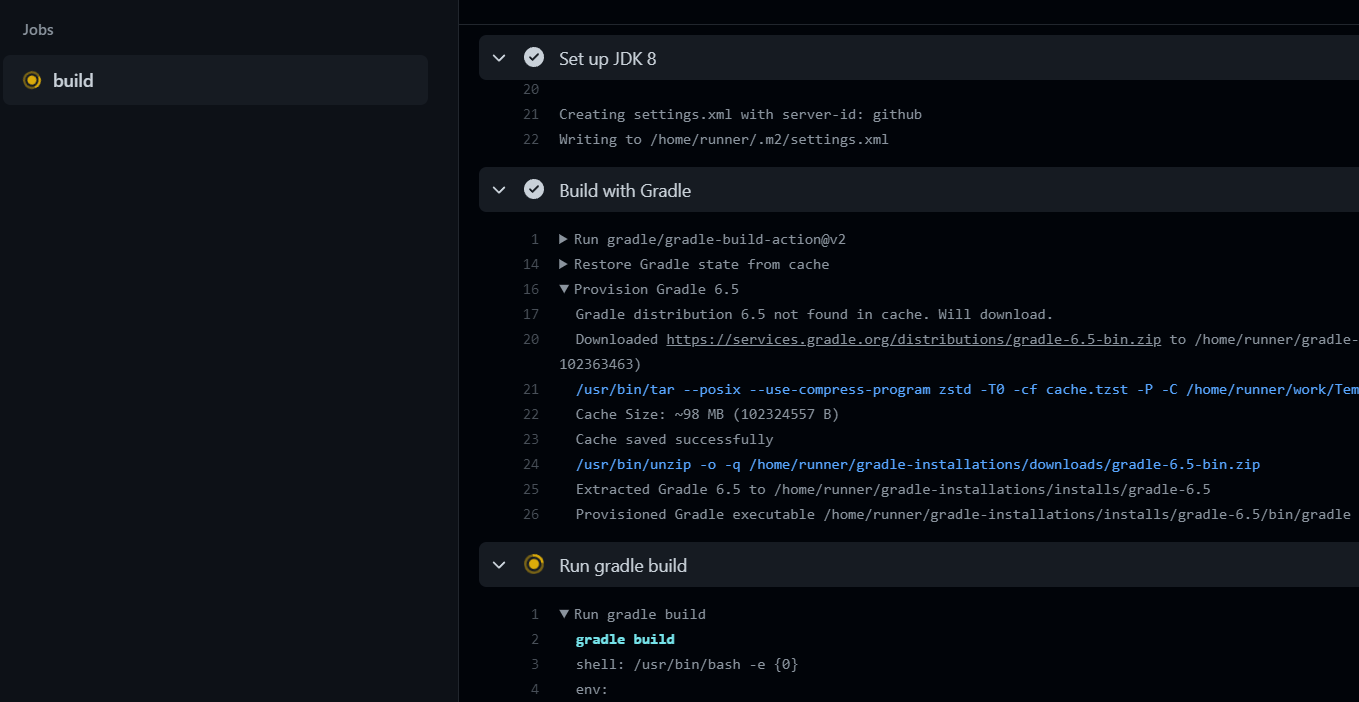
You can find the in-progress workflow runs under the Actions tab.
Troubleshooting Failed Builds
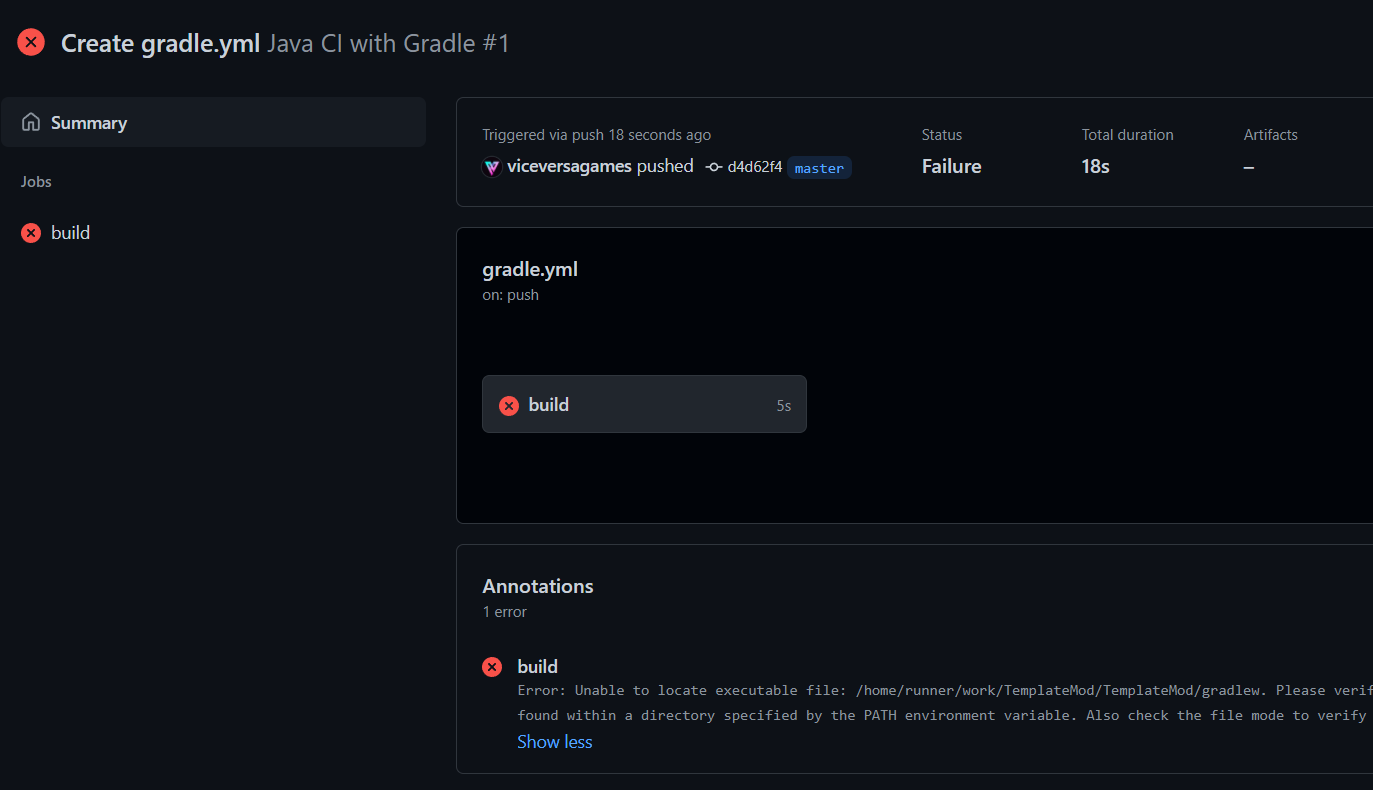
Of course, it's not always that easy---in the real world, build environments can be very fragile, and can fail for a multitude of reasons. The example action Github gave for this repository didn't make it past startup: it can't even locate gradlew to run the build.
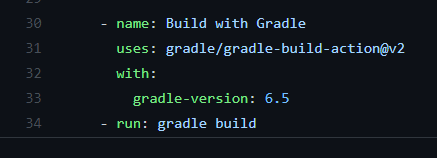
A strange error considering that should work out of the box, but a quick search of the problem reveals we should probably use the correct gradle-build-action and manually configure the version and arguments.
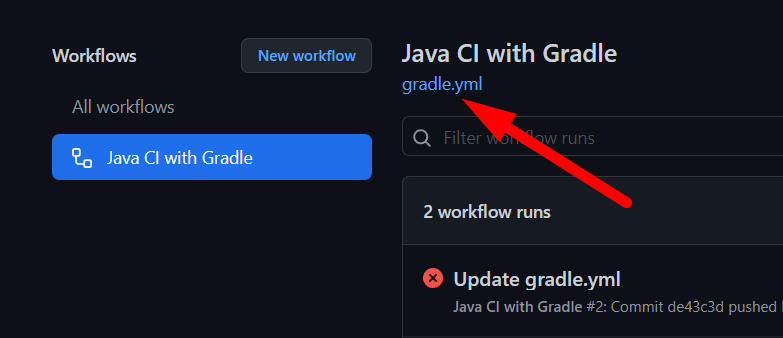
To edit your action configuration, head over to your actions and click the .yml file under the workflow name to pull up the editor.
Then, you can patch it up as needed, and commit it again. Committing changes to build.yml counts as a commit to master, so it will trigger the action again.
This time, it works correctly, though it again failed because of a small mistake---this repository wants Gradle 7.1, not 6.5. You'll need to fix all these issues for whatever build pipeline you're using, in order for it to perfectly match the build that you would do manually on your machine.
Using Your Build Artifacts
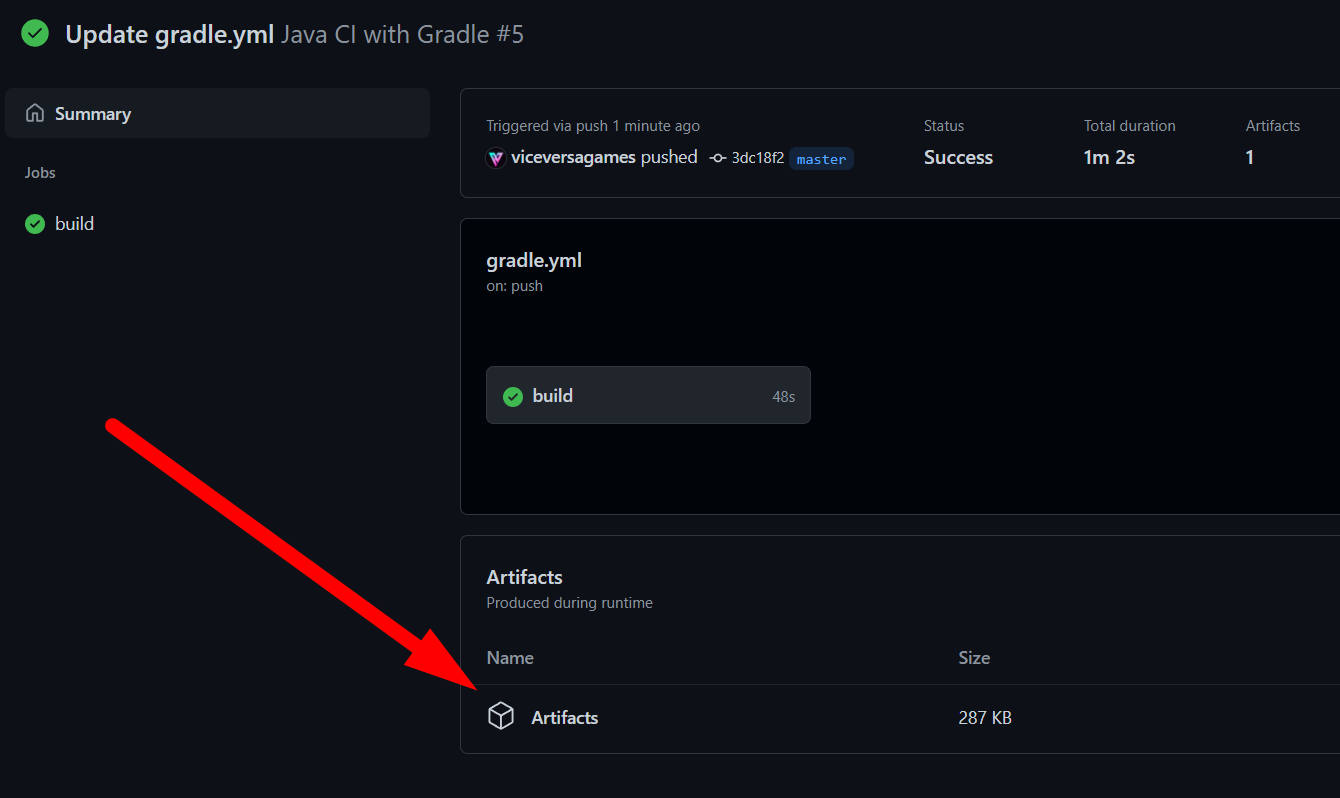
Once that's all sorted, we finally get to see the green check mark of success.
Except, it's not really a useful build---where are the build artifacts? By default, this action just builds the repo, and doesn't make any output items available.
- name: capture build artifacts

            uses: actions/upload-artifact@v2

            with:

            name: Artifacts

            path: build/libs/
Running the build again uploads the artifacts properly.
If you want to have these automatically downloadable, you will want to change the action to run whenever a release tag is created on Github, and then publish to Github packages using your token (which is passed as an environment variable).
on:

             release:

             types: [created]

            ...

            - name: Publish to GitHub Packages

             uses: gradle/gradle-build-action@4137be6a8bf7d7133955359dbd952c0ca73b1021

             with:

             arguments: publish

             env:

             USERNAME: ${{ github.actor }}

             TOKEN: ${{ secrets.GITHUB_TOKEN }}


