Quick Links
An innovation in edge computing has been taking place over the past few years. CloudFlare (CF) Workers enable server-side JavaScript applications to be run directly on the edge, closest to a consumer. Whether it is a simple or complex application, a CloudFlare Worker unlocks amazing performance, with no cold-starts, for a fraction of the price that traditional serverless computing offers.
Along with the concept of CF Workers, a feature named Workers KV (key-value) data store enables saving and serving data directly to a worker. With this feature, you are able to use workers as a database and file repository enabling the serving of static sites directly from the edge. In this article, we are exploring exactly how to provision a new simple static site backed by CloudFlare Workers.
Getting Started
This article assumes that you already have a CloudFlare account, and that account is linked to a domain. You will also need the Workers Bundled plan, which offers the KV feature. The following features are available and where they differentiate from the free plan.
-
Minimum $5 charge and $0.50/million requests per month
- 10 million requests before any additional charges are needed
- Deploy up to 30 sites
- Free workers.dev subdomain
-
Up to 50ms CPU time per request
- The free plan offers 10ms
- Always lowest latency
-
Access to Workers KV
- Up to 100 namespaces (think databases)
- 1 GB of storage ($0.50 per additional GB of storage)
-
10 million read operations, 1 million write, delete and list operations
- $0.50 per additional 1 million read operations and $5.00 per additional 1 million write, delete and list operations
After you have purchased the CloudFlare Workers Bundled plan, you will be able to utilize Workers KV and the CloudFlare Workers Site feature.
Wrangler Command-Line Tool
To create a site deployment, CloudFlare has created the Wrangler command-line tool. Wrangler requires installation via either NPM (NodeJS package manager) or Cargo (Rust language package manager).
NPM Installation
npm i @cloudflare/wrangler -g
Cargo
cargo install wrangler
If you do not want to use the Cargo included OpenSSL binary, you can opt to use the system OpenSSL by installing using the following command-line. This will decrease the installation size.
cargo install wrangler --features sys-openssl
Creating a Site
Now that you have Wrangler installed and Workers purchased, we can create our site. In this example, we are using the 1.11.0 version of Wrangler, which introduced a newer and easier authentication method. This is also assuming that PowerShell is the shell environment in use, but Wrangler will work in any that supports NPM or Cargo installations.
Wrangler Login and Site Creation
First, we are going to login to CloudFlare using Wrangler. To do this, we use the new wrangler login feature. This will prompt for a webpage to open, and if you are already authenticated in CloudFlare, the authentication will happen very quickly. Otherwise, log in and Wrangler will configure the API token automatically.
wrangler login
As you can see from the configuration location, there is a .toml file that now contains your API token to make all subsequent operations seamless.
Generating the Site
Next, we will generate the site itself. Utilizing the generate command, we will quickly create the site. At this point, it is also recommended that you navigate into the site directory and create a new repository via git init. This is an optional step but highly recommended.
wrangler generate --site worker-site
Site Structure
Wrangler creates the following site structure:
-
public- This is the static assets for your project with a defaultindex.htmlandfavicon.icofile. -
workers-site- The JavaScript that drives the serving of the static site, located in theindex.jsfile. This should not be edited unless you need to add additional functionality. -
wrangler.toml- The configuration file that points to the account and project information.
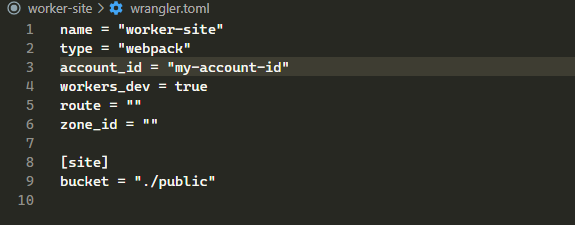
You might notice the warning that is shown regarding the need to update the project wrangler.toml file. At a minimum, you will need to add the account_id value within the wrangler.toml file to preview the site.
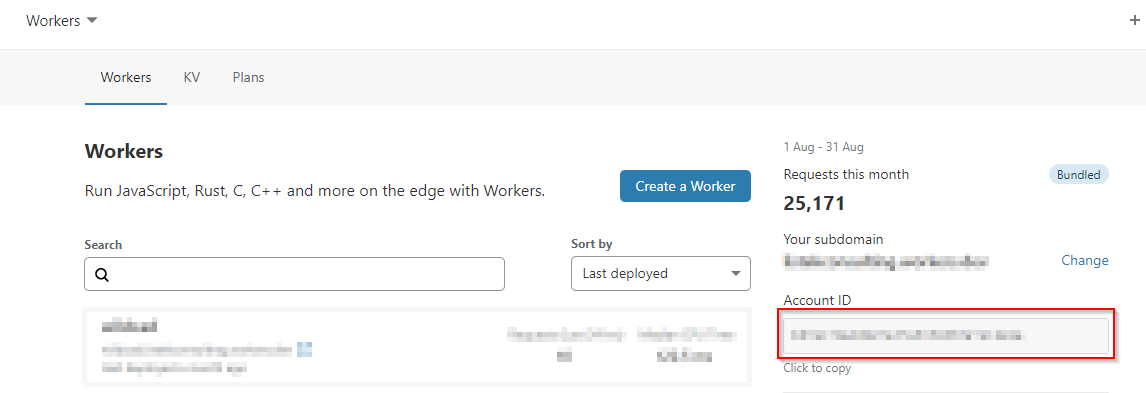
To retrieve the Account ID, the easiest way is to navigate to the CloudFlare dashboard, click on Workers, and locate the Account ID.
Open wrangler.toml and update the account_id value to your CloudFlare accounts value.
Previewing the Site
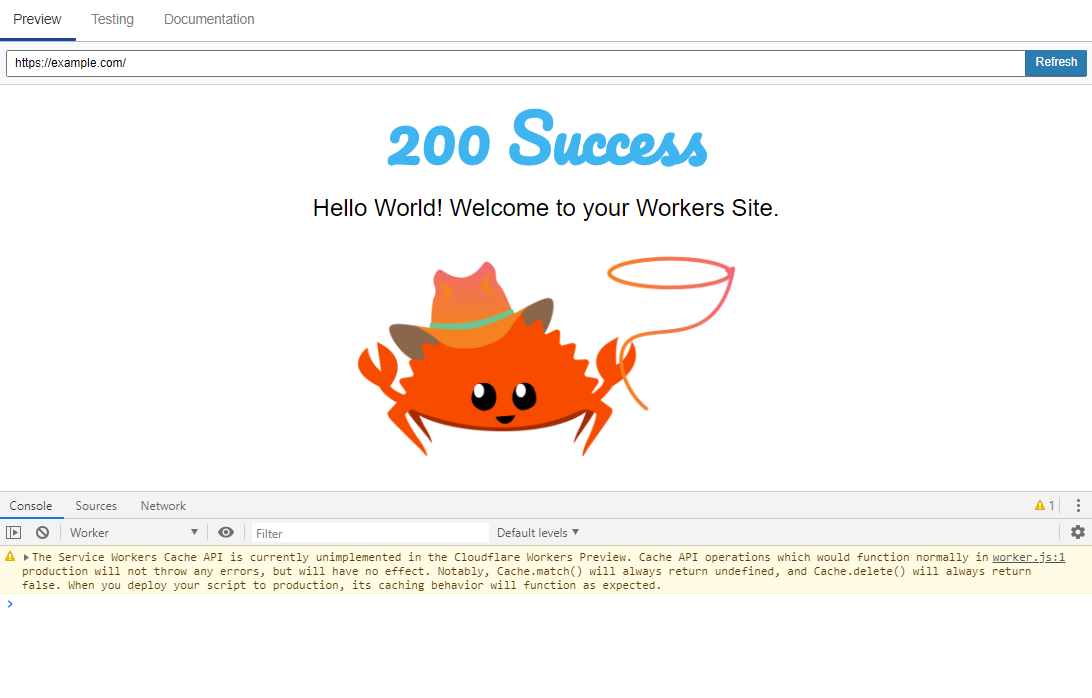
To verify that the site is working properly, you can use the preview command from Wrangler to generate the site and display the site within the browser. By adding the --watch parameter, any changes that you make to the site will be immediately reflected in the browser window.
wrangler preview --watch
Deploying the Site to Production
The next step would be to deploy this site to production. There are only a small handful of configurations that need to be tweaked in the wrangler.toml file.
-
zone_id- The website that the Worker will be applied to. -
route- Where the Worker will be applied to. -
workers_dev- Change this value tofalse.
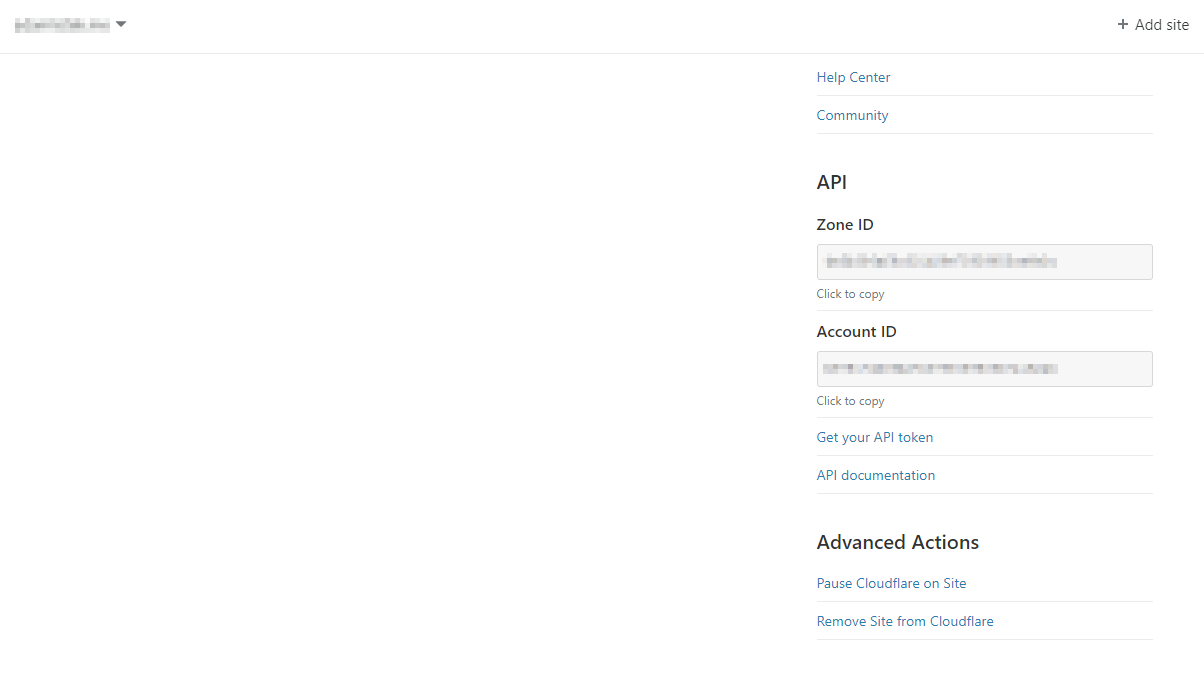
You can retrieve the zone_id by navigating to the website you want to apply the Worker to within the CloudFlare dashboard, going to the Overview page, and finding the Zone ID under the API section.
To configure the route, typically you will use one of two formats, which will serve a page under either a top-level domain or a sub-domain:
-
example.com/* -
subdomain.example.com/*
The end result of your wrangler.toml configuration should look similar to this:
        name = "worker-site"
type = "webpack"
account_id = "my-account-id"
workers_dev = false
route = "example.com/*"
zone_id = "my-zone-id"

**[**site]
bucket = "./public"
Finally, run the publish command to make the site public and create the Workers Site under the zone and route defined.
wrangler publish
Conclusion
CloudFlare Workers Sites offer powerful functionality with easy developer access. Static sites are incredibly fast and secure due to the lack of interactivity. Not all use-cases are solved by this, but the ease of use and lack of third-party servers necessary to host the site make this feature very attractive!

