Quick Links
Git, as well as services like Github, are built and optimized for lightweight text-based code files, and it's rare to see repositories larger than a few GB. But, it's often useful to track large files, and to make that easier, Git provides the Large File Storage (LFS) extension.
How Git Large File Storage (LFS) Works
Git doesn't technically have a maximum file size, but it starts to break down once you starting hitting a certain size of files. Github defines this maximum at 100 MB per repository.
This soft limit comes down to the way Git stores data internally. Despite showing the user lists of changes, called diffs, Git actually uses a snapshot-based approach to storing data internally, and uses that to reconstruct the diffs, rather than the other way around.
This is fine for small amounts of data, but it means that every time a file is modified, a snapshot must be made, and so if the file is very large, it can quickly take up a lot of room. Git manages this a bit internally with "packfiles," which can do some garbage collection, but the problem of working with large files still remains.
So, a solution called Git Large File Storage (LFS) was made. Basically, rather than storing the actual file in the repository, Git LFS simply stores a pointer to where that file actually is. When your Git client wants to clone a repository, or checkout the file, it downloads it from Git LFS instead.
This means that you'll no longer need to download every versioned object just to clone the repo. LFS makes it much faster to get the repository up and running because Git only cares about the pointer, which is small, and only fetches the data it needs.
The main downside is that you now cannot use packfiles, which means you're going to need extra storage for each and every copy of a file. But, with LFS allowing you to have a massive repository with optimal clone times, this doesn't affect the developer experience.
Where Can You Use Git LFS?
To use it, you'll need a server configured to use Git LFS. It's just an extension of Git, so you don't need to install any extra software or set up servers to handle data storage.
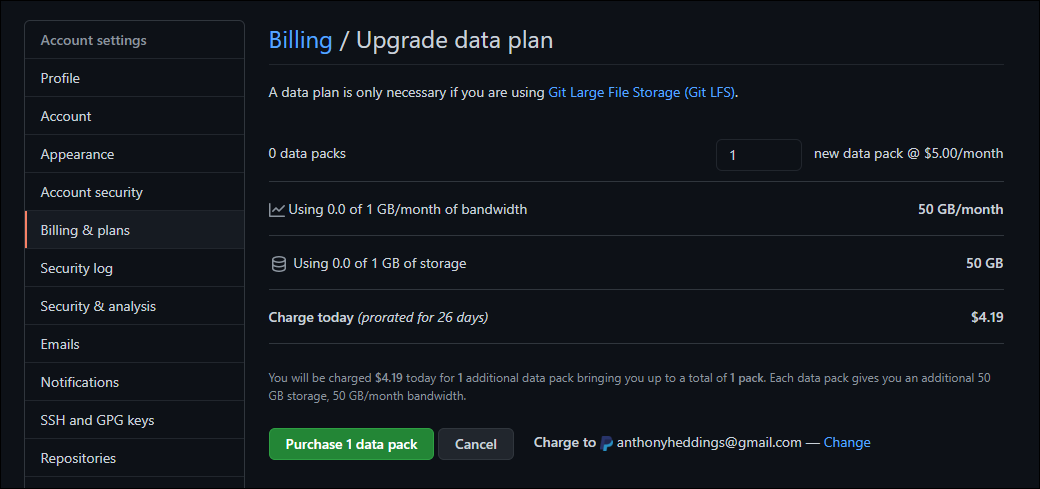
Github has support for Git LFS, but only allows 10 GB per repository. This applies to normal repos as well as LFS repos. However, it's pretty easy to purchase more data from Settings > Billing, and 50 GB is only an extra $4.20 a month:
You'll need to pay for bandwidth too, since updating large files makes a copy of the file and must send the whole thing.
If you'd like to host particularly large repositories, and want to do it on your own hardware, we recommend using self-hosted Gitlab. You can read our guide on setting up a personal Gitlab instance to learn more.
Installing And Using Git LFS
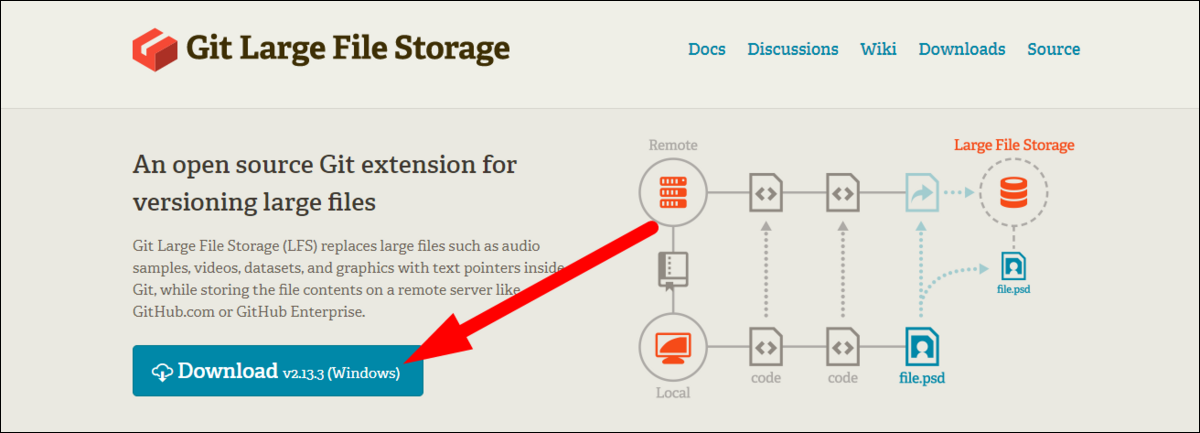
You'll need to download and install Git LFS from their website.
Then, open Git, or Git Bash on Windows, and run the install command to verify that it's working:
git lfs install
Git LFS works a bit separately from Git itself. It doesn't automatically track files above a certain size; you'll need to manually add files to Git LFS to start using it. You can use wildcard syntax for this:
git lfs track "*.dat"
You can use ls-files and status to view the state of the Git LFS subsystem itself:
git lfs ls-files

            git lfs status
Migrating to Git LFS
If you're coming from an existing Git repository, or accidentally committed something without first tracking it in Git LFS, you'll need to use the migrate tool to move data to LFS.
For example, importing all existing files matching a wildcard:
git lfs migrate import --include="*.mp4"
Or just sending everything to LFS:
git lfs migrate import --everything
You may need to do git push --force to overwrite branch history.


