Quick Links
WordPress is the most popular content management system. It's written in PHP, stores data in a MySQL database, and usually runs behind an Apache web server. These dependencies add several packages to your system and can be tricky to maintain over time. Here's how to quickly launch a containerized WordPress install using the official Docker image.
Getting Started
Running WordPress in Docker requires two separate containers: a web container, running Apache and PHP, and a database container, hosting MySQL. You must also set up Docker volumes for the WordPress data directories. These store your configuration files and uploaded media so they persist across container restarts.
Make sure you've got Docker and Docker Compose installed before you continue. Although you can use the Docker CLI on its own, Compose makes it easier to define the two services, their dependencies, and your volumes. You'll be able to bring up the entire stack with a single command.
Base Images
The official WordPress Docker image is available in many different tagged flavors. These cover the spectrum of available WordPress and PHP versions. If you use the
latest
tag, you'll get the current WordPress version with the newest PHP release.
For more control over your deployment, use a specific WordPress and PHP version. Here are a few examples:
-
wordpress:5.7 -
wordpress:php7.4 -
wordpress:5.7-php7.4
An exhaustive list of supported tags is offered on Docker Hub. Besides version pinning support, image variants are also available for Apache, FPM, and Alpine.
Images come pre-configured with usable default settings. You can add your own
php.ini
settings by copying a compatible file into the
$PHP_INI_DIR/conf.d
directory within the WordPress container.
Deploying Your Stack
Create a new directory for your site, then add a
docker-compose.yml
file. Paste in the following content:
version: "3"

            services:

             wordpress:

             image: wordpress:5.7-php7.4

             restart: unless-stopped

             ports:

             - 80

             environment:

             WORDPRESS_DB_HOST: mysql

             WORDPRESS_DB_USER: username

             WORDPRESS_DB_PASSWORD: password

             WORDPRESS_DB_NAME: wordpress

             volumes:

             - wordpress:/var/www/html

             mysql:

             image: mysql:5.7

             restart: unless-stopped

             environment:

             MYSQL_DATABASE: wordpress

             MYSQL_USER: username

             MYSQL_PASSWORD: password

             MYSQL_RANDOM_ROOT_PASSWORD: "1"

             volumes:

             - mysql:/var/lib/mysql

            volumes:

             wordpress:

             mysql:
This Compose file defines a minimal stack with the required WordPress and MySQL services. The database connection is configured using environment variables. You should change the database username and password to secure values of your own. Remember to apply the changes to both service definitions.
The services are set to restart automatically unless they've been manually stopped. This ensures your site comes back up automatically when you reboot the host system.
The entire WordPress installation directory is mounted into a volume. Using this approach ensures all your WordPress content is persisted outside the container, including configuration, themes, plugins, and uploads. It also lets you use the WordPress self-updater from the admin panel. If you only mounted the data directories into a volume, any source changes applied by the self-updater would be lost after a container restart.
Deploy the stack by running
docker-compose up -d
. You'll be able to log in to WordPress by visiting
http://localhost
in your browser. If you see an "error establishing database connection" message, wait a few moments before trying again. First-run database provisioning can take several seconds to complete.
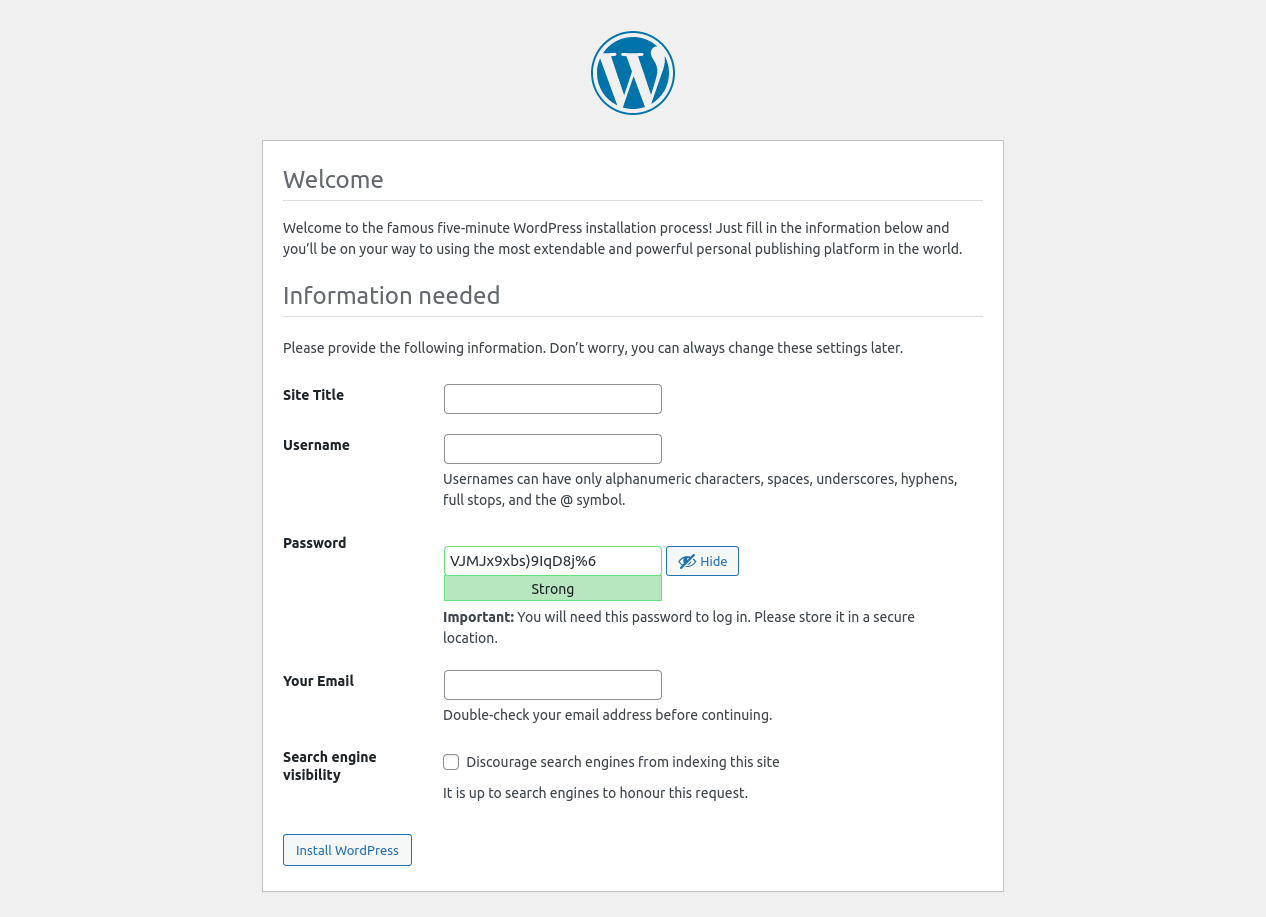
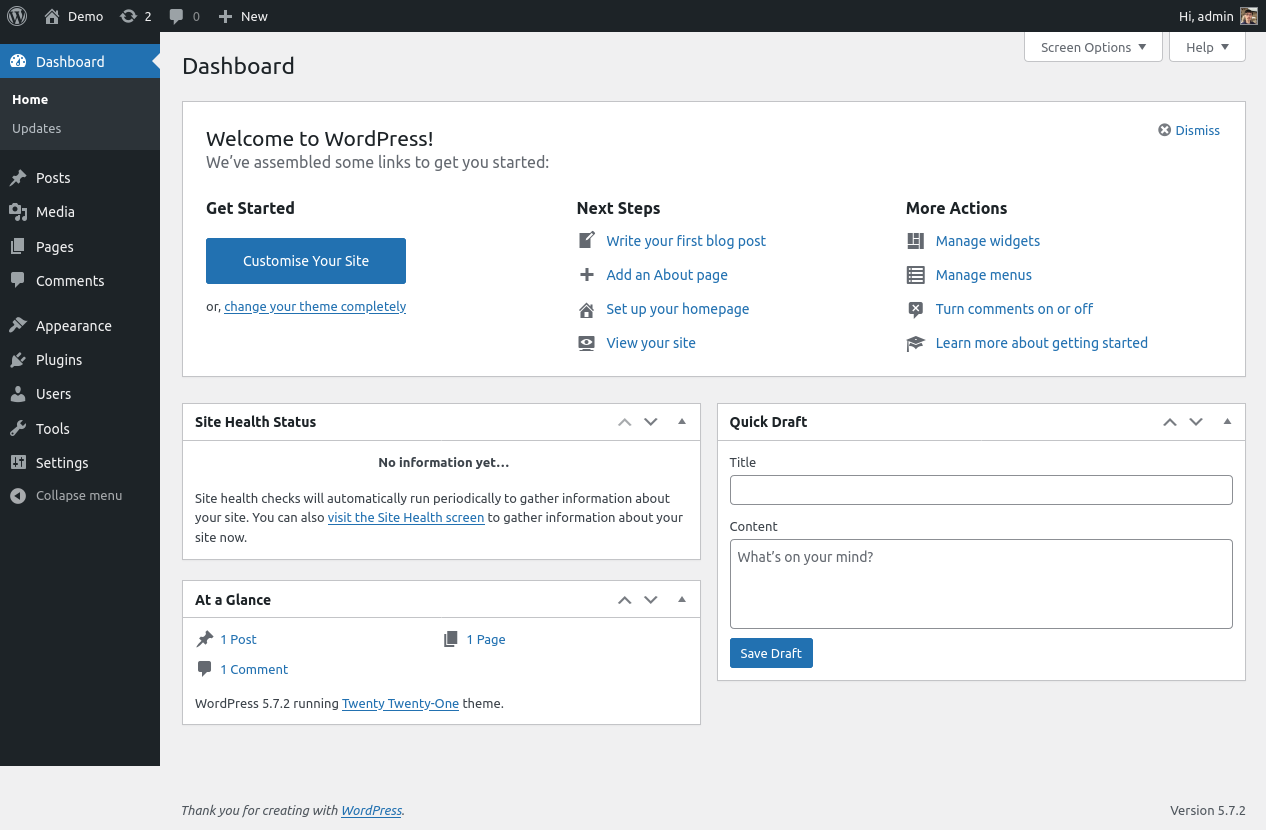
Click through the standard WordPress setup wizard to configure your site. You'll need to set up an initial administrator user account. These credentials should be different to your MySQL database ones. The WordPress login form will appear when you're done. Use your new admin account to log in to the admin dashboard.
Next Steps
Your WordPress installation is now ready to use. Add posts, pages, themes, and plugins using the admin interface, just like a bare-metal WordPress install.
It's recommended you run through some basic security hardening steps to reduce your site's risk of attack. You should make sure you've got a backup routine too. This will need to cover the MySQL database and your WordPress uploads directory,
wp-content
.
Configuration With Docker Secrets
Using environment variables for configuration is adequate for local use. Docker secrets are supported too, giving you more security in environments that other collaborators can access. Define secrets in your Compose file and substitute variables like
WORDPRESS_DB_PASSWORD
for
WORDPRESS_DB_PASSWORD_FILE
. WordPress will load the variable's value from the secret file that Docker injects.
services:

             wordpress:

             environment:

             WORDPRESS_DB_PASSWORD_FILE: /run/secrets/WORDPRESS_DB_PASSWORD

             secrets:

             - WORDPRESS_DB_PASSWORD

            secrets:

             WORDPRESS_DB_PASSWORD:

             file: ./db_password
Add your password to the
db_password
file in your working directory. It'll be accessible as
/run/secrets/WORDPRESS_DB_PASSWORD
in the container. WordPress is instructed to read this file to determine the final database password.
Adding Your Own Site
The steps above result in a fresh WordPress install that's ready to configure interactively via the admin center. You can provision your container with a set of default themes and plugins by mounting them into the
/var/www/html/wp-content/themes
and
/var/www/html/wp-content/plugins
directories.
This technique also helps you create a custom Docker image for your site. Use the official WordPress image as your base and copy your site's assets into the appropriate directories. Here's an example of how you could package a custom theme as a ready-to-use image:
        FROM wordpress:5.7-php7.4-apache
COPY ./theme/ /var/www/html/wp-content/themes/example-theme/
Your theme will be available in each container you start. This method doesn't automatically enable the theme though. For that, you'll need a third service using the WordPress CLI image.
services:

             wpcli:

             image: wordpress:cli-2-php7.4

             environment:

             WORDPRESS_DB_HOST: mysql

             WORDPRESS_DB_USER: username

             WORDPRESS_DB_PASSWORD: password

             WORDPRESS_DB_NAME: wordpress

             volumes_from:

             - wordpress:rw
The CLI container needs access to the environment variables and volumes made available to the regular web container. Environment variables must be duplicated, unless you extract them into a reusable YAML section, whereas volumes can be mounted using volumes_from.
Now you can use Docker Compose to complete the WordPress installation and enable your theme:
        docker-compose run wpcli core install --title="My Site" --admin_user=admin --admin_password=changeme --admin_email=me@example.com --url=localhost --allow-root
docker-compose run wpcli theme activate example-theme --allow-root
These steps can be automated as part of your image build process or a CI pipeline. You could commit the final container to create a standalone image of your site, ready for subsequent use.
Conclusion
Using WordPress with Docker avoids polluting your host machine and helps you containerize your site and its configuration. Defining your services as a Docker Compose file lets you quickly spin up new instances and help collaborators get running.
Once your stack is live, the ongoing maintenance is similar to a regular WordPress install. Keep WordPress, your plugins, and your themes updated, and proactively check for security issues.
One Docker-specific housekeeping task is updating the WordPress base image. It's good practice to periodically pull the latest image so you're not missing any important operating system patches. Run docker-compose up -d --pull to pull the image and restart your services.


