Quick Links
Docker Engine supports a plugin system that lets you add extra functionality to the container runtime. Plugins for new storage drivers, networking stacks, and logging systems are all freely available.
Modern versions of Docker Engine include everything you need to manage plugins within the CLI. We're concentrating on this "managed" plugin system in this guide. You must manually install and maintain plugins that use the legacy plugin system.
All About Plugins
Plugins extend Docker Engine with new capabilities that are too specific to ship with the general installation. You don't normally interact with plugins directly. Once a plugin's installed, you can reference resources it provides when running existing Docker commands.
There are three main plugin types:
- Logging - These plugins add new logging drivers, letting you store logs in locations outside of Docker Engine and your host machine.
- Network - Networking plugins can add support for new network types and related functionality.
- Volume - Storage plugins bring additional filesystems and volume drivers to Docker, giving you more options for persistent data.
Plugins with features that fall outside these core areas are also available. Plugins are authored by community vendors; you can write your own using the public plugins API and Go SDK.
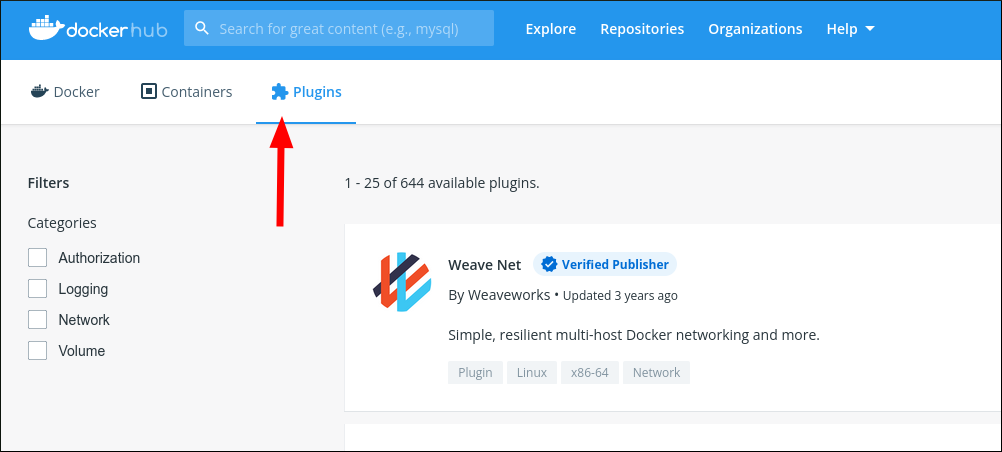
Plugins are distributed via Docker Hub. You can find available plugins by heading to the Explore page and selecting the Plugins tab at the top. Over 600 plugins are currently available.
If you write your own plugin, you can submit it to Docker Hub with the
docker plugin push
command. This works similarly to pushing an image to the public registry. You need to run
docker plugin create
first to convert your plugin's manifest and filesystem into a package that's ready for submission. You can get more information on authoring plugins in the Docker docs.
Installing a Plugin
Plugins are installed with the
docker plugin install
command. This accepts the name of a Docker Hub plugin as its argument:
docker plugin install store/example/example-plugin:version
Plugin references look like image references that start with store/. The same tagging principles apply when specifying the plugin version to install. Unlike images, you can't omit the version to automatically pull the latest tag.
You can find a plugin's version number and copy a ready-to-run install command by clicking the "Setup Instructions" button on its Docker Hub page. Free plugins will allow you to proceed to a new screen with the regular copy and paste box in the top-right. Run the command in your terminal to start installing the plugin.
Plugins usually request access to host privileges so they can provide their functionality. As an example, a networking plugin will need to have access to Docker's host network so it can connect new resources. Acknowledge the permission prompt by typing y and pressing enter to complete the installation. You can skip the prompt by adding the --grant-all-permissions flag to your install command; this is ideal for noninteractive installations but risks unintentional permission grants if a plugin updates with new capabilities.
Plugins are automatically enabled after installation. Enabling a plugin permits the execution of pre-install scripts. Use the --disable flag to default a plugin to disabled status, leaving it inert until manually activated later.
Viewing Plugin Details
Once installed, your plugin will show up when running docker plugin ls:
docker plugin ls
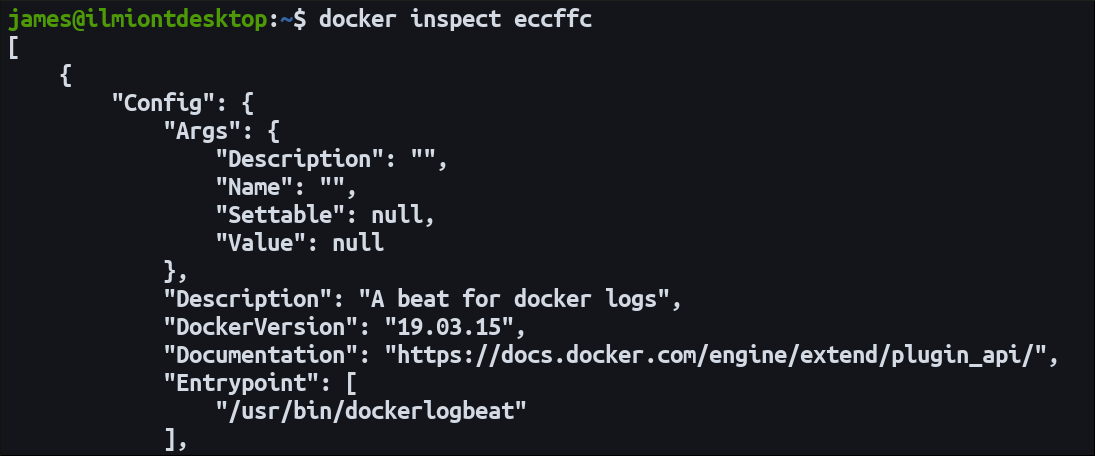
More detailed information about a single plugin can be obtained from the docker inspect command. This accepts a plugin ID or tag and displays verbose JSON that describes the plugin's manifest:
docker inspect eccffc
Offline Installation
The Docker CLI doesn't have a built-in way to install plugins while offline. Nonetheless you can add plugins to an air-gapped Docker installation by installing them on a networked client first, then copying the plugin files to the offline system.
You'll find installed plugins inside the /var/lib/docker/plugins directory on your host. Each plugin gets its own sub-directory named with its ID. These IDs are visible in the output from the docker plugin ls command.
Enabling and Disabling Plugins
Plugins can be either enabled or disabled. You'll see the current status in the last column of the ls output. A disabled plugin won't be loaded so it'll act as though it's not installed.
Use the docker plugin enable and docker plugin disable commands to change a plugin's status. Supply the ID of one of your installed plugins as the command's only argument:
docker plugin enable eccffc
You might be prevented from disabling a plugin if it's actively used by your Docker Engine configuration or one of your containers. Adding the -f flag will force disable the plugin but should be used sparingly as you risk unintended container exits.
Plugins are uninstalled with the docker plugin rm command. Supply the ID or name of a plugin to completely remove it from Docker. rm has the same behaviors as disable when handling actively used plugins and subsequently forced removals.
Changing Plugin Settings
Docker's plugin system includes an integrated mechanism for plugin authors to expose customizable settings. As a user, you can change these settings via the docker plugin set command:
docker plugin set example-plugin setting-key=new-value
Replace example-plugin with the ID or name of the plugin you're targeting. The value of the plugin's setting-key setting will be updated to new-value.
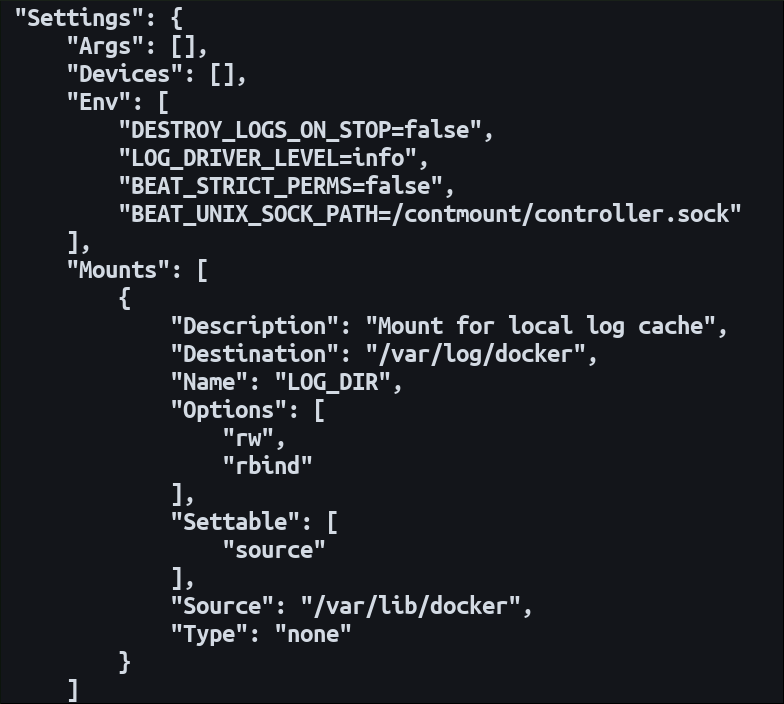
The available settings naturally vary from plugin to plugin. They should be documented in the plugin's description on Docker Hub. The Docker CLI doesn't have a built-in command to view all the available settings for a plugin but they do show up in docker plugin inspect output. Look for the Settings field in a plugin's JSON representation; it will contain objects with Name and Settable fields for options you can change via the CLI.
Updating Your Plugins
Plugins are updated with the docker plugin update command. Like the other commands, it takes a plugin ID or tag as an argument.
Upgrading a plugin will download and install the latest version available on Docker Hub. If you're already on the newest release, the command will reinstall the current version. You'll be prompted to grant the plugin any new privileges it requires. The --grant-all-permissions flag is accepted to skip the prompt in environments where interactive input isn't feasible.
There's no way to update all the plugins on your system with one command. You're best off subscribing to release announcements from the vendors of your plugins, then applying updates to your installation as they become available. This will ensure your plugins stay secure and supported.
Summary
Docker's plugins ecosystem lets you add additional functionality to Docker Engine. Plugins reside on Docker Hub and can be installed from your terminal. The CLI incorporates a plugin updater but it only works with a single plugin at a time, not your entire catalog.
Now you know how to use and manage plugins, you can start browsing Docker Hub to find options to enhance your workflow. Elastic Logging Plugin streams Docker container logs to an Elastic stack cluster, vSphere for Docker lets you use VMWare vSphere storage for your persistent volumes, and Weave Net brings multicast encrypted networking to Docker. If you don't see what you need, use the plugin API to try writing your own solution that you can publish to the broader community via the Hub.


