Pterodactyl is a server management platform that uses Docker containers to manage instances of applications. It's designed for running, configuring, and managing headless game servers, like Minecraft servers, but can be used for other applications as well.
Installing Pterodactyl & The Daemon
Pterodactyl has two main components: the control panel which hosts the web interface and talks to the daemons, and the daemons themselves that run on the host servers, which act as worker machines that run on your hardware. The control panel can be installed on a basic VPS, or you can install it directly on one of the host servers alongside the daemon.
The daemon manages the Docker containers that the game servers run inside of. Docker is a containerization tool, which basically packs up all the dependencies and code your application needs to run into one file, called a Docker image, which can be copied to start new servers. This allows you to define how to launch one Minecraft server, and then deploy 20 copies of that master Minecraft server image, with varying configuration, all without installing Java 20 times.
Pterodactyl's installation is a bit more complicated than
apt get install
, so we won't go over all the specific steps here. Instead, you can refer to their installation guide, which should stay up to date. Essentially, you're installing a LAMP stack on the VPS, and configuring a MySQL database to talk to Pterodactyl properly.
Then, on each host node, you'll need to install the daemon. This involves installing Docker and NodeJS, and running LetsEncrypt's
certbot
to generate an SSL certificate so that the connection between control panel and daemon can be done securely over TLS.
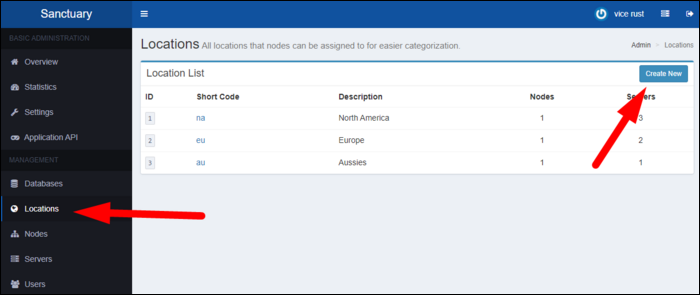
Once it's installed, you'll need to configure and set up each daemon from the Pterodactyl console. First, you need to create some Location tags from the "Locations" tab in the sidebar, to sort each daemon into. These are essentially region codes that you can create for organization, and don't serve any other purpose, but it's required to have at least one in order to set up a daemon.
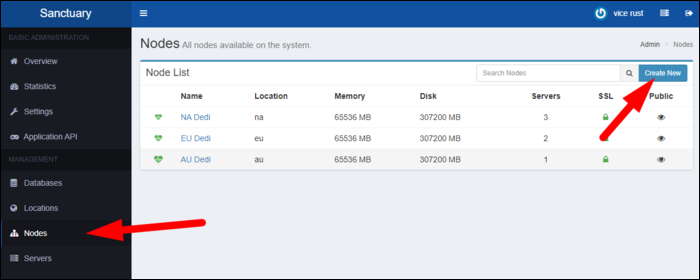
Then, create a new node from the "Nodes" tab in the sidebar.
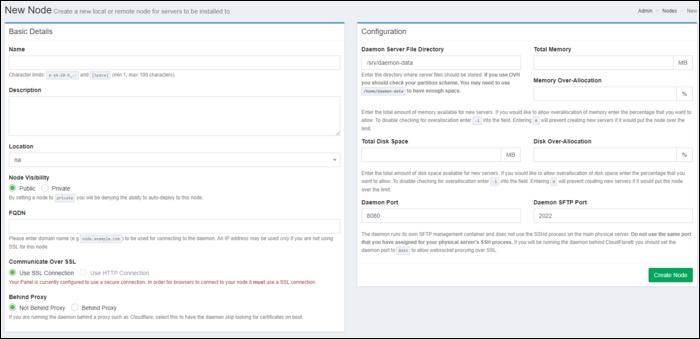
Give it a name and description, and enter in the domain name that can be used to reach the daemon. Under configuration, you can change the daemon file directory (if you're on OVH, this will be
/home/daemon-data
rather than
/srv/
), as well as changing the total amount of memory and disk space available to new servers. This is node-wide, so enter in the specs of your machine here.
Then, click create and you'll be given a JSON file. Copy this, and paste it into:
/srv/daemon/config/core.json
Then, you can start the daemon with sudo npm start. However, you'll probably want to daemonize this with systemd, so it will run on startup.
[Unit]

            Description=Pterodactyl Wings Daemon

            After=docker.service

            [Service]

            User=root

            #Group=some_group

            WorkingDirectory=/srv/daemon

            LimitNOFILE=4096

            PIDFile=/var/run/wings/daemon.pid

            ExecStart=/usr/bin/node /srv/daemon/src/index.js

            Restart=on-failure

            StartLimitInterval=600

            [Install]

            WantedBy=multi-user.target
Save this as wings.service in /etc/systemd/system/, and enable it:
systemctl enable --now wings
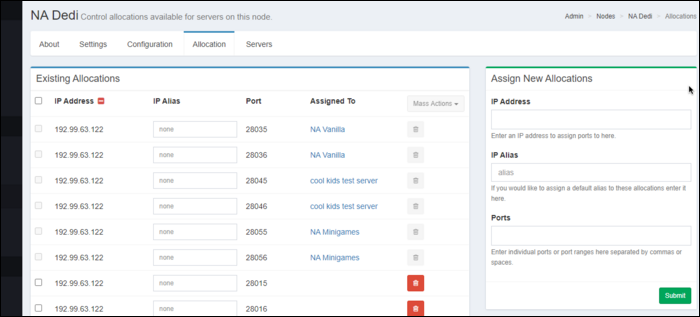
The node should now be linked (if it isn't, check your firewall settings), but you'll need to do one last step for it to be usable---assign IP address allocations for new servers to use from the "Allocation" tab. If your server needs multiple ports, you'll need to specify additional allocations.
Setting Up Your Server Config
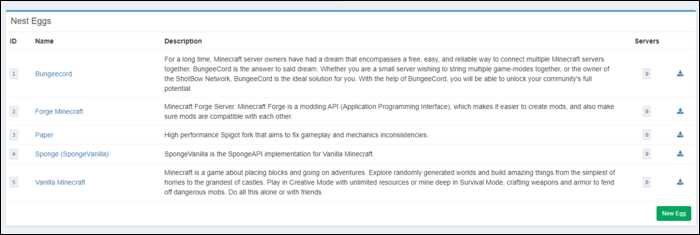
Server configuration starts with Eggs, which contain the bulk of the variables, and define which Docker image to use. Eggs are categorized into Nests based on the game; for example, the Minecraft nest contains Eggs for vanilla, as well as modded server configurations like Forge, Paper, and BungeeCord.
Pterodactyl warns in big red letters that editing an Egg is an advanced feature, but they're easy to modify, and if you want any kind of manual control over how your servers operate you'll have to get familiar with them.
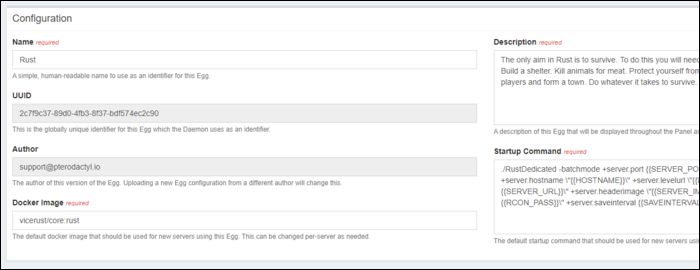
Under "Configuration" on the Egg settings, you'll find the controls for changing the Docker image, and modifying the startup commands.
You'll get the most control by supplying your own Docker images. You can fork Pterodactyl's premade images, and change the startup script in entrypoint.sh to include whatever you'd like. This is useful if you'd like to do some actions before the game server binary starts up. In my case, I set this to update the server to the correct steam branch, then fetch the latest build of my code from TeamCity server. This way, the server is always updated, and code deployments are handled automatically when the server restarts.
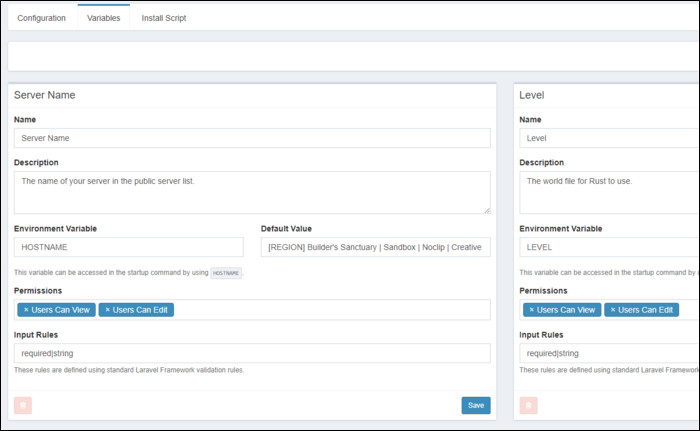
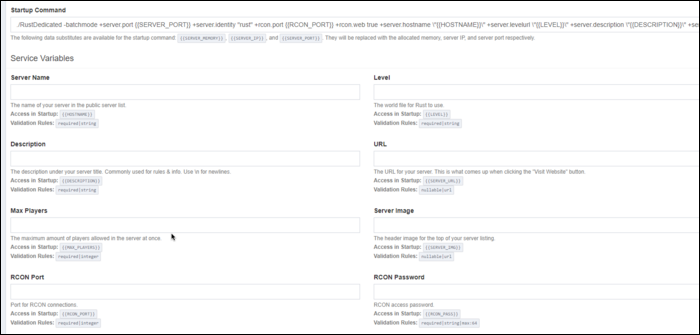
If you're just looking to run a server though, and not any custom mods or code, you can simply edit the variables in the "Variables" tab, which include things like the server name, RCON ports, and any other configuration that gets passed as an argument to the command line.
You can use these variables in the startup script and the entrypoint to the Docker container (useful for changing the script based on the type of server), and they can be modified on a per-server basis.
Creating A Server
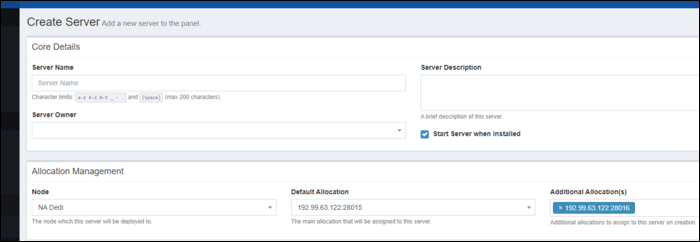
From the "Servers" page in the sidebar, create a new server. Give it a name and description, and be sure to set yourself as the Server Owner, or it will cause an error.
You'll also need to select which node this server will run on, and which port allocation it will be using. If you need additional ports for RCON, you'll need to set secondary allocations.
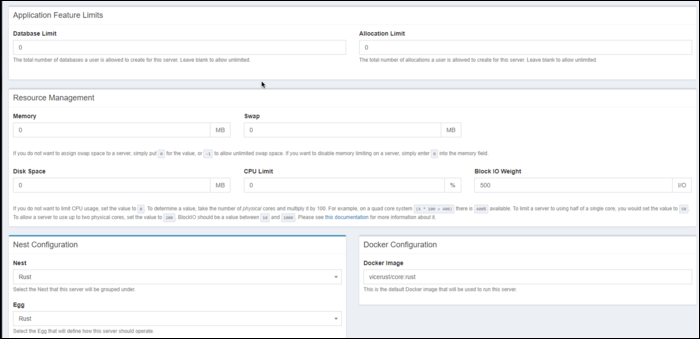
Below that, you'll find the controls for resource management, where you can set memory, disk, and CPU limits. Most game servers are single threaded, but certain tasks (like navmesh generation on startup for Rust) can overload the CPU, which can affect other services on the system. If you don't care, and just want the server to run with as much as it can, you can set all these values to 0 to disable them.
Next, select the Nest and Egg that you're using. You'll find controls for switching out the Docker image, as well as overriding all the server variables on the Egg. You may need to fill out port numbers here to match the allocations.
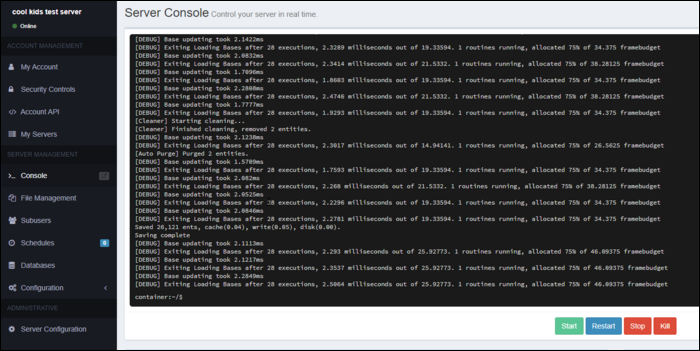
After everything is configured, click create. Pterodactyl will send the request over to the daemon and create a new server. It'll take a few minutes for the first install, but once it's ready, you'll be able to view the server output from the "Console" tab of the server menu.
In this menu, you'll also find a built-in file management system, as well as a username for connecting over FTP (which is chrooted to the Docker container). You can also add other users to this server, and set up schedules to run commands like daily restarts.
Under "Configuration," you'll find the controls for editing server variables, as well as triggering rebuilds of the Docker container. This doesn't wipe any data, but is necessary if you edit entrypoint.cs.

