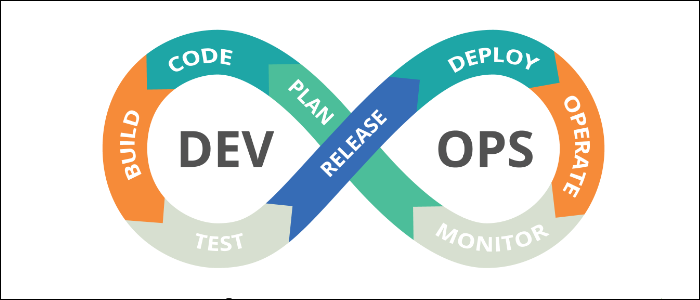
Continuous Integration/Continuous Delivery (CI/CD) is the process of automating application updates, from changes in source control, to automated builds, to automated deployments to your servers. GCP provides a service for this, called Cloud Build.
Writing a Build Configuration
The CI/CD pipeline featured here works pretty simply. GCP listens for changes in your source control, either new commits on a specific branch, or new pull requests. Then, it sends the source to Cloud Build, which runs a set of commands to test and build the application, and sends the output build artifacts over to App Engine, GKE, Cloud Functions, or a Cloud Storage bucket.
Most of the configuration for Cloud Build actually happens outside of Cloud Build, in a YAML file called
cloudbuild.yaml
. This defines the build steps, options, and output settings. The schema looks something like this:
steps:

            - name: string

             args: [string, string, ...]

             env: [string, string, ...]

             dir: string

             id: string

             waitFor: [string, string, ...]

             entrypoint: string

             secretEnv: string

             volumes: object(Volume)

             timeout: string (Duration format)

            - name: string

             ...

            - name: string

             ...

            timeout: string (Duration format)

            queueTtl: string (Duration format)

            logsBucket: string

            options:

             env: [string, string, ...]

             secretEnv: string

             volumes: object(Volume)

             sourceProvenanceHash: enum(HashType)

             machineType: enum(MachineType)

             diskSizeGb: string (int64 format)

             substitutionOption: enum(SubstitutionOption)

             logStreamingOption: enum(LogStreamingOption)

             logging: enum(LoggingMode)

            substitutions: map (key: string, value: string)

            tags: [string, string, ...]

            secrets: object(Secret)

            images:

            - [string, string, ...]

            artifacts: object (Artifacts)
You won't need all of these options though. A simple configuration like the following will build an NPM application and deploy it to a Cloud Storage bucket:
steps:

            # Install dependencies

            - name: node

             entrypoint: npm

             args: ['install']

            # Run tests

            - name: node

             entrypoint: npm

             args: ['test']

            # Run custom commands

            - name: node

             entrypoint: npm

             args: ['run', 'build']

            artifacts:

             objects:

             location: 'gs://mybucket/'

             paths: ['build']
The first key, "Steps," runs npm install to get dependencies in order, then npm test to run any tests you have set up, then npm run build to start the build process. After that completes, output artifacts in the build folder are sent to gs://mybucket/. You don't have to deploy to an output bucket though; Cloud Build supports deployments to GKE, Cloud Functions and Cloud Run, and App Engine.
Ultimately though, this step will highly depend on what kind of application you're building, so we can't write a step-by-step guide for everyone. We recommend reading Google's configuration overview to learn more.
Setting Up Cloud Source & Cloud Build
Once you have a build configuration, you can set up Cloud Build to handle the actual builds. Cloud Build gets its source from Cloud Source, Google's own hosted Git solution. If you want to use your own git though, you can link an external account, or just set up Cloud Source as a secondary release remote.
Head over to Cloud Source and create a new repository. You can sign in with Github or Bitbucket to link an external account and select a repository, or just create a new one and add it as a secondary remote.

Head over to Cloud Build, and click "Set Up Build Trigger" from the dashboard.

Give it a name, select the source repository, and choose when you want this trigger to run. You can trigger based on commits to a certain branch, new tags, or pull requests. You can also use regex to match the branch names.

You'll want to keep the default here for the Cloud Build configuration file, but if you gave it a different name or placed it under a different path, you can select that here. You also have the option of setting custom variables, which will let you re-use configuration with multiple triggers on different branches.

Click create, and the trigger will appear in the dashboard. You can manually run the trigger here to test your settings.

Once it's set up though, it will run automatically on every push to the branch, or pull request, depending on what you configured.