Quick Links
Portainer is one of the most popular container management interfaces. Although Portainer began by focusing on Docker and Docker Compose, it also works with clusters managed by orchestrators including Docker Swarm and Kubernetes.
In this article you'll learn how to connect Portainer to a Kubernetes cluster. You'll be able to use Portainer to view and interact with Kubernetes objects such as Pods, Deployments, and ConfigMaps. Portainer can deploy Helm charts and expose some basic cluster-level information too. It's a viable alternative to the official dashboard and other options like Lens for simple Kubernetes management.
Deploying Portainer Into Your Cluster
Make sure you've got access to a functioning Kubernetes cluster before you proceed. You can provision one using [a managed cloud service] or run your own locally using a solution such as MicroK8s or Minikube. You'll also need to have Helm installed to simplify the Portainer installation process.
Add the Portainer repository to Helm using the following commands:
$ helm repo add portainer https://portainer.github.io/k8s/

            $ helm repo update
Next run one of the following commands to deploy the Portainer application.
Expose Portainer with a NodePort
$ helm install --create-namespace -n portainer portainer portainer/portainer
This is the simplest method. You'll be able to access Portainer over HTTP using port 30777 on the Node that runs the Portainer Pod. HTTPS traffic will be served on port 30779 using a self-signed certificate. Refer to the Portainer documentation if you'd like to supply your own SSL certificate when deploying with this method.
Expose Portainer with a Load Balancer
$ helm install --create-namespace -n portainer portainer portainer/portainer \

             --set service.type=LoadBalancer
This method is similar to NodePort but it will use a load balancer in front of your Nodes. Visit port 9000 on the load balancer's IP to reach Portainer over HTTP. HTTPS is supported on port 9443.
Expose Portainer with an Ingress Route
helm install --create-namespace -n portainer portainer portainer/portainer \

             --set service.type=ClusterIP \

             --set ingress.enabled=true \

             --set ingress.annotations.'kubernetes\.io/ingress\.class'=nginx \

             --set ingress.annotations."nginx\.ingress\.kubernetes\.io/backend-protocol"=HTTPS \

             --set ingress.hosts[0].host=portainer.example.com \

             --set ingress.hosts[0].paths[0].path="/"
This method exposes Portainer using an Ingress route. You'll need an Ingress controller such as NGINX Ingress inside your cluster. Modify the host and path variables in the command to customize the Portainer route. In this example, you'll be able to access Portainer by visiting portainer.example.com, after you've set up an appropriate DNS record.
Setting up an Ingress route is the best way to serve Portainer long-term as it supports load balancing between Nodes and lets you assign a specific domain. The NodePort or LoadBalancer options are simpler choices when you're experimenting with clusters that don't have an Ingress controller available.
Once you've completed your deployment, load Portainer in your browser by visiting the appropriate Ingress host or IP address and port number. Fill out the set up screen to create your user account.

Portainer will now be ready to use with your Kubernetes cluster - deploying directly to Kubernetes automatically discovers your environment. Click the "Get Started" button to complete the installation.

Adding a Kubernetes Cluster to an Existing Portainer Installation
You can add a Kubernetes cluster to an existing Portainer installation. You could choose to run Portainer outside your host so it's not consuming cluster resources.
Begin by logging into your Portainer instance. Click the "Environments" link at the bottom of the left sidebar. Click the blue "Add environment" button towards the top of the screen.

Next press the "Kubernetes" tile and then the "Start Wizard" button at the bottom of the screen.

The next screen will show installation instructions for the Portainer Kubernetes agent. This component is installed inside your cluster. Portainer communicates with the agent to extract Kubernetes information and apply requested actions.
You can choose between deploying the agent with a NodePort or a LoadBalancer. Select the appropriate tab and then copy the command that's displayed. Run this in your terminal to add the Portainer Agent to your cluster. Portainer Agent is secured using a digital signature that it receives the first time the Portainer application makes contact. The Agent will reject communications from clients that don't provide the correct signature.
Next fill out the "Name" and "Environment URL" fields displayed in the Portainer web UI. You can choose any name that identifies your cluster.

If you're using a NodePort connection, the environment URL should be port 30778 on your Node's IP address. For LoadBalancer connections, find the load balancer's external IP by running kubectl get services -n portainer. The agent will be exposed on port 9001 at this IP.
$ kubectl get services -n portainer

            NAMESPACE NAME TYPE CLUSTER-IP EXTERNAL-IP PORT(S)

            portainer portainer-agent LoadBalancer 10.245.110.27 139.59.198.245 9001:30343/TCP
Click the "Connect" button to complete your connection. You should see a green popup alert that confirms the environment has been added. Press the "Finish" button at the bottom of the screen to return to the environments list.
Using Portainer to Manage Kubernetes
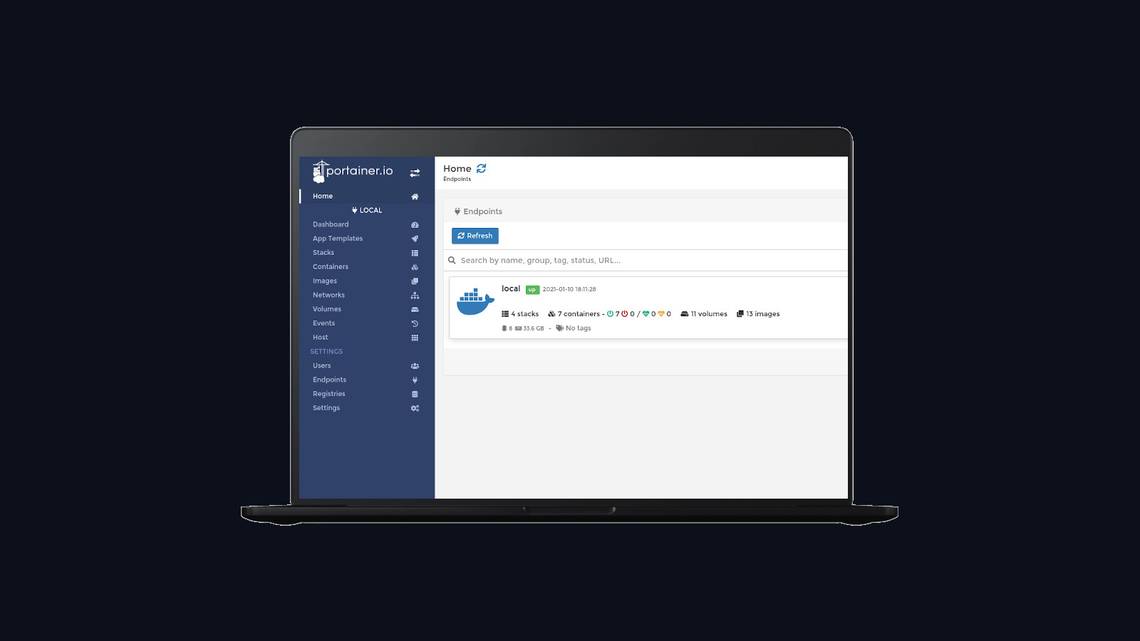
The Portainer homescreen displays all your configured environments. These could be Kubernetes clusters, local Docker Engine installations, or any other supported endpoint. Click your cluster to start managing it.

The cluster dashboard screen provides an overview of the number of resources in your cluster. Portainer currently focuses on interactions with Namespaces, Applications (your Pods and Deployments), ConfigMaps and Secrets, and Volumes. It provides an abstraction layer over some Kubernetes concepts.

Click the Applications tile or sidebar link to view your running Pods and Deployments. The screen shows all the applications in your cluster, including the image they're using and their external URL when an Ingress route's configured.

You can add a new application by uploading a Kubernetes manifest file or clicking the "Add application with form" button to interactively configure your Pods.

Portainer also offers a basic summary of your cluster's resource utilization. Click the "Cluster" sidebar item to view the Nodes in your cluster and their memory and CPU reservations.

Finally the cluster setup screen, accessed by navigating to Cluster > Setup, controls the Portainer features to enable for your Kubernetes environment. You can use this to tell Portainer which load balancers, Ingress controllers, and storage classes should be made available to users. Other settings include the ability to change whether resource over-commits are allowed (where more resources can be requested than the cluster can provide) and activation of the Metrics API to access more detailed utilization information. This requires the Metrics API to already be installed in your cluster.

Summary
Portainer is one of the most popular container management interfaces. Modern Portainer releases have built-in support for Kubernetes clusters. You can either deploy Portainer inside your cluster or use the Portainer agent to connect Kubernetes to an existing application instance.
Once you're set up you can use Portainer to view and interact with Kubernetes Pods and other objects. This can be more convenient than running complex Kubectl commands in your terminal. Portainer lets you aggregate all your container environments into one platform, from Kubernetes clusters to single-node Docker installations.