Quick Links
Ghost is a popular content creation platform that's written in JavaScript with Node.js. The open-source software comes with everything you need to author, theme, publish, and maintain your own blog.
Ghost is open-source software supported by the official Ghost(Pro) hosted service. You can install it on your own server by adding Node.js and using the Ghost CLI to set up your stack. Ghost is also available as a Docker image which bundles all the dependencies for you.
In this guide, we'll use Docker to quickly get a new Ghost blog operational. Install Docker and Docker Compose on your host before proceeding any further. While you can deploy Ghost using Docker alone, Compose makes it simpler to supply and manage the config values your site will need to get started.
Starting a Ghost Container
You can start a basic Ghost site with a single Docker command:
docker run -d -p 2368:2368 --name simple-ghost ghost:4
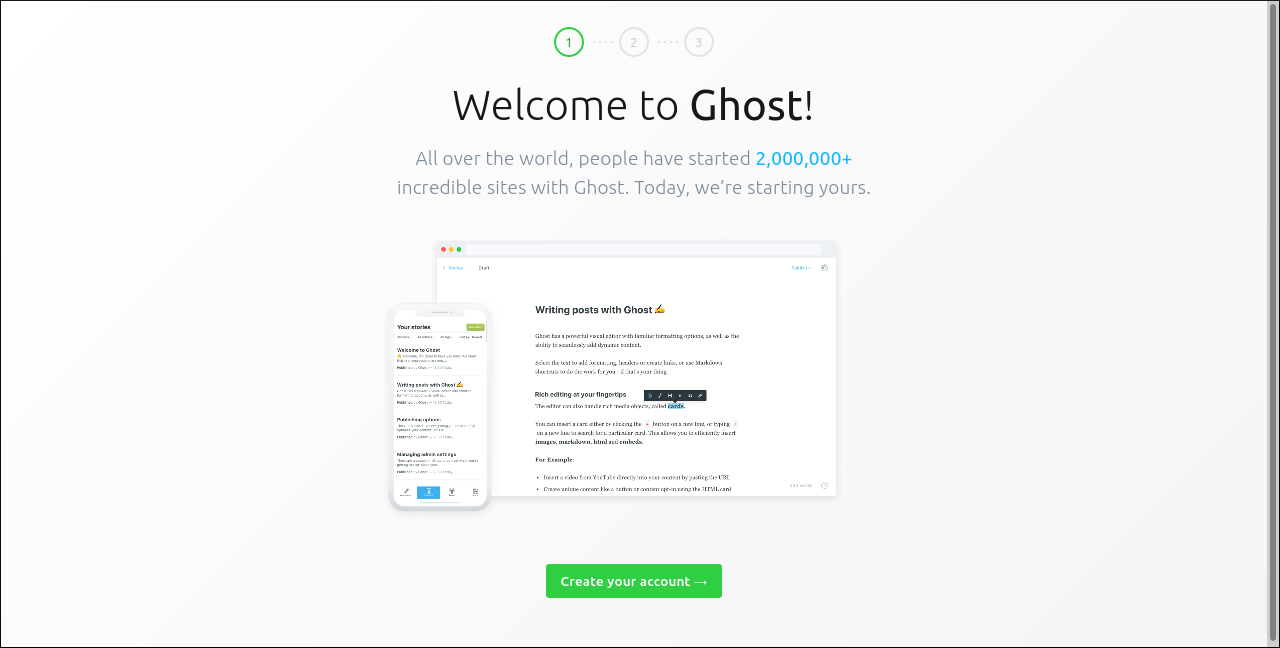
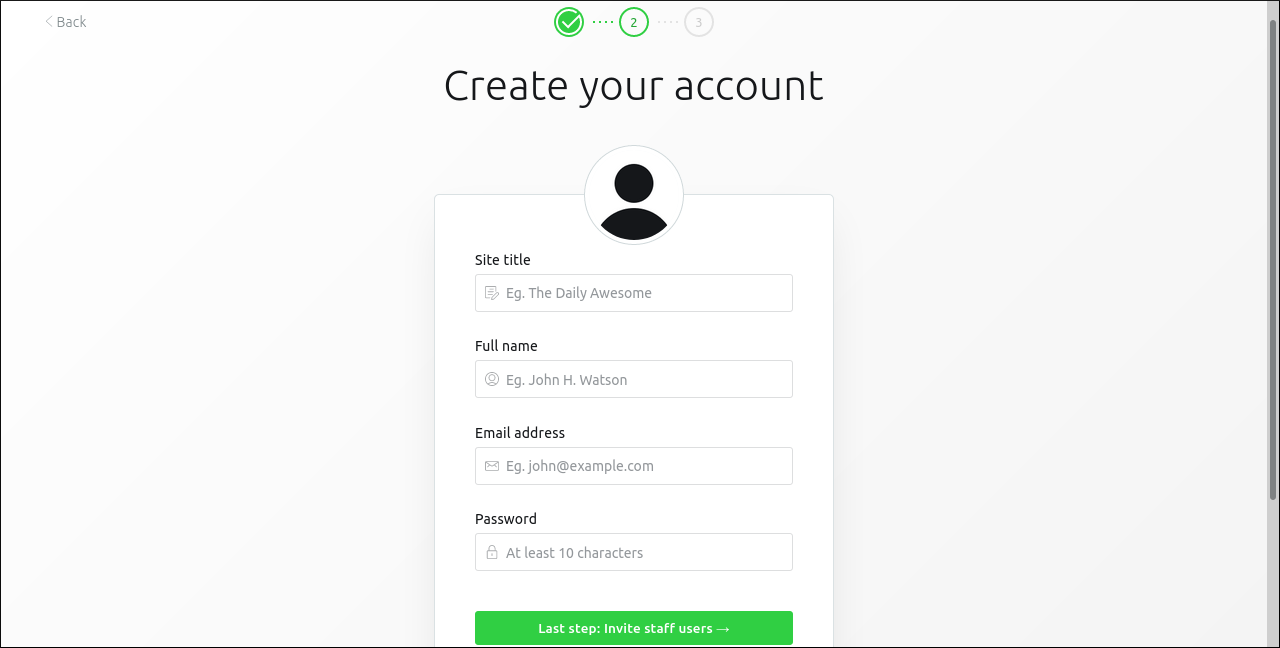
This will bring up Ghost on its default port of 2368. Visit http://localhost:2368 to view your site or http://localhost:2368/ghost to access the Ghost admin panel. You'll need to supply some first-run settings to finalize your Ghost installation and create an initial user account.
This approach is great for quick experimentation if you're just trying out Ghost. However, we haven't set up persistent storage yet so your data will be lost when the container stops.
Here's a more complete example that uses Docker Compose to set up Ghost with a Docker volume. Mount a volume to the /var/lib/ghost/content directory to store Ghost's data outside the container.
version: "3"

            services:

             ghost:

             image: ghost:4

             ports:

             - 8080:2368

             environment:

             url: https://ghost.example.com

             volumes:

             - ghost:/var/lib/ghost/content

             restart: unless-stopped

            volumes:

             ghost:
This Compose file exhibits a few other changes to the container's configuration. Port 2368 that's exposed by the container is mapped to port 8080 on your host, letting you use localhost:8080 to access Ghost. The restart policy is changed to unless-stopped to ensure your site comes up automatically after your host reboots.
Now use Compose to bring up your site:
docker-compose up -d
Configuring Ghost
Ghost supports several configuration parameters to customize its operation and set up your site. When you're using Docker, you can supply these values as environment variables.
Ghost's config files use nested JSON objects to store values. You can convert JSON keys to their environment variable counterparts by replacing each tree level with __ (double underscore) characters:
# in a JSON config file

            {

             "mail": {

             "transport": "SMTP"

             }

            }

            # as an environment variable

            mail__transport=SMTP
Use the environment field in your docker-compose.yml file to supply these parameters to your Ghost container:
version: "3"

            services:

             ghost:

             environment:

             mail__transport: SMTP
Refer to the Ghost documentation for an exhaustive list of supported options. You can set up a mail system, use a separate URL to access the admin panel, override directory paths and toggle privacy options via the available environment variables.
The url option is particularly important as it's required for live production sites. This defines the URL which external visitors will use to access your site. Set this to your site's domain name in your docker-compose.yml:
environment:

             url: https://ghost.example.com
Using an External Database
Ghost defaults to using a SQLite database that's stored as a file in your site's content directory. It'll be persisted as part of the Docker volume created above. You can use an external MySQL database instead by supplying connection details via database-prefixed environment variables:
services:

             ghost:

             # ...

             environment:

             database__client: mysql

             database__connection__host: ghost_mysql

             database__connection__user: root

             database__connection__password: databasePw

             database__connection__database: ghost

             ghost_mysql:

             image: mysql:5.7

             expose:

             - 3306

             environment:

             MYSQL_DATABASE: ghost

             MYSQL_ROOT_PASSWORD: databasePw

             volumes:

             - mysql:/var/lib/mysql

             restart: unless-stopped

            volumes:

             mysql:
This Compose file includes another service that runs MySQL in an additional container. Environment variables are set on the Ghost service to supply the MySQL connection details. A separate mysql volume is created to persist the database storage files.
Compose automatically links services into a Docker network. Ghost can reach the ghost_mysql container by using the service name as a hostname. If you want to use an existing non-Dockerized MySQL database, you can remove the ghost_mysql service definition and supply your MySQL server's IP address, database schema name, and user credentials instead.
Proxying Traffic to Your Container
Now your Ghost site should be operational but it's still exposed on port 8080. If you won't be running anything else on your host, you could bind port 80 or 443 instead to make it directly accessible via your server's domain name. In other situations, use a reverse proxy such as NGINX to forward traffic from the web to your Ghost container.
Add NGINX to your host:
sudo apt update

            sudo apt install nginx

            # Allow HTTP/HTTPS traffic through the firewall

            sudo ufw allow 80

            sudo ufw allow 443
Define an NGINX host for your site in /etc/nginx/sites-available/ghost.example.com:
server {

             server_name ghost.example.com;

             index index.html;

             access_log /var/log/nginx/ghost_access.log

             error_log /var/log/nginx/ghost_error.log error;

             location / {

             proxy_pass http://127.0.0.1:8080;

             proxy_redirect off;

             proxy_set_header Host $http_host;

             proxy_set_header X-Original-IP $remote_addr;

             }

            }
This file configures NGINX to forward traffic to ghost.example.com through to port 8080 on localhost, which was previously bound to your Ghost container. Enable the new config file by linking it into NGINX's sites-enabled directory:
sudo ln -s /etc/nginx/sites-available/ghost.example.com /etc/nginx/sites-enabled/ghost.example.com
Restart NGINX to apply your changes:
sudo service nginx restart
Now you can set up SSL with the free Let's Encrypt service. Add Let's Encrypt's Certbot to automate certificate issuance and renewal:
sudo apt install certbot
Use Certbot to obtain certificates for your NGINX site:
sudo certbot --nginx
Certbot will read your NGINX sites and generate certificates for their server_name config fields. It'll automatically reconfigure NGINX to serve the certificate with your site. You should now be able to access your Ghost blog by visiting your domain name over HTTPS.
While we've focused on NGINX in this article, there are other options for proxying web traffic through to your Ghost container. Traefik is a leading contender that's got first-class support for Docker. Deploying a Traefik instance would let you configure routing and automatic SSL via Docker labels you'd set on your Ghost container.
Managing Ghost Updates
You can update Ghost by replacing your site's Docker container with a new one running an updated version of the Ghost image. As your site's content is safely stored in a separate Docker volume, it'll be retained when the volume is reattached to the new container.
If you're tagging a major image version in your docker-compose.yml, such as ghost:4, you can update to the latest minor release by running docker-compose up with the --pull flag:
docker-compose up -d --pull
This instructs Compose to check for changes in the image tag and pull an updated version when available. It'll replace your containers with new instances using the latest image version that matches the tag.
When you want to change the tag you're using, update the image reference in your docker-compose.yml file. Repeat docker-compose up -d to pull the image and start new containers. As an example, if Ghost v5 releases in the future, you could change your docker-compose.yml to image: ghost:5 to move to the new major version.
Docker makes it easy to obtain Ghost updates by pulling the latest image and replacing your containers. Nonetheless you should still pay attention to the changes you're applying. Consult the Ghost changelog before taking a major upgrade in case you need to take extra steps to complete the migration.
Using ghost-cli
ghost-cli is available within the Ghost Docker image. This utility is used to set up and maintain Ghost when it's installed in traditional non-containerized environments.
You can access ghost-cli through Docker by using the ghost command with docker exec. Here's an example that uses the version sub-command to reveal the Ghost release you're using:
docker exec -it my-ghost-container ghost version
Although many ghost-cli components will work, some are unsupported in Dockerized environments. Commands such as install, setup, update, and uninstall are either broken, meaningless, or contrary to best practices when used with Ghost's Docker image. Ghost and all its dependencies are built into the image and don't need to be "installed;" updates should be applied by starting a new container, as shown above.
Summary
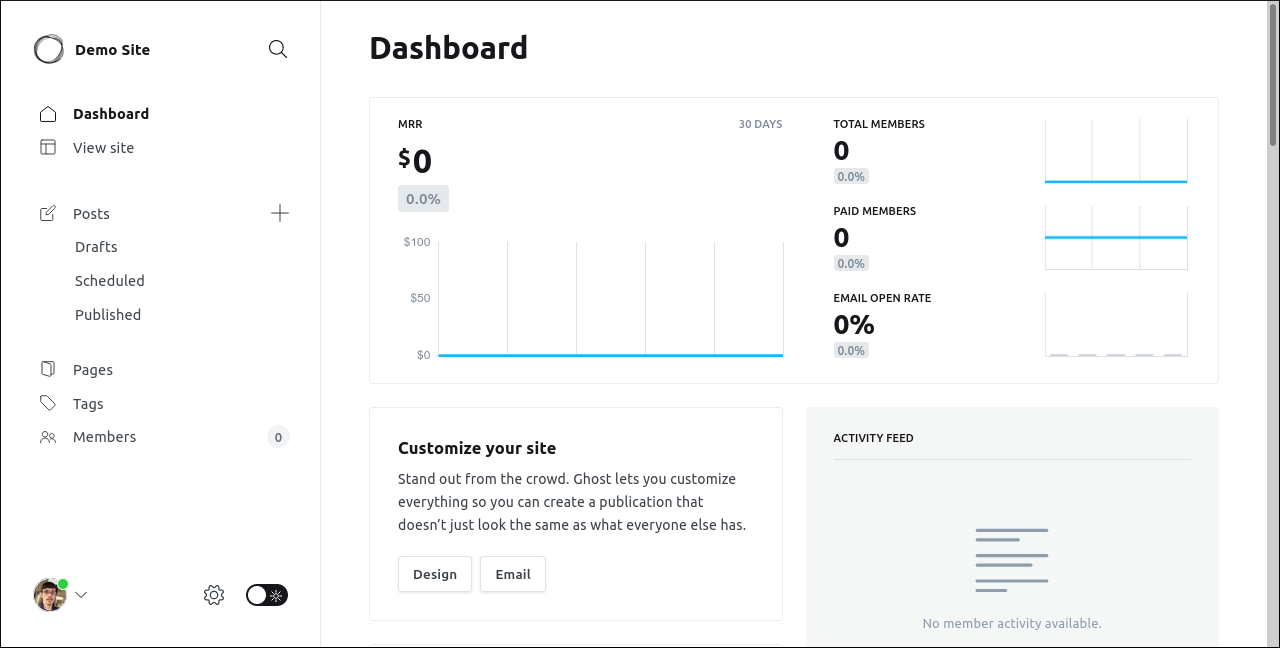
Ghost is a modern blogging platform that offers a clean dashboard, rich content creation capabilities, and advanced theming and customization support. Using Docker to host Ghost simplifies the setup procedure, reduces the number of OS packages you need, and helps make your site more portable across environments.
Once your Dockerized blog is operational, use the standard Ghost development documentation to manage your site and its content. You can set up memberships, newsletters, custom themes, and API integrations using the platform's built-in features.


