In software development, it seems that no matter where you go, no matter who you talk to, containers are the new normal. If you're not developing them or migrating your application already, you're building supporting systems that use them to support a legacy application. Containers are everywhere.
However, this means that as an engineer, you will need to put your containers somewhere. In the old days, this meant building an artifact of some kind, whether a binary or an archive, then writing it to a disc or a file share and distributing it. In the container ecosystem, it's going to be a container registry, and the artifacts you build are going to be container images.
Ideally, a container registry would be somewhere secure that could automate some of the work for you, such as container scanning and trigger actions on each commit or on a schedule. Fortunately, Azure has you covered with all of the above with the Azure Container Registry, or ACR for short.
Prerequisites
To follow along, you'll need the following:
- An Azure Account
- A container to push and pull from the repository
- (Optional) A PowerShell terminal that's authenticated to Azure or a CloudShell instance
The container doesn't have to be anything more than
hello-world
because this is a tutorial about container registries, not containers themselves. If you're not familiar with Docker or containers, you can learn more about them here.
Creating the Registry
The first thing you'll need to do is create a registry, first using the Azure Portal, then using Azure PowerShell.
Using the Portal
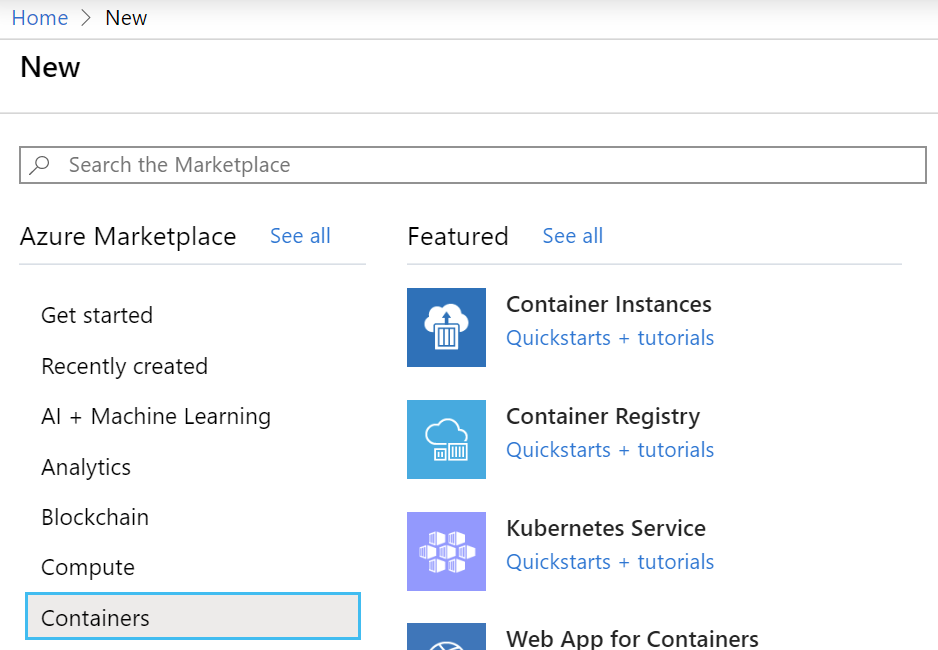
Go to "Create A Resource," then look under Containers > Container Registry.
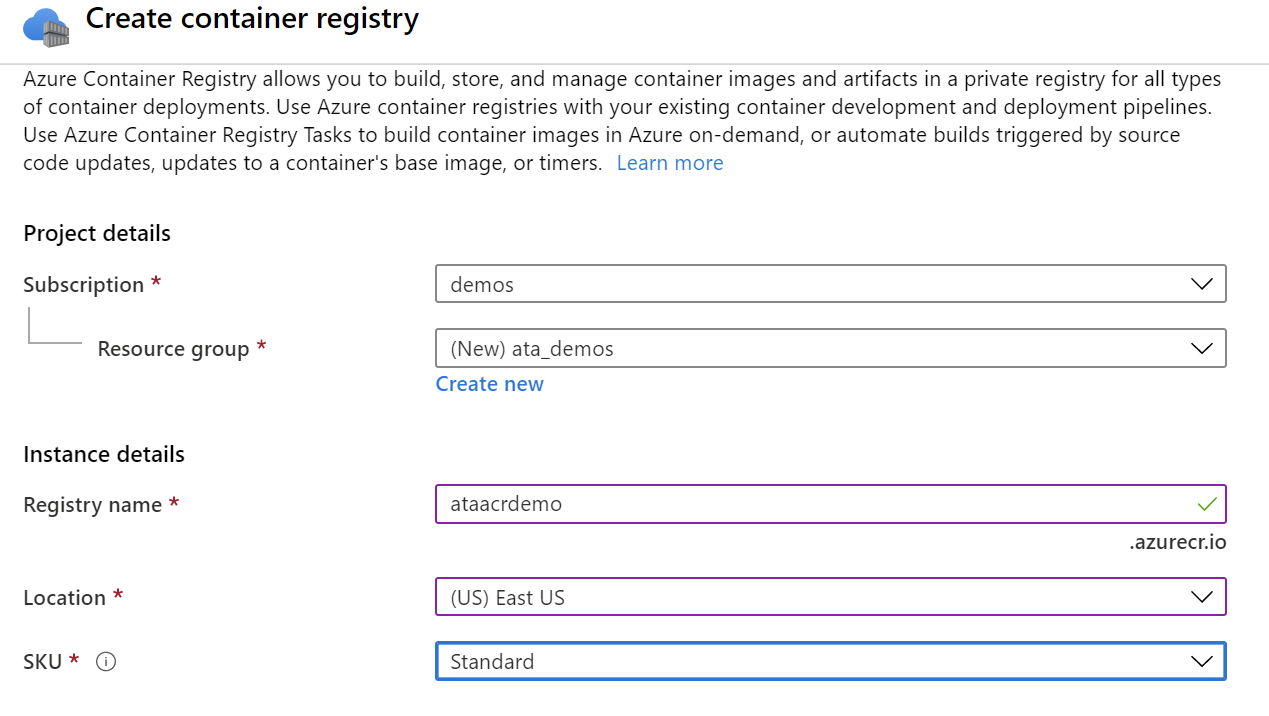
You'll then be asked to fill out some information about which storage account and subscription to put the registry in. It's considered a best practice to put the registry in the same region that you'll be deploying containers to.
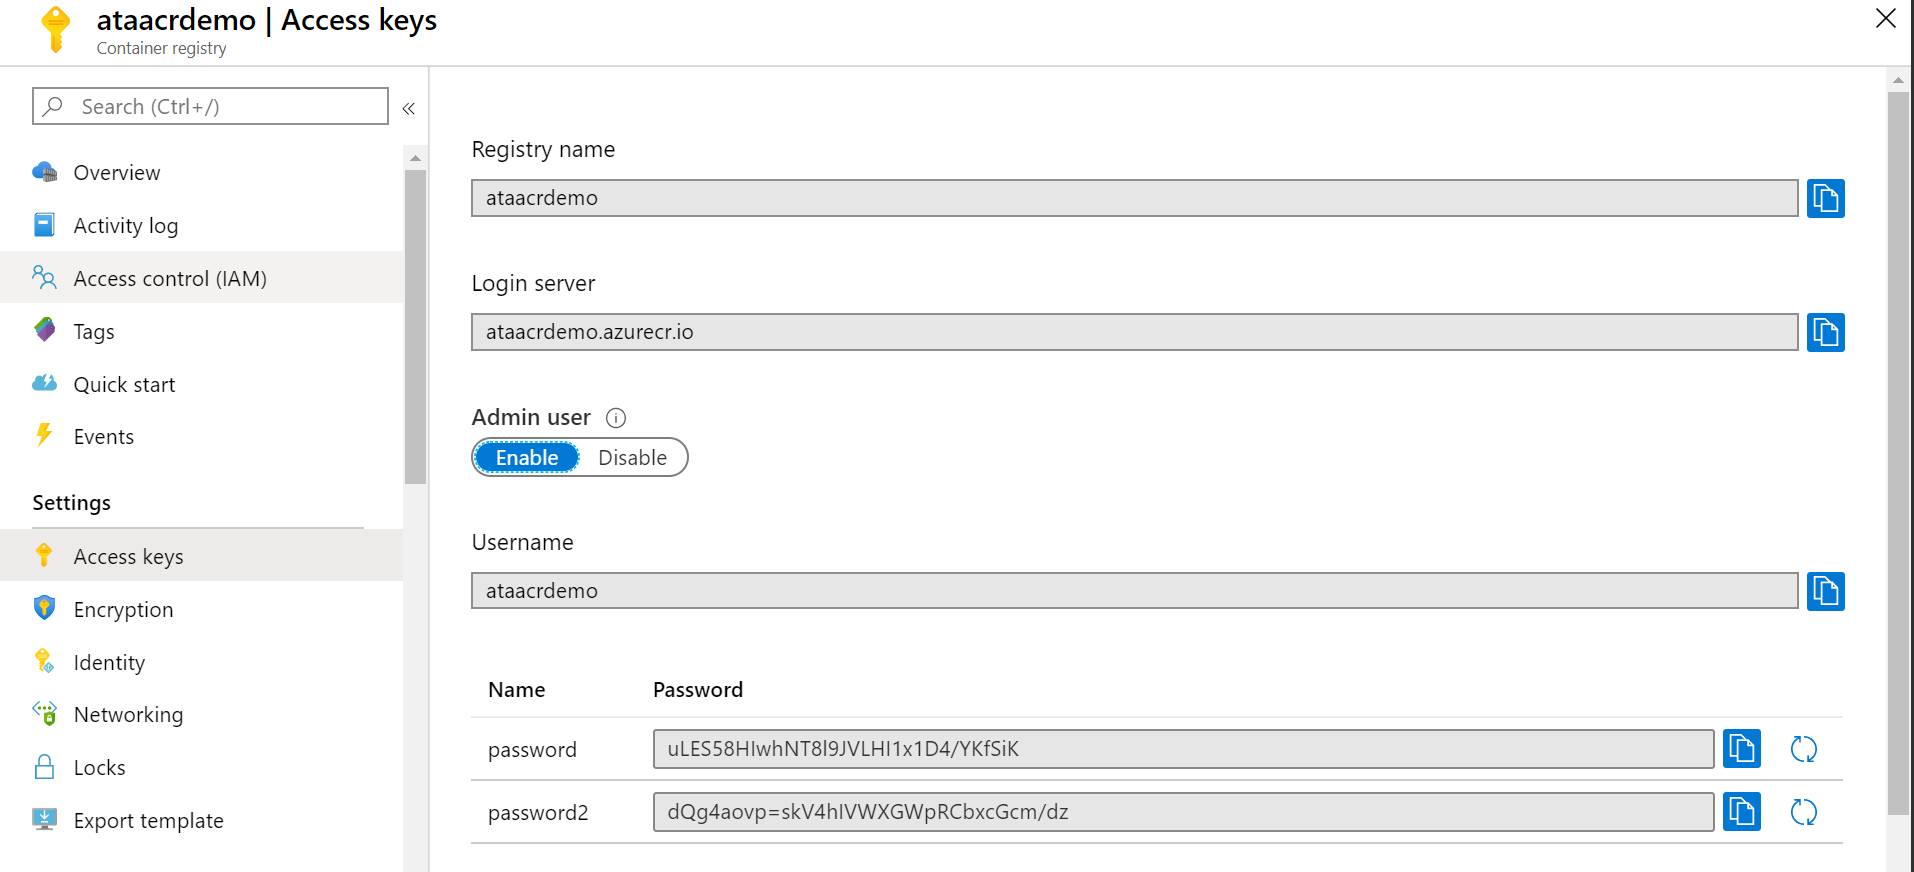
Once it's provisioned, go to the resource page and look for the "Access Keys" tab. From here, make sure to enable the "Admin User" option so you can log in using the CLI later on.
Using Azure PowerShell
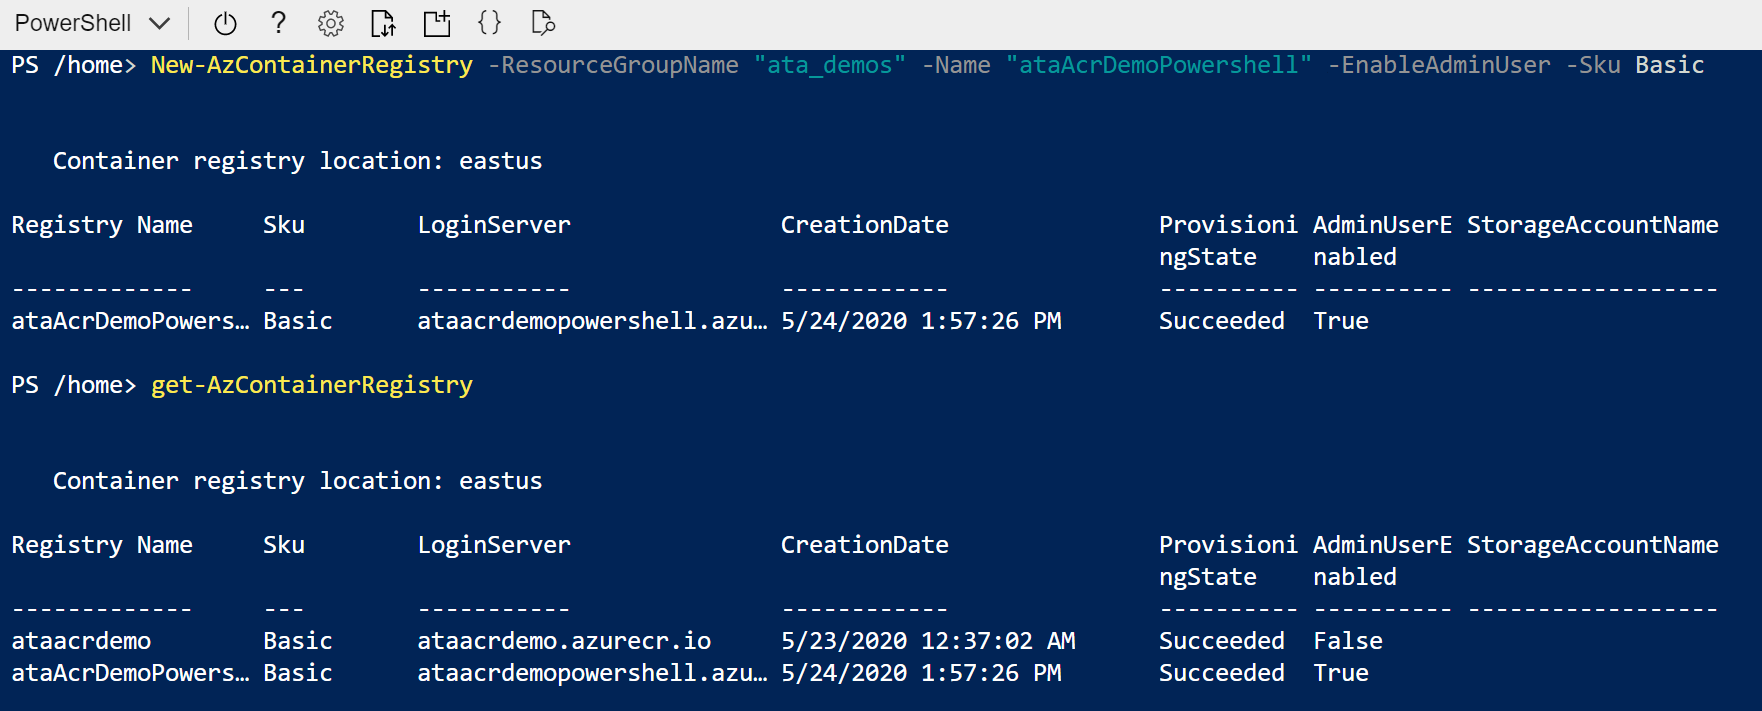
With Azure PowerShell, this is done with one line, either on a CloudShell instance or a locally authenticated PowerShell console with the Azure PowerShell module installed.
New-AzContainerRegistry -ResourceGroupName <Resource Group Name> -Name <Registry Name> -EnableAdminUser
You can then use the
Get-AzContainerRegistry
cmdlet to list the registries associated with your tenant. You'll still need the LoginServer property to push your image to the registry, but you can pull this from Azure PowerShell shown in the rest of the demo.
As long as you included the
-EnableAdminUser
flag, you'll also be able to use the
Get-AzContainerRegistryCredential
cmdlet to get the login credentials for the next step.
Pushing the Image to ACR
Now that the registry and the user for it are set up, it's time to log in and push an image to it. You can log in by using the
docker login
command. If you're using a script, make sure the credentials aren't displayed in plain text, by passing them like this, or using Azure Key Vault.
        # Azure PowerShell

$RG_NAME  = <Resource_Group_Name>
$ACR_NAME = <Registry_Name>

$registry = Get-AzContainerRegistry -ResourceGroupName $RG_NAME -Name $ACR_NAME
$creds = Get-AzContainerRegistryCredential -Registry $registry
$creds.Password | docker login $registry.LoginServer -u $creds.Username --password-stdin
If you are doing it manually, then just running docker login <RegistryURL> and replace "<RegistryURL> "with the value from "Login Server" under the Access Keys tab from earlier, then the admin username and password.
Now that you're logged in, you can push and pull container images from the repository as much as you like. Once you have built or pulled a container locally, use the docker tag command to add the registry URL and version tag to the image, then the docker push command to push it to ACR. It should look something like this:
        # Docker CLI

docker tag <Image_Name> <Registry_URL>/<Image_Name>:<Version_Tag>
docker push <Registry_URL>/<Image_Name>:<Version_Tag>
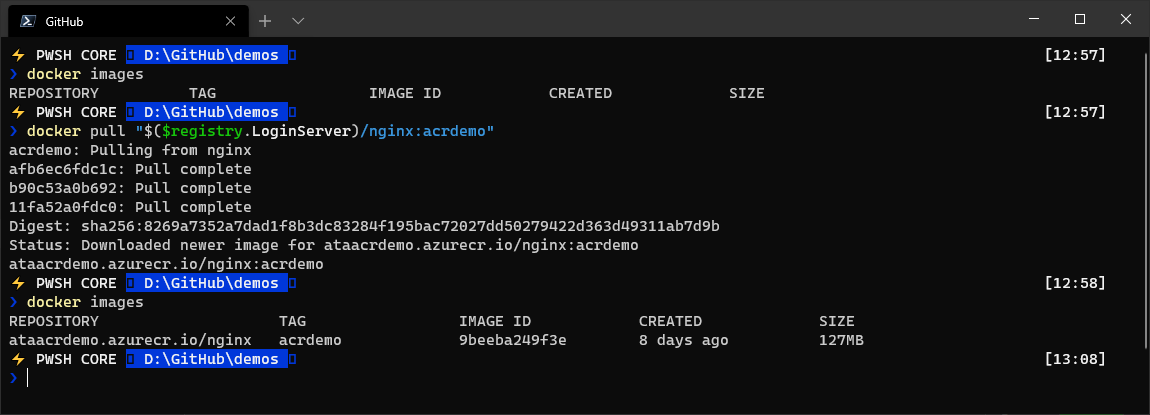
With the image in ACR, you can use the docker pull from any authenticated device to pull the image down and run it.
Summary
By now, you should be familiar with how to set up a registry in ACR using the Azure portal or Azure PowerShell, as well as how to push and pull containers from it.
From here, you can look into enabling Container vulnerability scanning with Azure Security Center or automation using ACR Tasks.


