Quick Links
Key Takeaways
To back up your Steam Deck's data, follow this process:
- Download Clonezilla and copy it to a USB flash drive.
- Boot into Clonezilla Live Environment with an external drive connected.
- Go through the Clonezilla setup process.
- Clone your Steam Deck's internal SSD to the external drive.
Creating backups of your data is smart on any device, and the Steam Deck is no exception. Clonezilla is the perfect tool for backing up your Steam Deck; it's a powerful partition, disk imaging, and disk cloning tool that's simple to use. You can perform the entire procedure in less than an hour.
What You'll Need
In order to back up your Steam Deck with Clonezilla you'll need some tools listed below.
First of all, you'll need a USB flash drive with at least 1GB of storage space for the Clonezilla live environment since it takes about 500 megabytes when unzipped. Next, you'll need an external hard drive or an SSD that matches or surpasses your Steam Deck's internal SSD size.
We used an old Samsung 850 EVO 512GB SSD which we put inside an external SSD enclosure.
Next, you need a USB-C dock that includes at least three USB ports: one for the Clonezilla USB drive, one for the storage drive, and a third one reserved for a keyboard. Yep, a keyboard's also needed since you'll have to type a bit during the backup process.
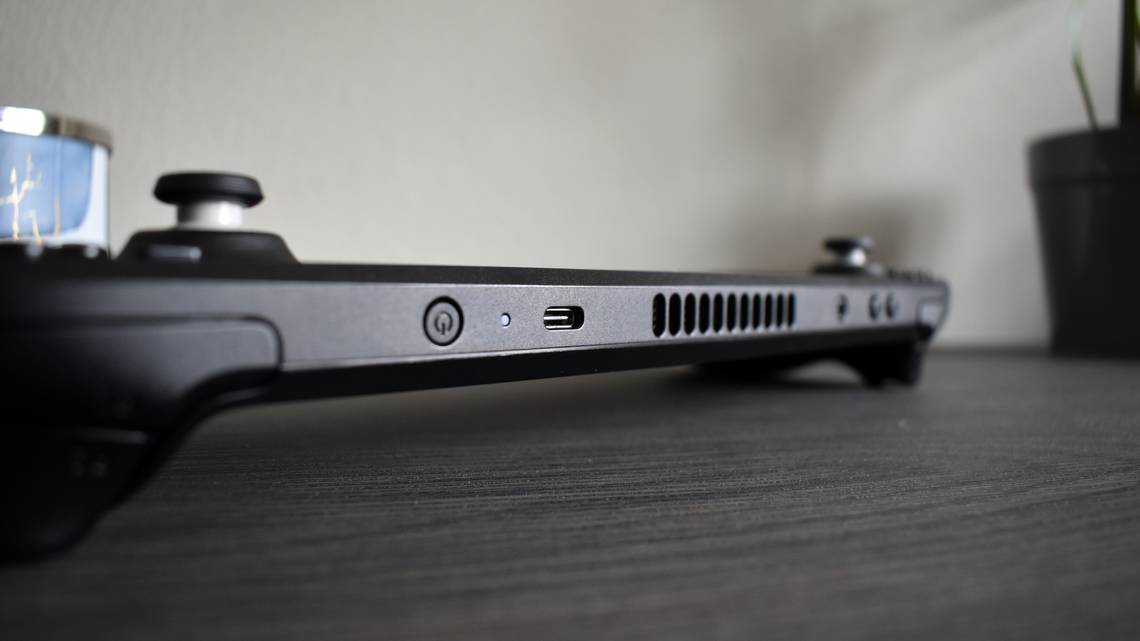
If you use an SD card with your Steam Deck, remove it before you start the backup process so you don't get confused when picking the storage drive to back up. Finally, make sure the Steam Deck's battery is at or near 100 percent since the process can take a while.
Download Clonezilla and Copy It to a USB Drive
The first thing you should do is download Clonezilla and copy the contents of the zipped archive to your USB drive.
Go to the Clonezilla website and click the "Download" button.

Once on the Download page either select the "Stable" or "Alternative Stable" download option.

After you arrive at the next page, pick the following download parameters: "AMD64" for the CPU architecture, "zip" for the file type, and "Auto" repository. Next, click the "Download" button.

Once you've downloaded Clonezilla, hook your USB drive to your PC. If the drive isn't formatted already, do that now. On Windows, you can format the drive by right-clicking it in Windows Explorer and selecting the "Format" option.
If you're not using Windows, learn how to format USB drives on Mac or format a drive with Linux.
Ensure that the "Quick Format" is ticked, and then click the "Start" button.
After you format your USB thumb drive, right-click the Clonezilla zip archive and select the "Extract Files..." option. You can use WinRAR, 7-Zip, or any other zip tool you prefer.

Then, locate your USB flash on the next window, click it, and hit the "Ok" button.

Wait for the entire content of the archive to extract, and once the extraction procedure is finished, it's time to boot into Clonezilla on your Steam Deck. Safely remove the USB stick and prepare other tools.
Boot Into Clonezilla and Clone Your Steam Deck's Internal SSD
Step 1: Select Clonezilla Live Environment from the Steam Deck Boot Manager
The first thing you should do is turn your Steam Deck off. Just hold the power button and select "Shutdown." Once the fan and the screen are turned off, hook the USB dock to the Deck and then connect the USB stick, external storage, and keyboard to the USB dock.
Once everything's connected, hold the volume down button and then press the power button. Once the familiar Steam Deck boot sound plays, release both buttons, and you should see the Steam Deck boot manager menu. You can use the D-pad to move around, the "A" button for confirmation, and the "B" button to go back or cancel actions.
You should have a bunch of boot devices listed in the boot manager. Select the device listed as "Linpus Lite" and press the "A" button.

Your Steam Deck should boot into the Clonezilla live environment now.
Step 2: Boot Into Clonezilla and Perform the Setup Procedure
Once the Deck reboots, the display will switch to portrait mode. It will switch back to landscape after you set up the keyboard options. Don't forget that you can now use "Enter" to confirm choices and the arrow keys to move around. Also, Clonezilla will sometimes inform you to use other keys on your keyboard for selection and confirmation, or to skip certain screens.
The first option is picking which version of Clonezilla Live you want to run. Unless you have a special case, just pick the first option and move on.

The next two options are for selecting language and the keyboard layout; just pick the options you want and confirm with the "Enter" key or the "A" button on your Deck.

After you set up the language and keyboard, the screen should return to landscape orientation. The next window is for starting Clonezilla. Again, pick the first option and press "Enter" or the "A" button.

Next, pick the "Device-image" option and continue.

The following screen lets you choose where the clone image will be saved or read from. Pick the first option on the list, "Local_dev" since we're backing up files locally.

After this, Clonezilla will notify you to mount the external SSD or HDD and wait about five seconds for the system to recognize it. Since you already have the external storage connected, press "Enter" to continue.

The next screen lists your storage devices; press Ctrl+C on your keyboard to skip it.

You should select your external storage drive in the following dialog window. Locate it, select it with the D-pad or arrow keys, and press "Enter" or the "A" button to continue. As you can see below, we selected our Samsung 850 EVO SSD, which is clearly marked.

Next, Clonezilla will offer you the option to check your storage drive's file system. We skipped this since we know the SSD is working correctly.

The following screen lets you select Clonezilla's image repository folder. The default option uses the root folder of the external storage device; we recommend not changing anything here. Hit the "Tab" key on your keyboard to move to the "Done" button, press "Enter" and then press "Enter" another time to move to the next dialog window.

The following dialog window lets you pick the mode; choose the "Beginner" mode (since it will work for the full and basic back up we want) and hit "Enter."

After that, select the "Savedisk" option in the following window since we want to clone the entire internal SSD to our external SSD.

Step 3: Clone your Internal SSD to an External Storage Drive
Now, it's time to start the disk cloning process, However, before Clonezilla starts the back up procedure, you have to pick another slew of options.
The screen that opens after you select the "Savedisk" option lets you rename the backup image. You can leave it at default or rename it if you prefer. If you choose to rename the image note that you cannot use spaces. Use underscore instead of the "Space" key.

Next, pick the local disk source for the backup. If you've removed your SD card, you should only have one option --- Steam Deck's internal SSD. If you have your SD card slotted, don't select it by mistake. Just look for the disk that has the "Nvme" label to the left, or if they're both labelled that way, use the size or brand info listed in the description to figure out which is which.
You should first select the SSD with the arrow keys. Next, press the "Space" key to mark your selection. Once you see an asterisk ---*--- next to the selected disk, you're good to go. Press "Enter" to move to the next option.

The following window lets you choose the compression option. Pick the first one and move on.

Next, Clonezilla will again ask you to check your external storage drive's file system. Unless you have doubts about your drive's integrity, you can skip the check.

The following window asks whether you want to check the cloned image afterward. We recommend picking the "Yes, Check the Saved Image" option since you don't want to have a corrupted backup image of your Steam Deck. It'll take about 15-20 minutes for Clonezilla to check the clone image after it finishes creating it.

Next, you can pick whether to encrypt the cloned image. We opted not to encrypt the image, but you can choose encryption if you're concerned about security.

Now, you can select which action Clonezilla will perform after it creates the cloned image. We selected "Poweroff" but you can pick whichever option you like. After you've selected the action, press "Enter" to confirm the choice, and then press "Enter" again.

Next, Clonezilla will ask you whether you want to continue with the cloning process. Press "Y" on your keyboard and then press "Enter" if needed to start the cloning procedure.

The disk cloning process lasts for about 20 minutes. You'll also have to wait another 15-20 minutes if you've selected Clonezilla to check the created image. All in all, it should take you less than one hour to go through the entire procedure.

You should keep your Clonezilla USB drive around for when you need to restore your data or create a new backup. Otherwise, you'll have to create a new boot drive.
How to Restore Your Steam Deck Internal SSD with Clonezilla
Once Clonezilla clones your Steam Deck's SSD you can restore the clone image to your Steam Deck's internal SSD the same way you created it. Hook the USB hub and connect your Clonezilla boot drive, external storage with the backup, and the keyboard. Also, ensure your Steam Deck's battery's charged or hook the device to a charger if you have a USB-C Power Delivery (USB PD) port available on your USB hub.
Step 1: Boot Into Clonezilla Live Environment
Once your Deck's turned off, repeat the process of booting into the Clonezilla live environment we explained in the "Select Clonezilla Live Environment from the Steam Deck Boot Manager" section.
Step 2: Go Through the Setup Process
After your Deck boots into Clonezilla, repeat the setup process shown in the "Boot Into Clonezilla and Perform the Setup Procedure" section up until you arrive at the mode selection window.
Once there, instead of picking the "Savedisk," select the "Restoredisk" option since now we want to restore the backup we've already created.

Step 3: Restore Your Steam Deck SSD
The next window will let you select which image to restore. Since we had only one image, we didn't have much choice.
Next, pick the storage drive you want to restore the image to. This should be your Steam Deck's internal SSD. Locate it, select it with the D-pad or the arrow keys, press the "Space" key, and look for an asterisk ---*--- next to the storage drive. Then press "Enter" to continue.
The following window asks you whether you want to check the clone image before Clonezilla restores it. We recommend checking the image, just in case.

If you've upgraded to a larger SSD, Clonezilla will ask you whether to use the partition table from the cloned image, or to create a new partition table and increase the size of the partitions to match the size of the new SSD.
Select the first option, the one that reads "-k0 Use the partition table from the image." SteamOS will automatically increase the size of the "Home" partition---the main partition that hosts the OS and your games---to match the space of the new storage drive.

The final window before the restoration procedure starts is selecting the action Clonezilla will perform after restoring the image. Pick whichever you want and hit "Enter" to continue.

Now, the restoration process will start. It takes longer than the cloning process since Clonezilla has to unzip the image. We waited about half an hour, but you could wait longer if you have a slower storage drive or if you instructed Clonezilla to check the image before it restores it.
That's it! Now you know how to back up your Steam Deck and how to restore the backup image.
If you've ever thought about trying Microsoft's operating systems on your Steam Deck, check out our complete guide to installing Windows on a Steam Deck.