Quick Links
Key Takeaways
To connect a Switch Pro Controller or third-party controller to your Nintendo Switch, use the "Sync" button or the USB-C charging cable. To connect Joy-Cons to your Nintendo Switch, use the "Sync" buttons or slide them into your Nintendo Switch's sides.
There are multiple ways to connect a wireless controller to your Nintendo Switch. Regardless of whether you're using Joy-Cons, a Switch Pro Controller, or a third-party controller, connecting your controller is simple.
How to Connect a Switch Pro Controller to Your Nintendo Switch
There are two ways to connect a Switch Pro Controller to your Nintendo Switch: wirelessly with the "Sync" button and with a USB-C cable.
However, for some third-party controllers that imitate the Switch Pro Controller, you may only have one option: using the "Sync" button or that third-party controller's unique equivalent.
How to Connect a Switch Pro Controller Wirelessly
To wirelessly connect your Switch Pro Controller to your Nintendo Switch, go into the Controllers menu at the bottom of your Nintendo Switch's screen (the icon has an image of a Joy-Con controller). Next, select "Change Grip/Order."

At this point, you need to press and hold (long-press) the "Sync" button to connect your Switch Pro Controller to your Nintendo Switch. The "Sync" button is located at the top of your controller; next to the USB-C port.

After you let go of the "Sync" button, you'll see your Switch Pro Controller's icon appear on-screen. Press the A button to confirm the connection and you're done. This method also works with the Nintendo Switch Lite.
How to Connect a Switch Pro Controller with a USB-C Cable
If you want to connect a wireless controller to your Nintendo Switch without the "Sync" button, all you need to do is connect your Switch Pro Controller and your Nintendo Switch with the USB-C cable that came with your Switch Pro Controller.

First, plug the USB-C end of the cable into the USB-C slot on top of your Switch Pro Controller. Then, plug the USB-A (also known simply as USB) end of your cable into one of the USB-A ports on your Nintendo Switch's dock.

Once you do this, your Switch Pro Controller automatically connects with your Nintendo Switch. The USB-A ports (there are two of them) are on the bottom-left side of your Nintendo Switch's dock. The Nintendo Switch (the tablet part) must be in the dock for this charging cable connection method to work.
How to Connect a Third-Party Controller to Your Nintendo Switch
Many third-party controllers act the same as Switch Pro Controllers in regards to connecting them to your Nintendo Switch wirelessly. However, sometimes third-party controllers have different buttons.
For example, the "Sync" button and the "Home" button may be combined into a single button unique to that third-party controller. As such, you can use the wireless connection method mentioned above to get the same results as a Switch Pro Controller for your third-party controller---as long as your third-party controller has a "Sync" button of some kind.
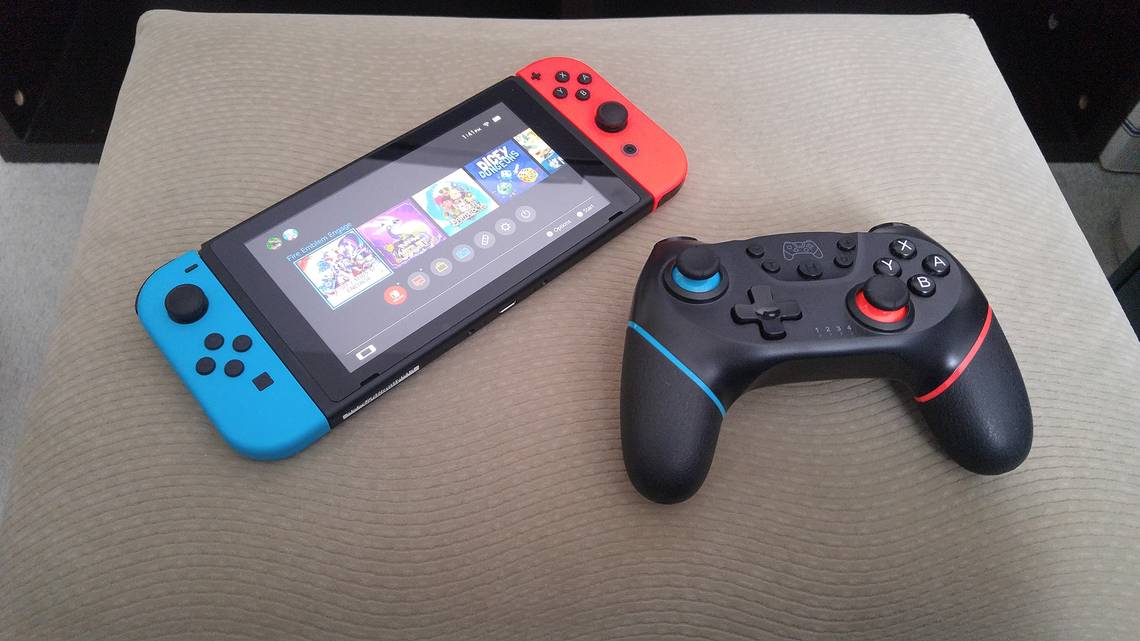
With that said, some third-party controllers cannot use a USB-C charging cable to connect to your Nintendo Switch. We tested the Sefitopher Wireless Pro Controller (pictured above) and it could not connect to our Nintendo Switch with a USB-C charging cable---despite charging the controller's battery.
How to Connect Joy-Cons to Your Nintendo Switch
Like with the Switch Pro Controller, there are multiple ways to connect your Joy-Cons to your Nintendo Switch. Though, the Joy-Cons have even more options!
You can use the "Sync" buttons, slide them into a Joy-Con grip and press any buttons, or attach them directly to your Nintendo Switch.
How to Connect Joy-Cons Wirelessly
To wirelessly connect your Joy-Cons to your Nintendo Switch, start by going into the Controllers menu. Then, select Change Grip/Order.
Following this, press and hold (long-press) the "Sync" button on both Joy-Cons. The "Sync" buttons for the Joy-Cons are located on their respective flat sides between the SL and SR buttons. Now, let go of the "Sync" buttons.

Afterward, you must press the L button on the left Joy-Con (the one with the "-" symbol at the top) and the R button on the right Joy-Con (the one with the "+" symbol at the top).

Alternatively, you can use the ZL and ZR buttons at this point. Lastly, press the A button on the right Joy-Con to confirm the connection. This sets up your two Joy-Con controllers to work together as if they were one controller.
How to Connect Joy-Cons to Your Nintendo Switch with the Joy-Con Grip
This process works a bit differently if you've inserted your Joy-Cons into a Joy-Con grip. Instead of pressing the "Sync" buttons on each Joy-Con, you can press any button on either Joy-Con to get them to connect with your Nintendo Switch.

Following this, you still need to press either the L and R buttons or the ZL and ZR buttons. Lastly, like before, press the A button on the right Joy-Con to complete the connection.
How to Connect Joy-Cons to Your Nintendo Switch Separately
You can also connect each Joy-Con separately, which lets you use a pair of Joy-Cons as two controllers instead of one. To do this, go to the Controllers menu and then select Change Grip/Order.
Then, long-press the "Sync" button on one of your Joy-Cons. After releasing the "Sync" button, press the SL and SR buttons on only that Joy-Con's flat side.

This results in one Joy-Con being connected to your Nintendo Switch by itself. Do the same with your other Joy-Con and you'll have two independent controllers connected to your Nintendo Switch.

This is a great way to locally play games with someone else without having to buy additional controllers. You can also connect your Joy-Cons to your PC, but the method of doing so requires using Bluetooth.
How to Attach Joy-Cons to Your Nintendo Switch
If you want to connect your Joy-Cons to your Nintendo Switch in a non-wireless way, you have to slot the Joy-Cons into either side of your Nintendo Switch.

Grab your Nintendo Switch (the tablet part) and look at its left and right sides. You'll see grooves on both sides. Hold the left Joy-Con so that its flat side is facing the left side of your Nintendo Switch.

Using a downward motion, slide the left Joy-Con gently into the top of your Nintendo Switch's left groove. When it's fully in place, you'll hear a small click.
Do the same to the right Joy-Con on the right-side groove of your Nintendo Switch and you're done! Now that your Joy-Cons are connected to the body of your Nintendo Switch, you can use it as a handheld console.

How Many Controllers Can You Connect to a Nintendo Switch?
You can connect up to eight controllers to your Nintendo Switch. This includes Switch Pro Controllers, Joy-Cons, Gamecube controllers, and third-party controllers. This is true both when your Nintendo Switch is connected to a TV and when it is not.
With that said, each Joy-Con counts as its own controller---even when paired together. While you can connect a total of eight Joy-Cons to your Nintendo Switch, if you pair them all, only four players can play together. However, if you connect eight Joy-Cons separately, you can have up to eight players play together.

You can mix and match controllers as well. For example, you can connect two Joy-Cons as one controller and then connect six Switch Pro Controllers to one Nintendo Switch. Keep in mind that this example results in a maximum of seven players being able to play together on one console (one player using a pair of Joy-Cons and the other six using Switch Pro Controllers).
For more examples of multiple-controller setups for your Nintendo Switch, consult Nintendo's official support page on this topic.