Quick Links
Key Takeaways
- Go to DigitalOcean and create an Open VPN Access Server droplet.
- Choose a region and data transfer amount.
- Set a password and server name, then use the new server's IP address to install OpenVPN via SSH tunnel.
- Log into your OpenVPN admin page to complete the setup and download the VPN client.
If you're not sure you can trust commercial VPNs, one alternative is to set up a VPN for yourself using a virtual private server, or VPS. With some know-how, you could be up and running in just a few minutes and for just a couple bucks.
Why Build Your Own VPN?
Setting up your own VPN is cutting out the middleman in a way: there's no VPN service to pay, nor do you have to take on faith that they will destroy your logs---the records that show which sites you connected to and when. A DIY VPN is a guarantee that nobody will know what you're doing online, if you set it up properly, at least.
Why You May Not Want to Set Up a VPN Over VPS
That said, there are also some good reasons to not set up your own VPN. For one, while it's simple enough to do so, it's still more complicated than getting started with ExpressVPN or another service. Practically all that most VPNs require is for you to download the app and that's it. The trickiest part is probably going to be entering your credit card number.
Another issue is that of price: you may want to set up your own VPN simply to avoid paying for one. However, a VPS isn't free. Even a cheap one will cost a few bucks a month, and the one we recommend you use will cost you at least $5 to get any decent bandwidth. That's roughly the same cost as one of the best VPNs out there, Mullvad.
Alternatively, you could also set up a home VPN server, or run your VPN through another server you own in another location---or have a friend set one up for you. None of these options will cost you any money, but they will be trickier to set up.
A final issue is that the VPN you get might not be the VPN you want. The VPN we'll show you to set up is a good way to keep yourself hidden while online, avoiding the gaze of marketers and maybe circumventing online censorship---though for that you're actually better off setting up a protocol called Shadowsocks using a VPS and a special program called Outline.
However, if you want to unblock Netflix or other streaming services, using a VPS will not work as your VPN use will most likely be detected. It's also not recommended for use with BitTorrent since you need enhanced security to do so---check out our guide on how to pick a VPN for torrenting for more on that.
How to Set Up a VPN over VPS
With the disclaimer out of the way, let's get you set up. For this tutorial, we're going to use DigitalOcean, and for two reasons. The first is that DigitalOcean has servers that have OpenVPN preinstalled which should make your life a lot easier. OpenVPN is among the best VPN protocols and it comes with a built-in operating system, so there's almost no manual setup. You could use other protocols, but you would need some serious knowledge of networks to do so.
Another reason to like DigitalOcean is that once you sign up and give your credit card information, you get free credit from the company. This can be as much as $200, which should give you plenty of time to see if you like this new setup.
That said, DigitalOcean is one of the pricier VPS providers out there. Another option is the aptly named VPSCheap, which offers servers for, well, cheap. If you prefer to go this route, check out the detailed instructions VPSCheap has for setting up a VPN on its servers. The instructions mostly mirror the ones below, but the biggest difference is that you'd still need to install OpenVPN on your new server first.
Using DigitalOcean and OpenVPN
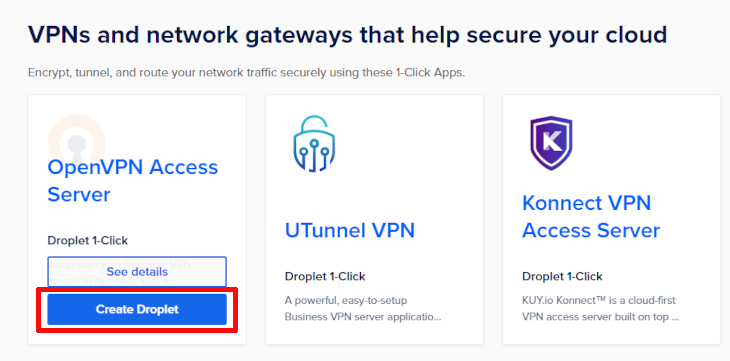
To get started with DigitalOcean's pre-set VPS and skip the OpenVPN setup, just visit DigitalOcean's Security and VPN solutions page, and click "Create Droplet" under "OpenVPN Access Server."
The next screen has you picking a server location---we recommend picking one close to you.
You also need to pick the type of droplet (server) you want. For now, choose something cheap, for the sake of this demonstration we'll keep the disk type and choose a server with a data transfer---how much data you can pipe through it---of 2TB. That should be enough for a month on a connection that doesn't stream or torrent.
Once that's done, set a password and a name for your droplet---we went with "GermanyVPN" for example---and that's it. You're ready to create your droplet.
Creating the droplet will take a few minutes. Once it's done, you'll see an overview of your server. In the new box, you'll see an IP address of 9 to 11 numbers; copy that to your clipboard either with the small copy button that pops up or by highlighting it and using Ctrl+C.
Accessing Your Droplet with SSH
Now we're actually going to leave DigitalOcean for a bit since we need to connect to the droplet we just created. To do so, we need to create an SSH tunnel. That sounds harder than it is; we're doing it on Windows 10, but it's also possible to do it on Mac, Linux, or older versions of Windows.
Open up Windows Powershell, then type the following command, replacing the numbers with your server's IP address:
ssh root@123.45.67.89
Here it gets a bit scary if you aren't used to this stuff, but basically just do as you're told for now as OpenVPN installs itself. Answer yes to everything, pick defaults, and enter your root password when prompted. When you've done all that, in the console type:
passwd openvpn
And set a new password. Make it something simple, yet secure. With that done, you're finished with Powershell for now, but don't close it yet.
Logging into OpenVPN
With OpenVPN set up, you need to log in and fix up a few things. To do so you need to access your droplet via the browser by typing the IP address into the address bar and adding ":943/admin" at the end, like so:
https://123.45.67.89:943/admin/
You can also copy-paste it from Powershell, since the address is in the output.
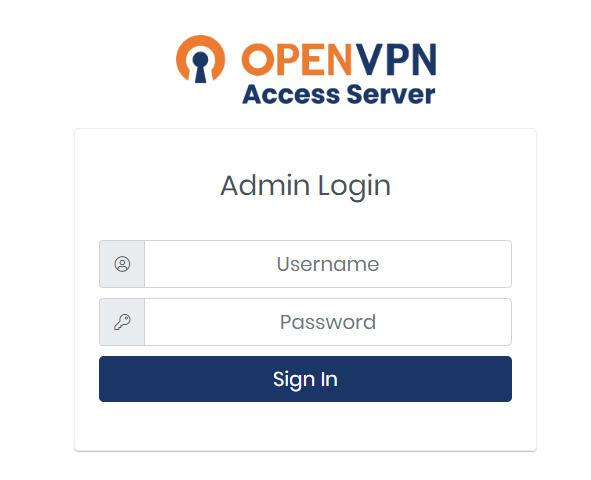
You'll get an SSL warning saying "your connection is not private," but ignore that and proceed. You'll see this screen:
For your username use "openvpn" and the password is the one you just created. Agree to the license terms when they pop up, and you'll be in your brand-new VPN server's settings.
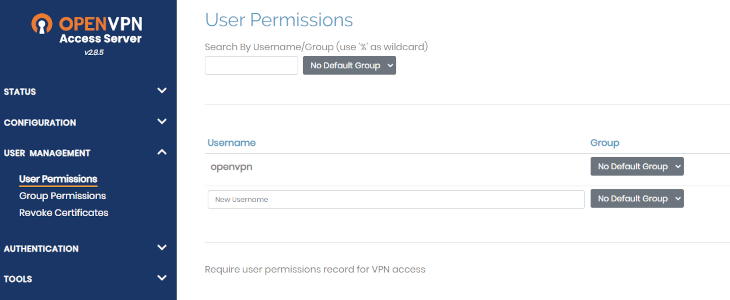
There's a lot to explore here and you should come back later to tweak things to your heart's desire, and OpenVPN's quick start guide will help you figure things out. For now, though, we need to visit the client version of the site, which is the same address, but without the "admin" bit:
https://123.45.67.89:943/
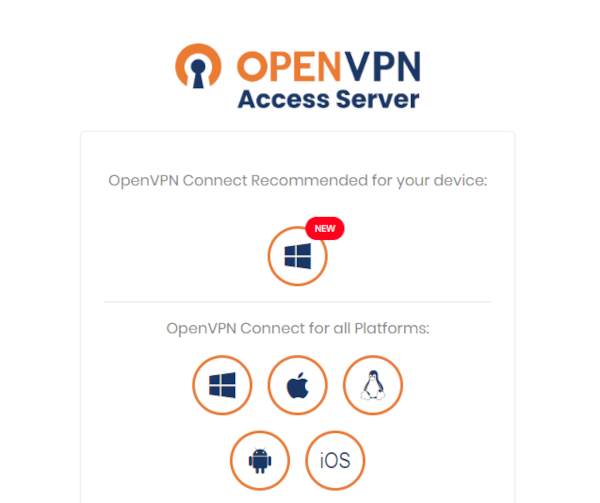
From here, you can download the OpenVPN client. Make sure to do this, or you'll have to go through SSH every time you want to connect. The client is like any other kind of software, just follow the instructions and it should install without hassle.
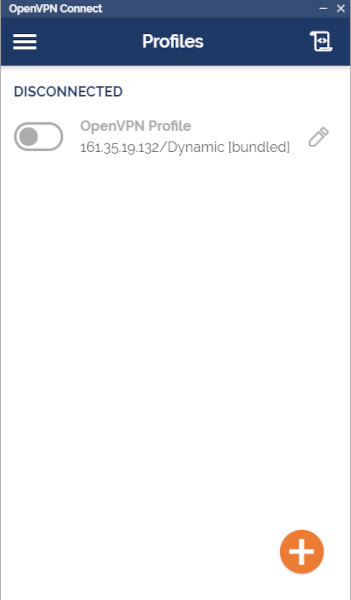
Once all that's done, you'll have your very own OpenVPN client installed and you can browse securely using your new droplet and OpenVPN.
It's a bit of effort, and it's not exactly cheap, but the upshot is a VPN that you control. Though it likely won't give the best VPNs a run for their money, you won't have to worry about your data falling in the wrong hands.

