Quick Links
Key Takeaways
To turn on your camera, head into Settings > Privacy > Camera, select "Change," and enable the "Allow Apps to Access Your Camera" option. You can then use Windows 10's Camera app to test your webcam.
By turning on your Windows 10 laptop or desktop's camera, you can take pictures and videos, attend online meetings, stream your gaming sessions with your overlay on them, and more. It's easy to start your webcam, test it, troubleshoot any issues with it, and disable it when you're done. Here's how.
How to Turn On Windows 10's Webcam
Once you have your webcam connected to your PC, enable it by first launching the Windows Settings app. There are several ways to do it, but the fastest is by pressing the keyboard combination Windows+i.
In Settings, select "Privacy."

On the left sidebar, click "Camera."

At the top of the "Camera" page, select "Change" and toggle on the displayed option.

You can allow your apps to use your webcam by enabling "Allow Apps to Access Your Camera" on the same page.

To allow or deny webcam access to specific apps, then scroll down the page and use the toggle next to individual apps to manage their camera permission. Make sure the app you plan to use your webcam with is enabled.

How to Start and Test Your Webcam
After enabling the webcam, you may want to test it to see if it works. Windows 10's built-in Camera app is one of the simplest ways to do that.
Launch the Camera app by opening the "Start" menu, searching for "Camera", and selecting the app in the search results.

The camera will start immediately, and in the app screen, if it's working, you'll see your camera's footage. To take a picture using your webcam, then in the app's right bar, select "Take Photo."

How to Disable Your Windows 10 Webcam
When you're done using your PC or laptop's webcam, you can turn it off so your apps can't access it. You can disable your camera from your PC's Settings app as well as the Device Manager utility.
Using Settings
Press Windows+i to open Settings. Then, select "Privacy."
In the left sidebar, click "Camera." On the right pane, select "Change" and toggle off the displayed option.
In the future, to re-enable the camera, toggle on the option.

You've successfully turned off your camera.
Using Device Manager
While disabling the camera in settings is normally enough, you may want to go a step further and disable it in Device Manager. Doing so will better ensure your privacy by making the camera more difficult to turn back on.
To do that, open Device Manager by launching the "Start" menu, searching for "Device Manager", and clicking the utility.

In Device Manager, find your webcam. You'll find it in categories like "Camera" or "Imaging Devices." Then, right-click your camera and choose "Disable Device."
You won't be able to enable the camera in Settings until you've enabled it in Device Manager again. In the future, to reactivate your camera, choose "Enable Device" in the menu.

From the prompt, select "Yes."

Your Windows 10 webcam is now disabled.
What to Do If Your Webcam Won't Turn On
If your webcam won't work when you try turning it on, it's possible the shutter is closed, your system may have a minor glitch, your webcam drivers might be outdated, or your camera's connection with your PC may be loose.
The first thing to check is your webcam's privacy shutter, a feature many webcams come with so you're visible to the camera only when you're ready. If your webcam has one, open it, and you'll see your camera's view on your PC.
If you're confident your webcam's lens isn't covered, you may have a software problem. The simplest fix is to reboot your PC and then toggle the camera off in Settings before turning it back on. That will resolve most minor problems. If your camera still won't work, use Device Manager to update your webcam's drivers. This basically requires opening Device Manager, right-clicking your webcam, and choosing "Update Driver."
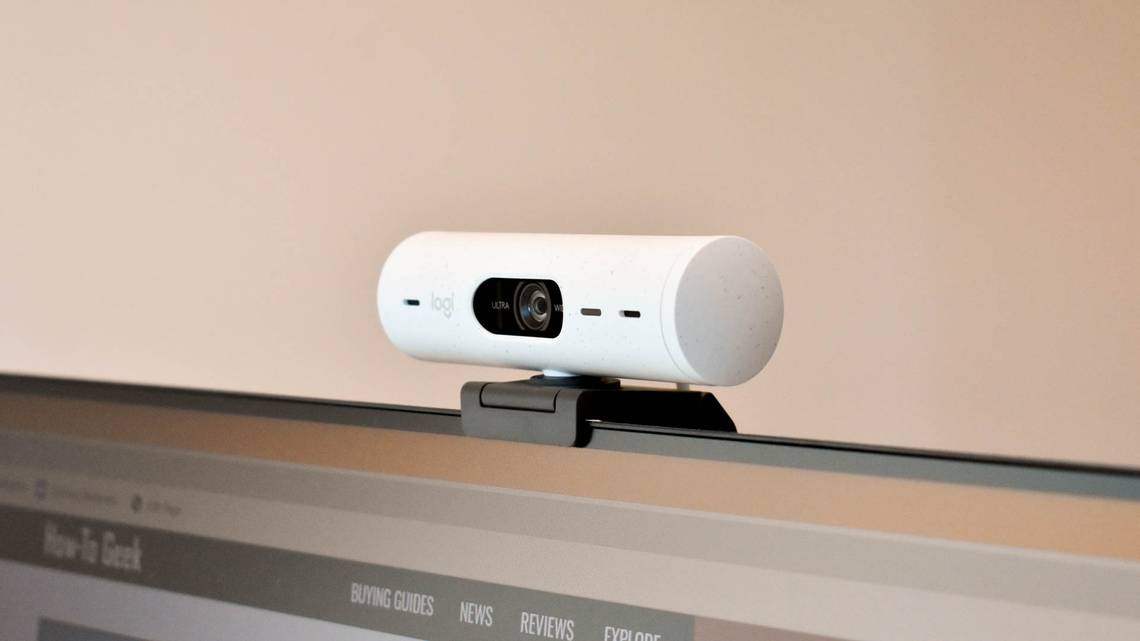
If you have an external webcam (meaning it's not built into your computer or monitor), ensure the camera's connection with your PC isn't loose. Unplug and re-plug the camera to make sure it's correctly connected, trying a different USB port if available.
Lastly, keep in mind that not all laptops and monitors come with a camera, and sometimes internal cameras simply stop working altogether. If you're trying to use a built-in camera but it simply doesn't seem available, there are many good external webcam options you have to choose from, including both budget and pro-level choices.