Key Takeaways
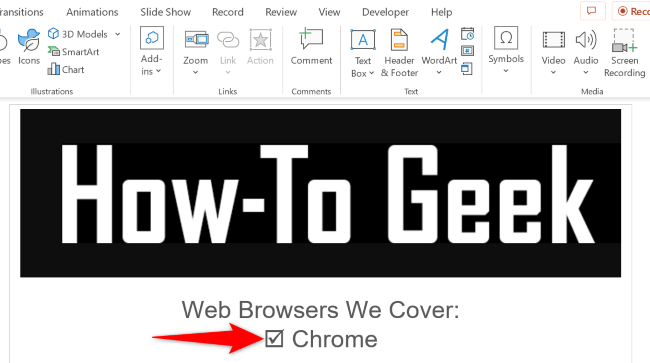
Add a check mark in your PowerPoint presentation is by selecting the down-arrow next to "Bullets" and choosing a bullet style with check marks. Or, insert checkmarks directly with the Alt+0252 or Alt+0254 shortcut. To add a clickable checkbox, open PowerPoint's Developer tab and choose "Check Box."
If you want to place a check mark icon or add a clickable checkbox in your Microsoft PowerPoint presentation, all you have to do is press a keyboard shortcut or use one of the menu options. We'll show you how to go about doing this in your slides.
Add a Check Mark in PowerPoint
To add a check mark symbol in your slides, use one of the six methods listed below. Just like when adding a checkmark in Word, the check mark style will vary slightly with the method you use, so try out different methods and see which you like best.
Using a Bulleted List
One way to display check marks, especially in lists, is to use PowerPoint's bulleted list option. Here, you make a list of your items, with each item having a check mark beside it.
To use this method, in your slide, select the text location where you want to add a check mark.
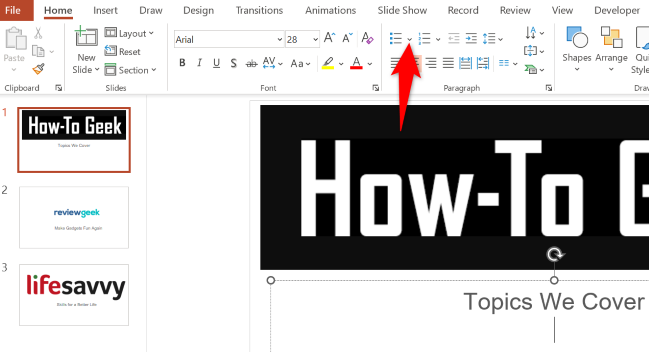
Next, in PowerPoint's ribbon at the top, select the "Home" tab. Then, in the "Paragraph" section, click the down-arrow icon next to the "Bullets" icon.
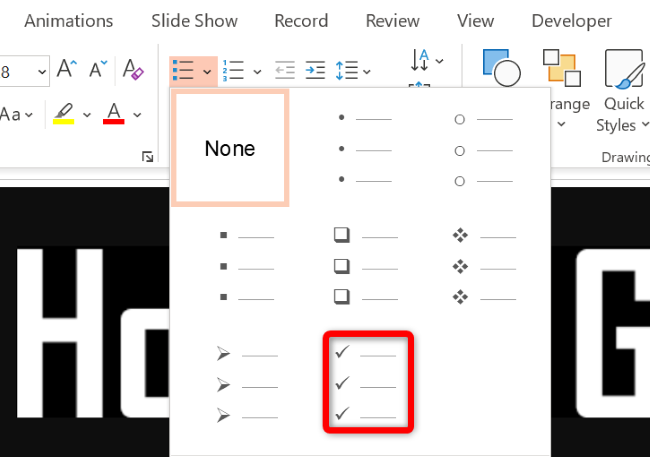
In the bullet menu that opens, choose the bullet list with check marks.
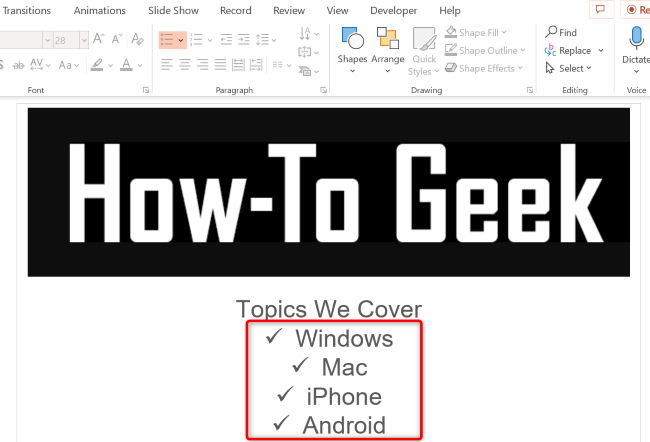
At your chosen place in your slide, you now have a checkmark icon. You can leave the check mark there, or add text to go along with the symbol. Add additional check marks by simply pressing the Enter key.
Using a Keyboard Shortcut
If you prefer keyboard shortcuts, there's a hotkey you can use to add check marks in your slides.
To use it, first, put your cursor where you want to add a check mark in your slide.
While using the numbers in these keyboard shortcuts, make sure to use the numpad on your keyboard. Pressing the numbers in the top row of your keyboard won't work.
Then, on your keyboard, press Alt+0252. This should add a tick mark symbol, but depending on the font you're using it may produce a
ü
or another character. If it does, simply highlight the character and change the font to Wingdings.
To add a symbol where the tick mark is inside a box, then on your keyboard, press Alt+0254. Again, change the font to Wingdings if you get the wrong character.
Copy and Paste the Tick Mark
If you're in a hurry and quickly want to get a check mark in your slides, find the tick mark symbol somewhere (online or in a document), copy it, and paste it into your slides.
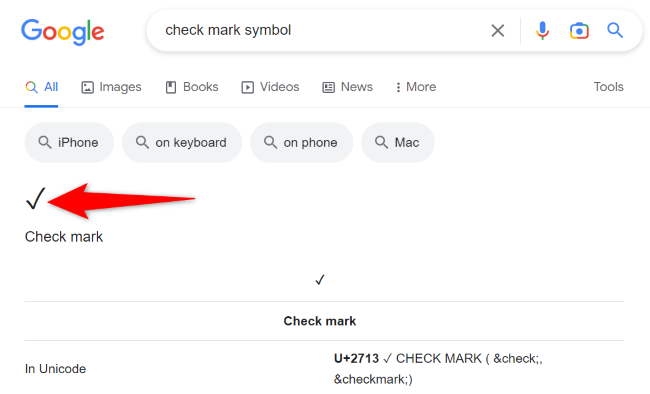
You can find the tick mark symbol on Google by simply searching for "check mark symbol". Once you find it, copy it to your clipboard.
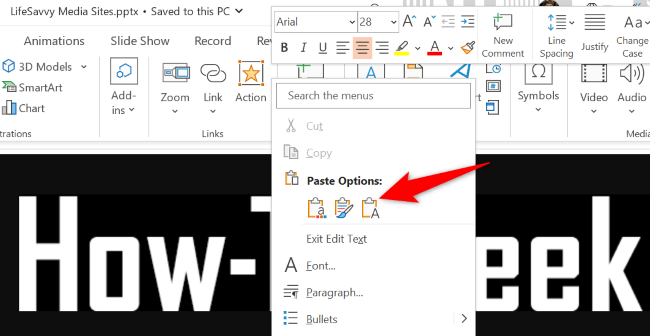
Come back to your PowerPoint slide, right-click the location where you want to add the symbol, and choose "Keep Text Only" in the "Paste Options" section.
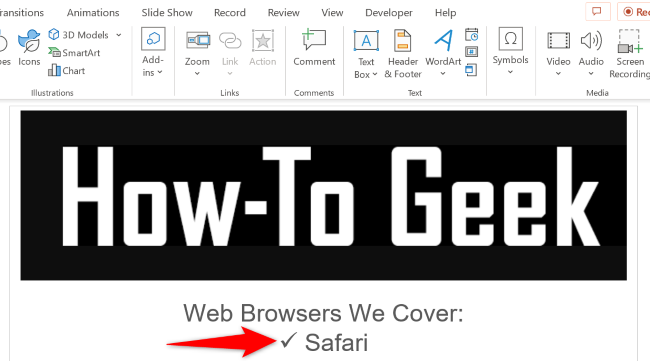
You now have your copied symbol in your slide.
Using the Symbols Menu
PowerPoint has a symbols menu containing several symbols that you can add to your slides---one of which is a check mark symbol.
To add that Wingdings symbol to your slides, then first, select the location where you want to display the symbol.
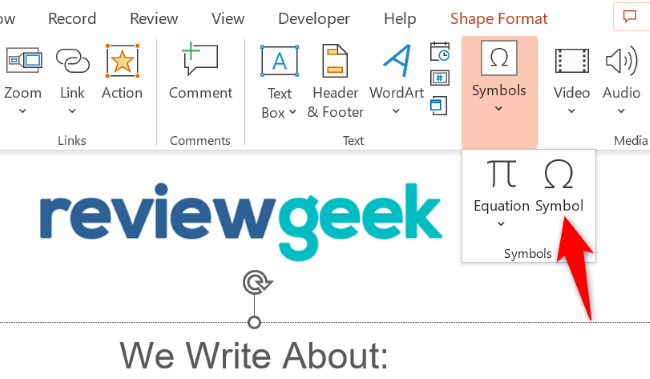
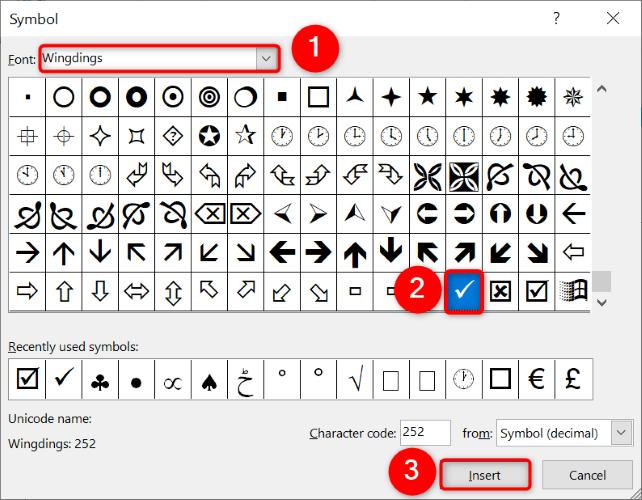
Then, in PowerPoint's ribbon at the top, click the "Insert" tab and choose Symbols > Symbol.
On the "Symbol" window, at the top, click the "Font" drop-down menu and choose "Wingdings." Then, select the check mark icon on the list and choose "Insert" at the bottom.
Then, close the "Symbol" window.
And that's it. You now have your selected icon in your presentation.
Using the Icons Menu
PowerPoint offers an icons menu where you have many different kinds of icons to use in your presentations. You can use this menu to add a check mark as well to your slides.
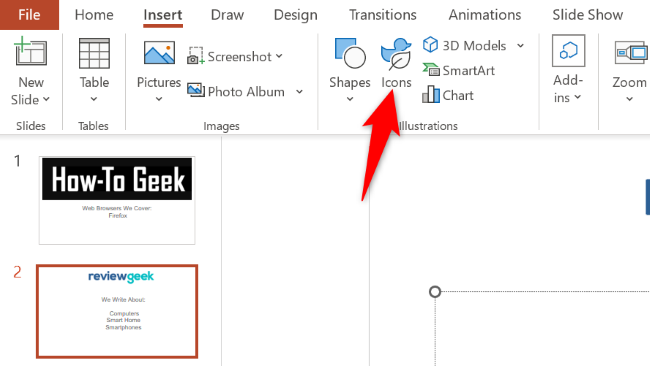
To use it, from PowerPoint's ribbon at the top, select the "Insert" tab. Then, choose "Icons."
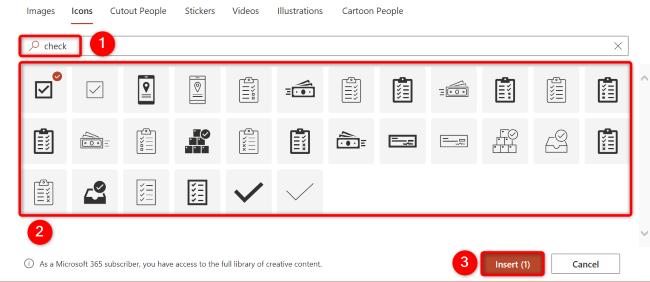
On the open window, at the top, click the search box and type "check". Then, in the displayed icons list, choose the check mark icon you want to use.
Add the selected icon to your slide by choosing "Insert" at the bottom.
You'll see your chosen icon in your slide.
Using the Emoji Bar
PowerPoint supports emoji, which means you can use this menu to add a check mark emoji to your slides. However, note the symbol's appearance will vary depending on the device you're using to view your presentation.
To use this method, first, select the place where you want to add the tick mark symbol in your slide.
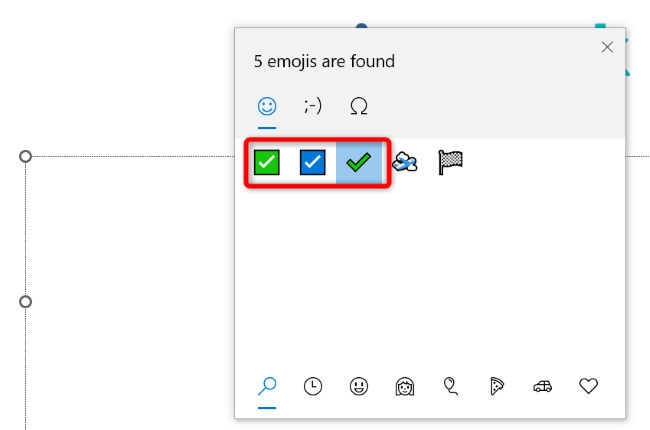
Then, if you're on Windows, bring up the emoji bar by pressing the Windows and "." (period) keys at the same time. On Mac, you'll press Command+Control+Space.
In the emoji bar, find and click the check mark emoji to add it to your slide.
Insert a Clickable Tick Box in PowerPoint
To add a box that you can click to tick it, use PowerPoint's interactive check box control. This adds a box that's empty by default, but gets ticked when you click it.
You can only tick the box when you're presenting your slideshow. You can't toggle with the box when you're in editing mode.
With that said, to start the process, launch your presentation with PowerPoint. Then, in the app's ribbon at the top, select the "Developer" tab (if you don't have this tab, learn how to enable the Developer tab in Office apps).
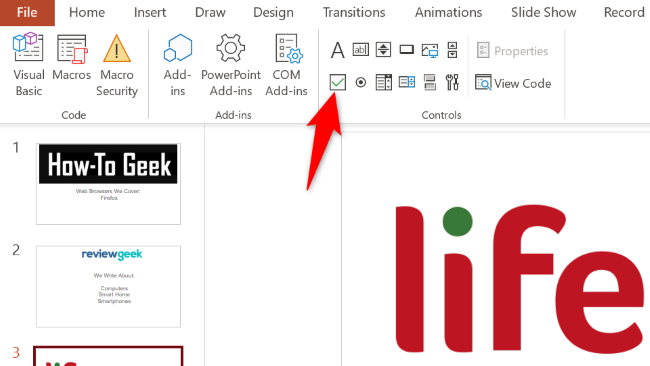
In the "Developer" tab, from the "Controls" section, select "Check Box" (which is, unsurprisingly, an icon of a check box).
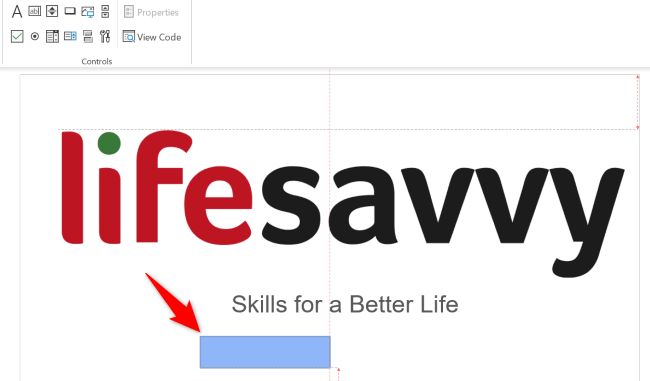
On your slide, draw the check box wherever you want to place it.
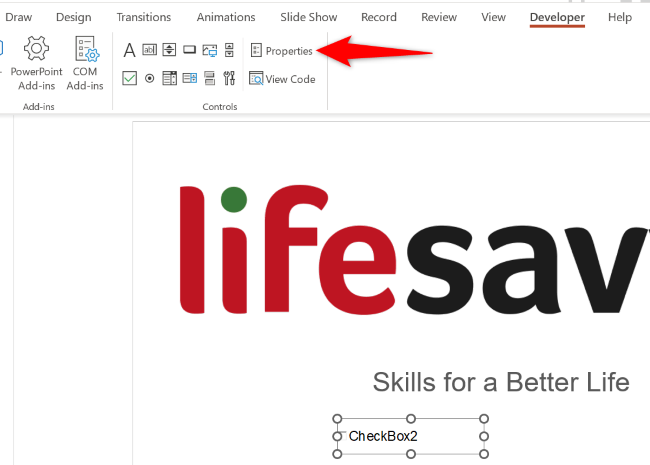
Once the check box is added, you can alter its text. To do this, first, click your box so it's selected. Then, in the "Developer" tab at the top, from the "Controls" section, choose "Properties."
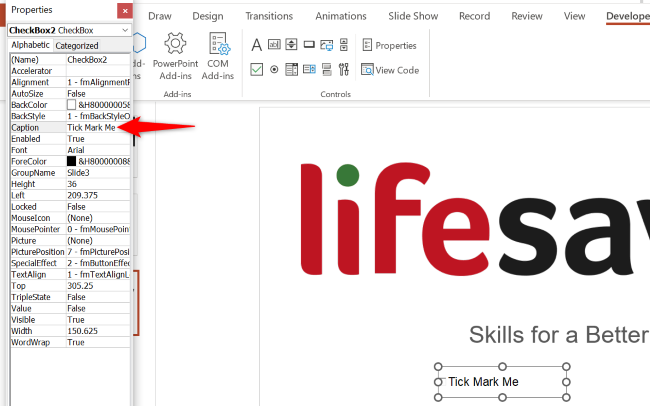
On the "Properties" window, select the "Caption" field and type your custom text. Then, press Enter and close the window.
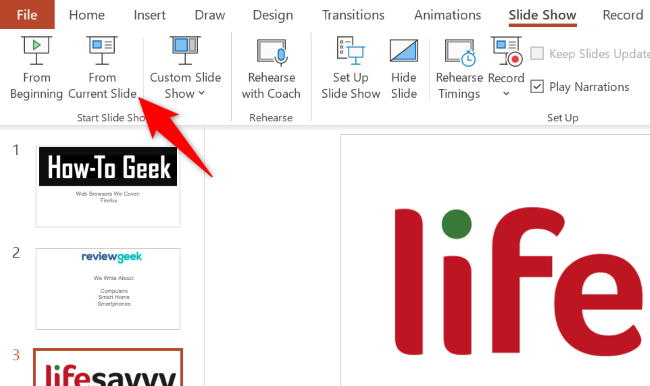
To check if the check box works, play your slideshow by choosing Slide Show > From Current Slide at the top.
When the show begins, click your check box, and it will tick mark itself.


