Quick Links
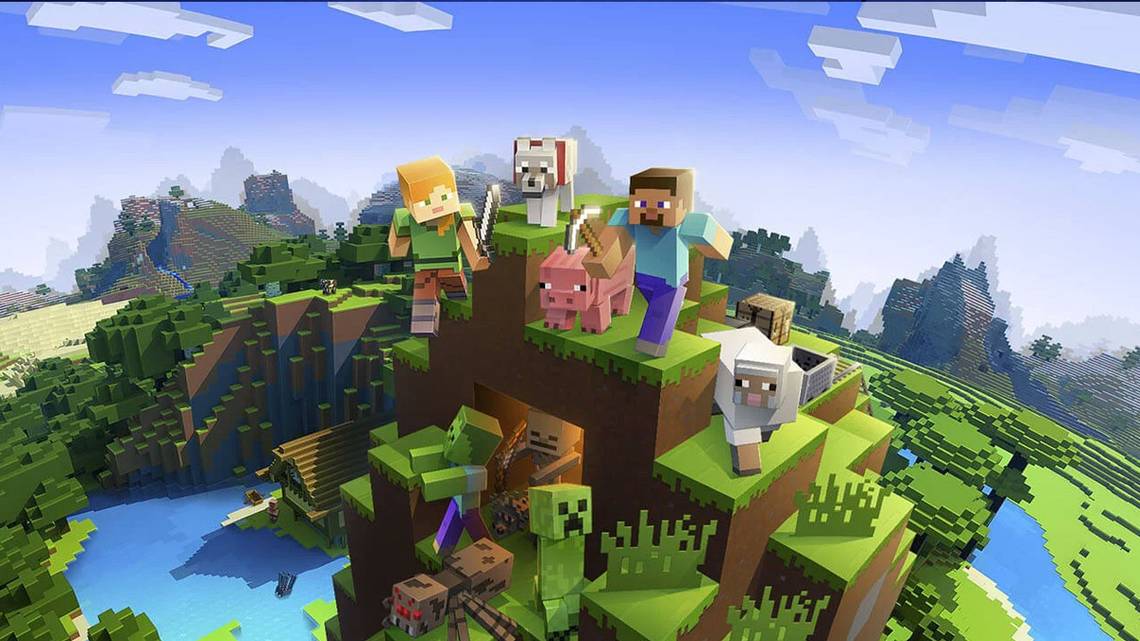
Minecraft is a fantastic game, and it has one of the largest modding communities in gaming history. What if you want to add some personal flair to your game, but you're not a graphic artist? Here's how to use Stable Diffusion to make textures for Minecraft.
Everything You Need to Get Started
There are a bunch of programs you'll need before you can get started. They're all free (or have free alternatives), except for Minecraft itself.
Here is everything you'll need:
- A Java Minecraft Installation
- 7-Zip, WinRAR, or another file archiving program that can extract assets from JAR files
- GIMP, Paint.NET, Photoshop, or another photo-editing program of your choice
- Stable Diffusion, preferably with a GUI
- A plain text editor, ideally something like Atom or Visual Studio Code, but Notepad works too
If you want to follow along exactly with what we do, here is the exact list of things we'll use in this tutorial:
- Java Minecraft Version 1.19.2
- 7-Zip
- GIMP
- Stable Diffusion with a GUI
- Visual Studio Code (VSCode)
If you aren't going to use all of the same software, say if you prefer Atom to VSCode, it shouldn't matter very much. Every program listed has all of the necessary functionality.
Make sure you run Minecraft at least once after you download and install it. The launcher downloads more files the first time the game is run.
Once you've done all that, we're ready to start producing textures.
Create a Folder to Hold Your Textures
You need to create a folder to hold all of the textures you create --- we put ours right in the middle of our Desktop where it won't get lost. Just right-click on the Desktop, mouse over "new," then click "Folder." We named ours "HTGExampleTextures" since it is easy to remember.
Minecraft texture packs --- or resource packs, as the game calls them --- need to respect the original folder hierarchy of the game's assets. We'll show you what that means.
Navigate to where you installed Minecraft. It is in "C:\Users\(YourUserName)\AppData\Roaming\.Minecraft" by default.

Double-click the "Versions" folder, open the "1.19.2" subfolder, then right-click "1.19.2.json" and open the archive with Z-Zip.

You'll see something like this:

Open "assets\Minecraft\Textures\Block." This is where most of the textures for game blocks are stored --- things like stone, cobblestone, tree bark, flowers, all of the ores and gems, and everything like that.
Mob textures are stored in the "entities" folder, and most of the items you can craft are in the "item" folder.

Note the file path at the top, marked "1." Minecraft will look for certain textures, like "diamond_ore.png," at this location. That means when we want to replace it with our own texture, we need to use the same folder structure, or folder hierarchy, that the game uses by default.
Head back over to the texture pack folder on the Desktop and open it. Create a new folder named "assets" in the texture pack folder. Then create another folder named "minecraft" within the Assets folder. Repeat that process for the "textures" and "block" folders. When you're done, it should look like this:

Now we're ready to actually make some textures.
Start Generating Textures With Stable Diffusion
Stable Diffusion is good for generating all sorts of imagery. It turns out that, with the right prompt, you can also get it to generate the sort of flat images that work well for game textures.
We used the prompt given below to generate our base textures, but you can spice it up a bit if you want. If you want some wild, psychedelic texture pack where everything is made of eyes, well, more power to you. Ours is aimed at being fairly realistic looking.
BLOCKNAMEHERE, stock photography, game texture, game asset, photorealistic, photography, 8K uhd
We aren't building a comprehensive texture pack that'll replace every texture. We're going to replace a handful of textures to illustrate how you can approach this:
- Stone
- Diamond Ore
- Oak Tree
- Dirt
Let's start with stone since it'll form the basis of all of the ores, too. The specific prompt was: smooth rock surface, stock photography, game texture, game asset, photorealistic, photography, 8K uhd. We used the PLMS sampling method with 50 sampling steps, kept the default CFG value of 7, and produced images in batches of 10. You should probably do the same --- Stable Diffusion is good, but it isn't perfect. You'll want multiple images so you can pick one you like. We got decent results on our first run.
Minecraft uses textures that are 16x16 but can readily take textures that are 128x128. The images we generated were 512x512, but not to worry. We'll deal with the size issue later.

The very first result in the top left corner looks to be good, so we'll pick that one. Select it from the displayed textures and then click "Save." The save function records all of the variables needed to recreate this specific lot of images again. That way, if something happens and you lose your texture by accident, you can always generate it again.
Click "Send to Inpaint" last.

Inpainting allows you to selectively re-generate certain parts of an image based on a new prompt. We'll use it to generate the ore variants of our base stone texture.
Send to Inpaint can sometimes be a little buggy. If it doesn't show up, click over to the "img2img" tab, select "Inpaint Part of an Image" near the top, go back to the "txt2img" tab and try hitting "Send to Inpaint" again. If that doesn't work, you can always access your textures in your Stable Diffusion output folder. If you followed our guide the output folder will be "C:\stable-diffusion-webui-master\outputs\txt2img-images".
Inpaint has many of the same settings as txt2img does. We're going to keep CFG at 7, use the "DDIM" sampling method with 50 sampling steps. Make sure that "Masked Content" is set to "Latent Noise" and that "Masking Mode" is set to "Inpaint Masked."
Now that we've discussed settings, let's make some diamond ore. We'll use hexagonal blue diamonds embedded in stone, photorealistic, vibrant for our prompt. Then just take your cursor, draw where you want the diamonds to appear on the stone surface. The area you've selected will be masked out in all black.

After you're done masking, click "Generate." We're going to go with the middle-bottom result.
Notice the square grid that is visible? That occurs because we picked a texture that was dimmer along the outside edges and brighter towards the center. You need to try to avoid that, as it will look strange in-game.

Click "Save" again to make sure that you don't lose any results you like.
Repeat this process for as many ores or blocks as you want to replace. We're replacing oak trees, stone, diamond ore, and dirt. Here are the final texture selections we made below:

Turning the Textures Into a Resource Pack for Minecraft
Once you've generated all of the textures you want, move them from Stable Diffusion's output folder into the "block" folder in the texture pack folder on your desktop. The default Stable Diffusion output folder is located at "C:\stable-diffusion-webui-master\outputs\" on your computer. There are two folders that are important: txt2img and img2img. Anything you generate with just a prompt will be in txt2img, while anything you inpaint will be in img2img.
Each texture you move needs to be renamed corresponding to the texture you want to replace. For example, the stone texture gets renamed "stone.png".
You can always check 1.19.2.jar to figure out what each texture is named.
We also need to scale these images down a bit since they're currently a bit large. Right-click your texture, mouse over "Open With," and select GIMP. Give GIMP a second to launch and import your texture, click "Image" on the menu bar at the top, then and select "Scale Image."

You can scale it down as far as you'd like --- Minecraft's default is 16x16 pixels --- but we'll only go down to 128x128 to preserve the details. Enter the dimensions you want and click "Scale."
Keep your image square. 16x16, 32x32, 64x64, 128x128, and so on.

You'll immediately notice that your image is way smaller than it was before. Click on "File" in the top-left corner, then click "Overwrite stone.png."

Repeat the process for all of the textures you want to replace.
The hard part is over. The last thing we need to do is generate a file that tells the game that the images we're providing are to be used as a Minecraft resource pack. Right-click empty space, mouse over "New," then click "Text Document." You'll immediately be able to type in a name. Go to the very end of the line --- beyond the ".txt" file extension --- and clear the entire thing, then enter:
pack.mcmeta

Then hit the Enter key. You'll get a warning about doing that. Normally the warning is correct; renaming file extensions at random is bad practice. In this case, however, it doesn't matter at all. Just click "Yes."

Of course, Windows has absolutely no idea what a ".mcmeta" file is unless you've messed around with Minecraft files before, so it won't know how to open it. Double-click the ".mcmeta" file and open it with Visual Studio Code, or whichever text editor you picked.
Notepad will work in a pinch, but there are better programs.

Open up the MCMETA file, and paste the following contents in:
{

             "pack": {

             "pack_format": 9,

             "description": "How-to Geek Example Minecraft Texture Pack"

             }

            }
The "pack_format:" : 9, line is significant. It lets Minecraft know which version of the game your resource pack is designed for. Here is a handy chart if you're modding a different version of Minecraft:
|
Minecraft Version |
Pack Format Number |
|---|---|
|
1.11-1.12.2 |
3 |
|
1.13-1.14.4 |
4 |
|
1.15-1.16.1 |
5 |
|
1.16.2-1.16.5 |
6 |
|
1.17.x |
7 |
|
1.18.x |
8 |
|
1.19.x |
9 |
After you paste the required lines in, hit Ctrl+S or click File > Save in the top-left corner. You're done editing the file, so close out your text editor.
Select both "pack.mcmeta" and the "assets" folder, right-click either of them, mouse over 7-Zip, and click "Add to YOURFOLDERNAME.zip." Don't accidentally add it to a ".7z" file.
Hold Ctrl while clicking to select multiple items.

Copy and paste the ZIP file you just created into the Minecraft resource pack folder. By default, it is located in "C:\Users\(YourUserName)\AppData\Roaming\.Minecraft\resourcepacks" --- though that could be different if you installed it elsewhere.
You're good to go. Launch Minecraft, then go to Options > Resource Packs and select the pack you just made.

When you load into any world, your textures will replace the corresponding vanilla textures. Here they are, right in a row:

Stable Diffusion cuts down on the time required to make a new texture enormously, even if you do have to do a little correction on some textures.
For example, our stone base texture is a bit dark. You can easily fix something like that by importing it into GIMP or Photoshop and lightening it up a bit. We could quickly make a dark oak variant by going into GIMP and dropping the highlights a bit on the oak texture we already made. It doesn't take more than a few minutes --- at most --- once you're comfortable using a photo editor.
Entities are harder to retexture due to their more complex geometries. However, Stable Diffusion can easily be used to generate fur, metals, wood textures, skin textures, and basically anything else you need. The added difficulty is UV unwrapping the textures, so they are applied correctly to the models.
And this is only the beginning. Community efforts have already led to the creation of tools that can use AI to generate new seamless textures on demand in Blender. There is no telling for sure what the future of AI-generated art will look like, but the modding and DIY community are certainly going to continue to do extraordinary things with it.