Quick Links
Key Takeaways
There are several ways to fix the "Network discovery is turned off" error depending on its cause. You may need to enable its dependency services in the Services tool, allow it through the Windows Firewall, or enable network discovery in the Network and Sharing Center.
Do you get a "Network discovery is turned off" error when trying to browse your network on your Windows PC? If so, you'll need to start Network Discovery's dependency services, allow the feature into your firewall, and enable it. We'll walk you through the process below.
Step 1: Turn On Network Discovery's Dependency Services
A common reason why you can't use Network Discovery is that the feature's dependency services aren't running. To fix this, use the Services app to start those required services.
Begin by opening the Run box using Windows+R. In the box, type the following and press Enter:
services.msc

In the right pane of the "Services" window, find the service named "Function Discovery Resource Publication." Right-click this service and choose "Start."

Similarly, find and start the following required services:
- SSDP Discovery
- UPnP Device Host
- DNS Client
When you've started the above services, close the Services app and move to the next step.
Step 2: Allow Network Discovery Through Windows Firewall
Your Windows firewall may be blocking Network Discovery's services, causing it to not work. In this case, whitelist the feature in your firewall.
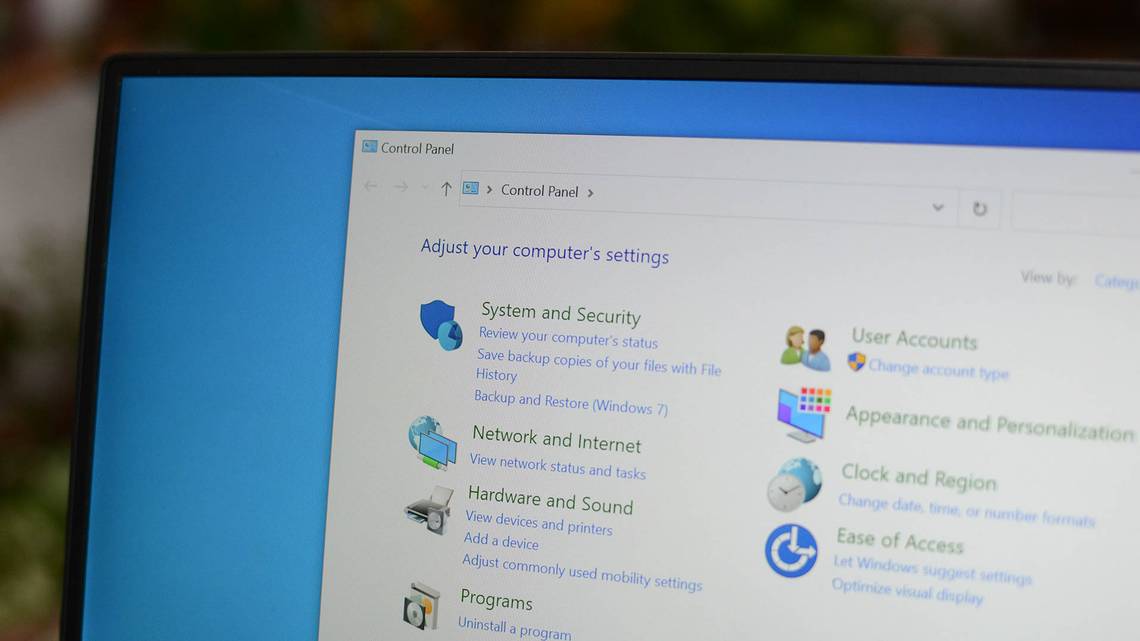
To do that, open Control Panel on your PC. Next, select "System and Security." Beneath "Windows Defender Firewall," choose "Allow an App Through Windows Firewall."

On the page that opens, at the top, choose "Change Settings." In the list of apps and features, find "Network Discovery."
To the left of "Network Discovery," enable the checkbox. Then, to the right, enable the checkbox for "Private."
When you're done, at the bottom of the window, select "OK" to save your changes.

You've now successfully whitelisted Network Discovery in your firewall.
Step 3: Enable Network Discovery on Your Windows PC
Now that the dependency services are running and the feature is whitelisted in the firewall, you can go ahead and turn on Network Discovery on your Windows PC.
To do that, launch Control Panel on your PC. Then, head to Network and Internet > Network and Sharing Center.
In the left sidebar, click "Change Advanced Sharing Settings."

On the following page, in the "Network Discovery" section, enable the "Turn On Network Discovery" option. Then, at the bottom, select "Save Changes."
To allow file and printer sharing on the network, enable the "Turn On File and Printer Sharing" option as well.

Network Discovery is enabled on your Windows PC. You can now find other devices on your network. Plus, your PC can be found by other machines. Happy sharing!
If you experience other network issues, you can reset your entire Windows network to resolve those problems.