Quick Links
There are a host of battery-powered smart home security cameras on the market that offer convenient placement but charging headaches. A solar panel add-on makes life easier when using a camera outdoors.
Why Use a Solar Panel for Your Smart Cameras?
If your smart security cameras use a rechargeable battery, that means you'll need, to---at some point---recharge them.
Not only is that a hassle, in general, but it also inclines you to put the cameras in locations that don't require a ladder to access them. After all, who wants to balance on a ladder to change out smart camera batteries?
Unfortunately, if you place the camera where it's easy for you to pull down and swab the batteries without a ladder, that means it's easy for anybody to pull down if they are so inclined.
By mixing in a solar panel to your home security project, you're not just saving yourself the hassle of dragging out the ladder for every battery change, you're also increasing the physical security of your camera location by making higher install points more feasible.
How to Use a Solar Panel with Your Smart Camera
Smart security cameras are fairly energy efficient and, thankfully, don't require any sort of serious solar installation to maintain power.
There are a variety of models on the market, both first-party supplied by the camera manufacturer and third-party aftermarket add-ons, all about the size of an 8x10 photo or smaller.
Technical Considerations
Although using a solar panel for your security cameras is pretty straightforward, there are a few minor considerations you should attend to before diving into the project.
First, using a solar panel add-on is only viable for smart security cameras with an internal battery. While, yes, you can set up a solar system that charges an external battery which, in turn, feeds power into your security cameras, that's a whole separate kind of project and beyond the scope of what we're discussing here. With no internal battery, your solar-powered cameras will only work when the sun is out.
Second, you want to check the documentation for your camera and confirm that the battery can be charged within the camera body itself (as opposed to a requirement to remove the battery and charge it in a dock) and that the camera can remain operational during the charging process.
If your particular camera model can't do both those things (charge while fully assembled and run while charging), then the solar panel add-on project isn't a good fit for your needs and won't work with your cameras.
Third, pay attention to the wattage and output of a particular panel. Some solar panels on the market provide enough power to run the camera when the sun is shining but not enough power to run the camera and charge it. So you will eventually need to charge the battery, but you'll need to do so less frequently as the camera will only run off the batteries at night.
Finally, consider both your geographic location and the individual locations you wish to place the solar-powered cameras on your property. If you live in the depths of Mordor and the sun never shines or the location you want the camera is under a shed overhang in a very shady and heavily forested area, you might have a suboptimal experience with solar panels.
Consider a Solar Camera Kit

If you're starting your foray into security cameras and want one or more solar-powered ones, consider just getting a kit right out of the gate that includes the panel.
Then you don't have to worry about picking one out with the right connector or the right energy output for your needs, as the kit is already designed to work right out of the box.
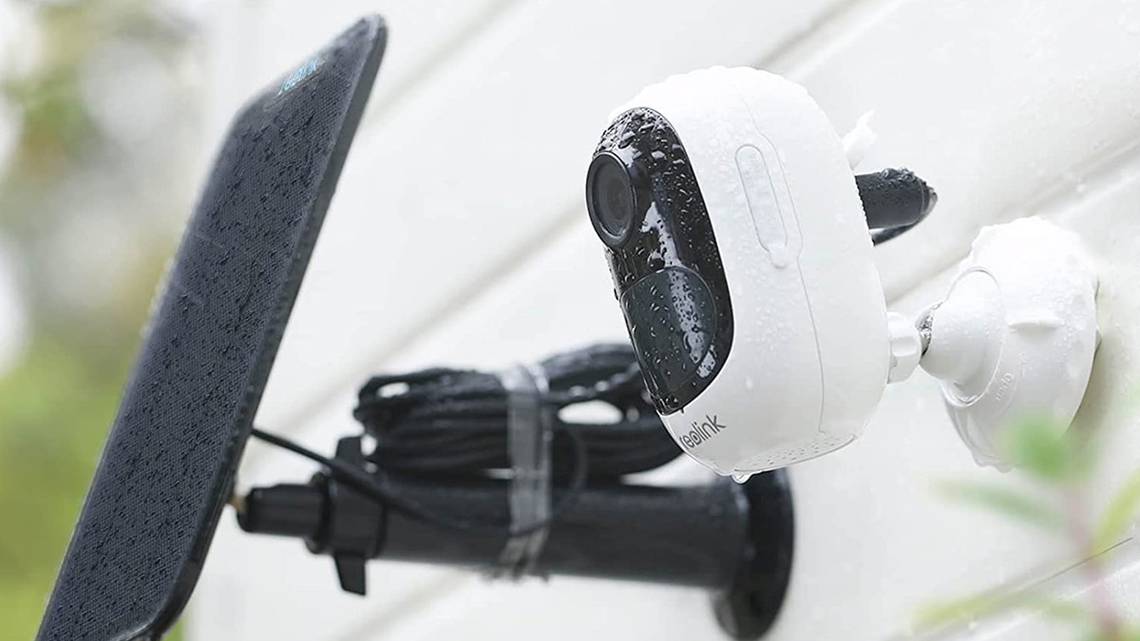
Reolink has a variety of solar-camera kits like this 2K 4MP bullet camera and this 2K 4MP Pan-and-Tilt camera.

Reolink 2K 4MP Solar Security Camera
Reolink cameras offer people detection, local storage, and solar charging all in one kit.
Reolink even offers a 4G-enabled cellular model if you need to put a solar-powered camera somewhere without Wi-Fi.
You'll also find solar kits like this Ring camera + solar panel or this Arlo starter kit that includes multiple cameras and a bonus solar panel for outdoor use.
Selecting a Panel for Your Existing Camera
When in doubt, it never hurts to buy a first-party solar panel for your particular camera. If you buy the Ring solar panel for your outdoor Ring camera or the official Arlo panel for your Arlo cameras, you'll be getting exactly what you need for your particular camera with no fussing over specifications or connectors.

Arlo Solar Panel Charger (2021 Update)
This first-party solar charger from Arlo works with the newer models that support magnetic no-contact charging.
Beyond using first-party solar panels for your smart security cameras, you have two important details to pay attention to when shopping for third-party options.
First, you need a compatible connector. Whatever connector type your camera is normally charged with, the solar panel must have an identical connector. Some charge via micro USB. Some charge by a propriety port. Some have a no-contact magnetic charger.
Ideally, the solar panel you purchase will include a cable that not only matches the type you need but also includes a cable that preserves the weatherproofing on the camera. For example, if you have older Arlo cameras that don't support magnetic contactless charging, you'll want a micro USB connection with a rubber seal around the cord. If you have newer Arlo cameras like the Pro 3, Pro 4, Ultra, or Ultra 2, then you can use these solar panels with a magnetic contact.
Second, as we mentioned above, you need to worry about power output. When shopping for third-party panels, look for panels in the 4-6 watt range, such as this 5W model. Some of the cheaper ones only generate 2-3 watts which may not be enough to both run and simultaneously recharge your cameras.
And, as always, we recommend reading the fine print and reviews. If you're looking at a particular solar panel add-on that seems to meet your needs, but there are reviews from frustrated customers indicating that the particular solar panel generated a charging error for their cameras and wouldn't work, you'll want to consider a different product if you have the same camera brand.
Additional Tips for Solar Panel Success
In addition to selecting the right solar panel for your camera, here are to extra tips to keep in mind.
Do pay close attention to the weatherproofing process. Follow best practices like including a small drip loop in the line going from the panel to the camera near the camera body so that rainwater flows down (and drips off) the cable instead of flowing straight down the cable to the port.
If you aren't confident in the rubber seal, if included, feel free to upgrade it. You can either push the seal into the port and seal over it or forgo using it altogether and seal over the opening. You can do so easily in a semi-permanent manner with some outdoor flexible caulking, or in a bit of a more permanent (but still removable with a little effort) way with a smear of silicone. Shorting out your expensive camera with rainwater is no way to end the experiment.
And if you're looking for an easy way to mount the solar panels without resorting to drilling holes, do check out our guide to mounting your smart security cameras without drilling. The same gutter brackets and other clever tricks that work for cameras also work for solar panels.