Quick Links
Looking for some honest opinions? By conducting a poll in Google Meet, you can obtain the responses you need to make a decision, perform research, or see if everyone is on the same page. After the meeting ends, you'll even receive a report with the responses so you can analyze them further.
As of August 2022, you'll need a Google Workspace account to conduct a poll. This includes Essentials, Business Standard or Plus, Enterprise Starter, Essentials, Standard, or Plus, Education Plus, Teaching and Learning Upgrade, G Suite Business, Nonprofits, and Workspace Individual Subscribers.
Create a Poll in Google Meet
You can set up a poll and display it to participants right away or save it and launch it at any time during your meeting.
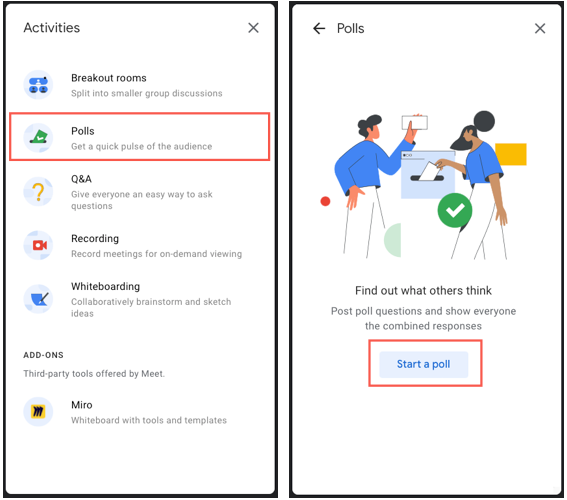
Once your Google Meet begins, select the Activities icon on the bottom right of the screen.
Choose Polls > Start a Poll.
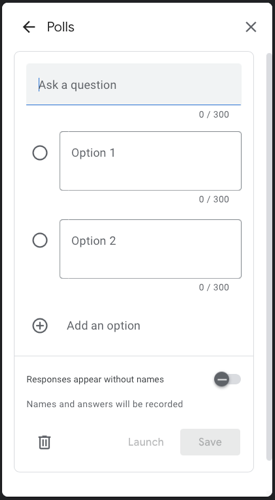
Enter the question for the poll and the answer options.
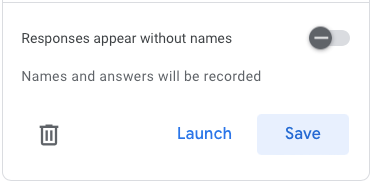
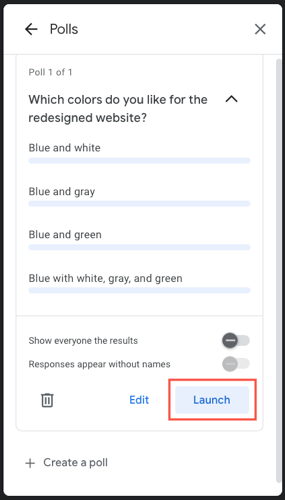
To allow responses without names, turn on that toggle. To display the poll immediately, select "Launch" and to save it for later, pick "Save."
When you want to display a saved poll, click the Activities icon, select "Polls" and then choose "Launch" for the one you want to show.
Edit, Delete, or Create Another Poll
You can also change, remove, or set up another poll. Reopen the Activities > Polls section and do one of the following:
- Select "Edit" to change the question or answers and pick "Save" or "Launch."
- Click the Trash Can icon to delete a poll. You will not be asked to confirm this action.
- Pick "Create a Poll" at the bottom to set up another poll, if you'd like to conduct more than one during your meeting.
How Participants Vote
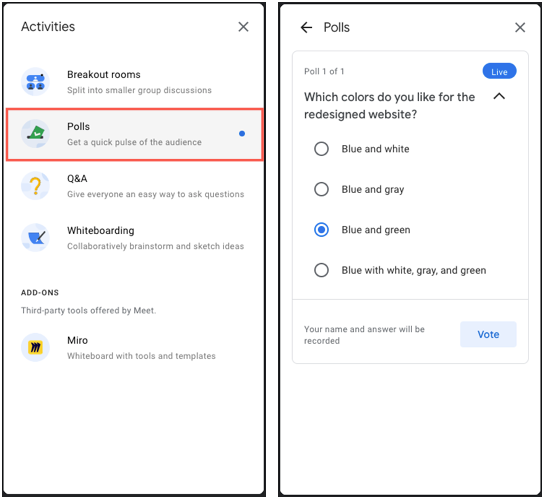
When you launch a poll during your Google Meet, participants see a blue dot over the Activities icon on the bottom right. They simply click the icon and then see the same indicator next to Polls in the Activity list.
They then answer the question by marking one of the options and selecting "Vote."
They can then use the arrow on the top left to go back or close the sidebar with the X on the top right.
A participant cannot change their answer once they've voted.
View or End a Live Poll
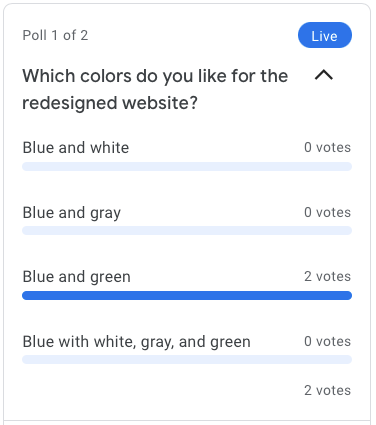
To see poll results as they come in, head back to Activities > Polls and select the one you want to view. You'll see the number of votes for each answer option in real-time.
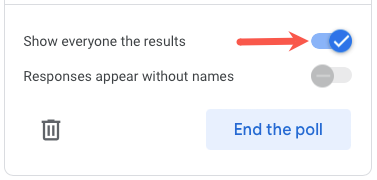
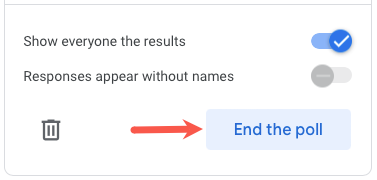
If you'd like to make the responses public to your participants, turn on the toggle for Show Everyone the Results. They can then return to Activities > Polls and see the number of votes for each answer as well.
To wrap up the poll, select "End the Poll." It will no longer be available even if new participants join the meeting.
Review Your Poll Results
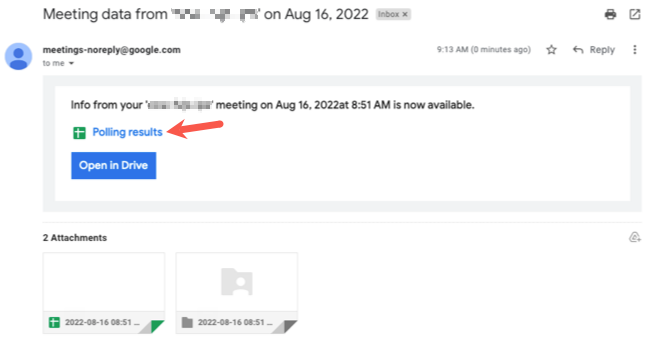
After your Google Meet ends, you'll receive your poll results via email to the address attached to your Google account.
You can click the Polling Results link or the icon to open the report which displays in Google Sheets.
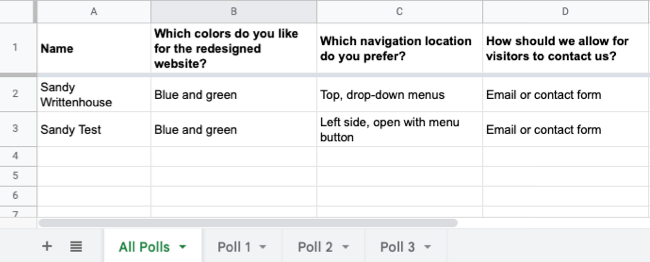
You'll see a tab for All Polls which shows you how each person answered each poll.
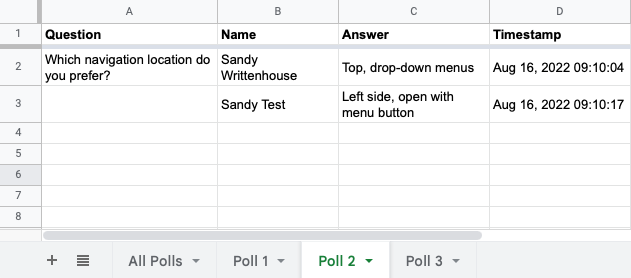
You also have separate tabs for the polls numbered in the order you created them. Each one provides the name (unless you allowed anonymous responses), answer, and a timestamp.
Conducting a poll in Google Meet is so easy that it's a convenient way to get answers or opinions from all your participants. Plus, you have a record of the responses afterward that you can analyze or share.
If you regularly need to get thoughts and information from people in your circle, consider creating a survey with Google Forms.

