Quick Links
Key Takeaways
- Windows 10 and Windows 11 have a split screen feature that allows you to use multiple apps simultaneously by pinning them to different areas of the screen.
- There are two ways to split the screen: dragging and dropping app windows on a side of the screen, or by pressing Windows + Arrow Key to snap it to the corresponding side of the screen.
- In Windows 11, there is also a new Snap Layouts feature (Windows + Z) that lets you quickly pin apps to various corners of the screen for efficient multitasking.
Using Windows 10 and Windows 11's split screen feature, you can use multiple apps at once on your screen. You can pin apps to the sides as well as corners of your screen. We'll show you how to use this productive Windows feature.
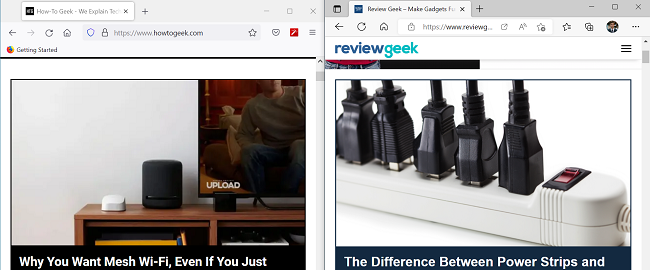
There are two ways you can split the screen on your PC. One way is to drag and drop your app windows, and the other one is to use a keyboard shortcut. We'll explain how to use both of these methods.
Enable Split Screen on Windows 10
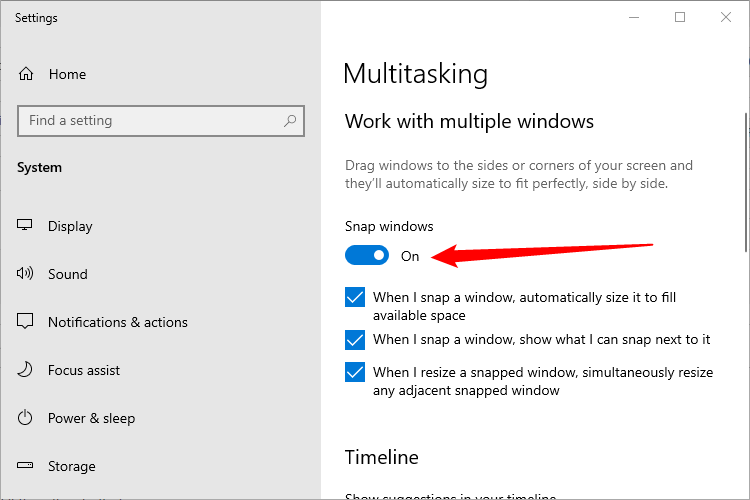
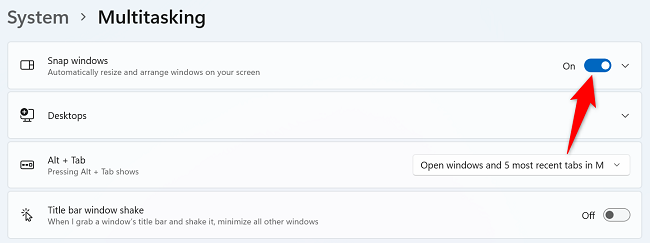
Split screen should be enabled by default on Windows 10. However, if isn't for some reason, open the Settings app (Windows+i), then navigate to System > Multitasking. Make sure that the toggle next to "Snap Windows" is enabled.
How to Split Screen on Windows 10 with the Mouse
To use two apps at the same time on your screen first launch both your apps. Then, bring the first app into focus.
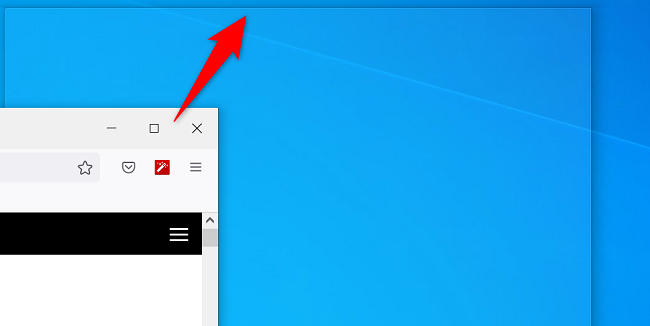
Drag your first app's title bar (the bar that contains the "Minimize" and "Close" options) to the edge of the side you want to place your app. For example, if you want to pin your app to the left of your screen, drag the app's title bar towards the left.
Your cursor must make contact with the very edge of the screen. Just dragging part of the window to one side or the other won't trigger the snapping action.
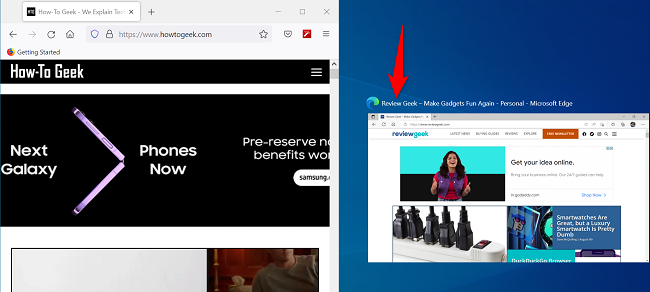
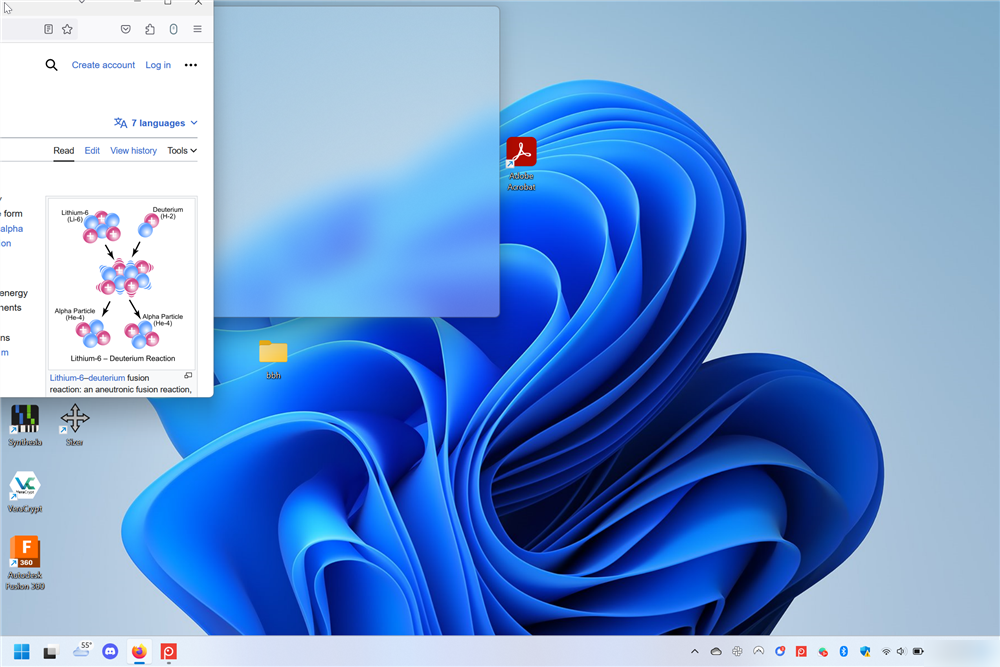
Windows will show you what your app will look like when it's pinned. At this point, let go of dragging, and your app will be pinned at your chosen location.
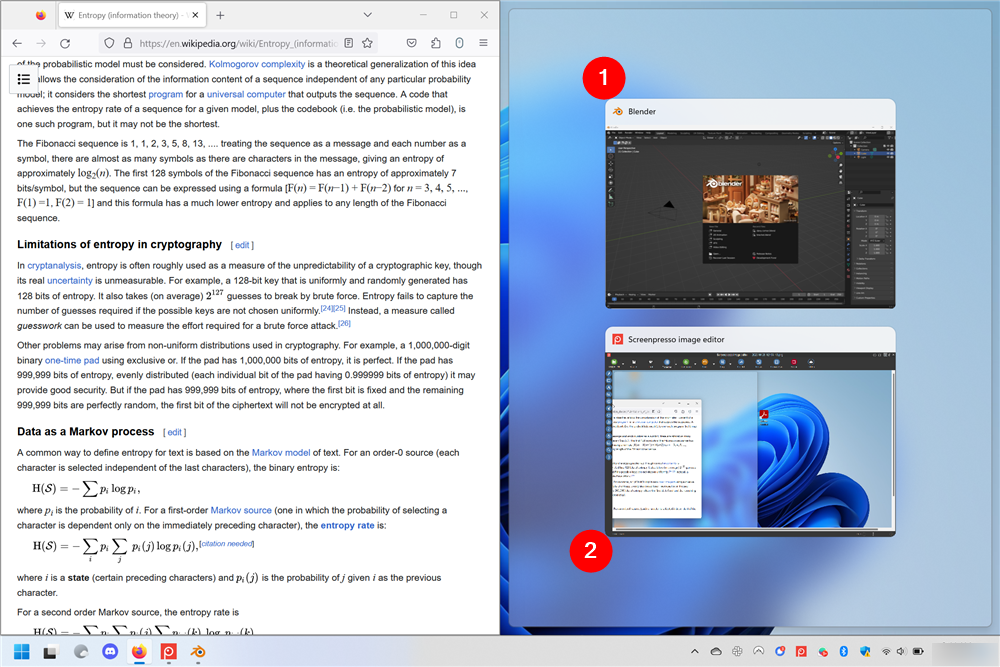
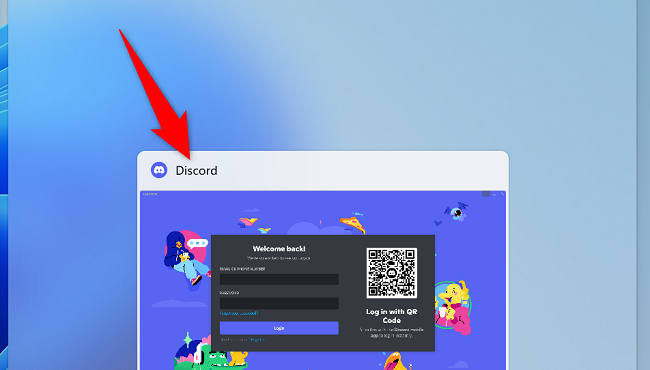
On the opposite side of the first pinned app, you'll see your other open apps. Here, choose the app you want to use to fill the other half of your screen.
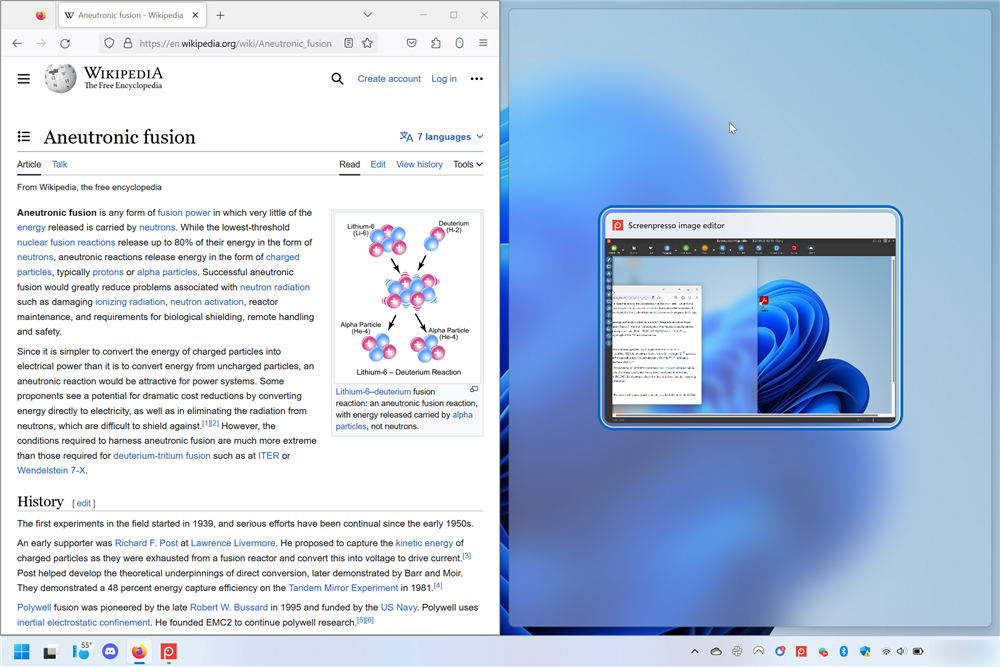
Windows will pin the second app to the opposite side of the first app.
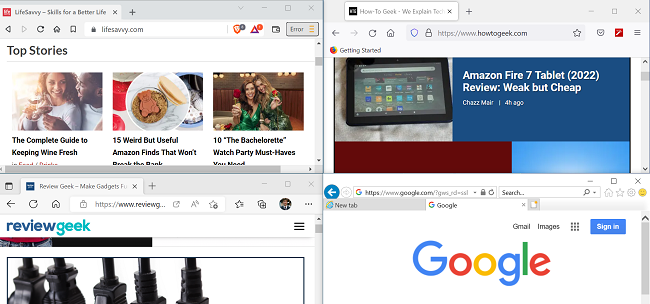
If you'd like to use four apps at once, then drag your first app toward one of the corners of your screen. Then, drag the other apps to the remaining corners and Windows will pin them there.
This behavior works with tabs too — if you drag a tab from the top bar of your browser and then touch your cursor to the side of your screen, that tab will open in a new browser window that is snapped to the side you put it on.
How to Split Screen on Windows 10 with a Keyboard Shortcut
To use a keyboard shortcut to split your screen, then when you're inside the first app, press Windows+Left Arrow to pin the app to the left of your screen, or press Windows+Right Arrow to pin the app to the right of your screen.
To pin apps in corners, then press Windows+Left Arrow or Windows+Right Arrow two times. Then, use Windows+Up Arrow or Windows+Down Arrow depending on which corner you want to pin your app in.
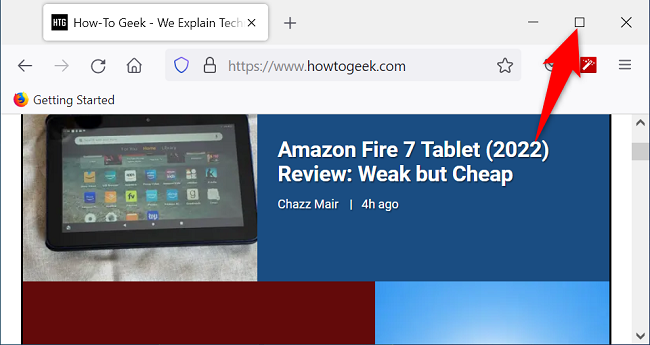
Later, to exit out of split-screen mode, click the "Restore Down" option in your app's title bar. It'll maximize the app, bringing it out of split-screen view.
And that's how you work with multiple apps at once using a built-in Windows feature. Very useful!
How to Split Screen on Windows 11 with the Mouse
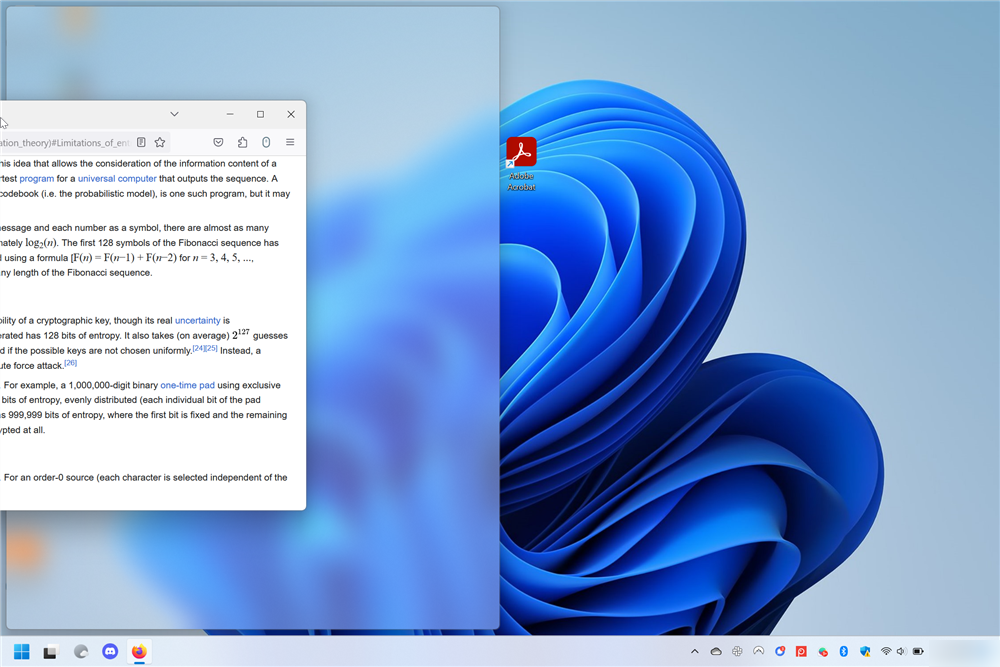
To use split screen on Windows 11, click and drag the title bar of the app to the left or right edge of your screen. You'll see a small animation at the location of your cursor, and you'll also see a translucent outline of where the window will be situated.
Once the window has snapped to the side, you'll be able to choose what window you want to snap to the other half of the screen.
The exact same principle applies if you want to split your screen into quadrants rather than halves. Just drag a window into any of the corners and release when the translucent box appears.
How to Split Screen on Windows 11 with the Keyboard
You can also split your screen using hotkeys on Windows 11, if you prefer that to the mouse. Press and hold the Windows key, then tap any of the arrow keys to snap the active window to a side. For example, press Windows + Left Arrow Key to snap the window to the left side of the screen. If you wanted to move it to the upper left quadrant from the left side, press Windows + Up Arrow Key.
You can freely move a window around the edges of your screen with the arrow keys, a bit like playing a game of Snake. If you hold the Windows key and press the Down Arrow Key twice the window will minimize.
How to Use Split Screen on Windows 11 with the Snap Windows Feature
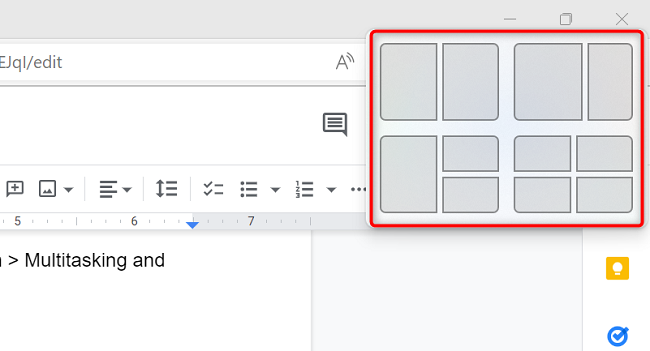
Besides all of the same options included with Windows 10, Windows 11 adds a new Snap Layouts feature to quickly pin your apps to various corners of your screen.
To use it, first, enable the feature by heading to Settings > System > Multitasking and toggling on the "Snap Windows" option.
When you're ready to split the screen, press Windows+Z on your keyboard. In your screen's top-right corner, you'll see various screen layouts to choose from. Here, click the layout in which you want to pin your open apps.
Windows 11 will pin your current app in the selected layout. It'll then ask you to choose other apps to fill in the remaining spots in the chosen layout.
You can then work with all your open apps as if they were individually running on your machine. Enjoy!
Did you know you can split the screen on other devices too? Check out our guides to learn how:

