Quick Links
Lots of Macs desktops look the same, but there are a lot of things you can do to make it feel like your own. This includes everything from changing the appearance and placement of items to modifying the way macOS feels and behaves.
Change Your Wallpaper (and Screen Saver)
Probably the most obvious and impactful visual decision you can make, you can change your macOS wallpaper using the System Preferences (System Settings) > Desktop & Screen Saver.
You can choose from Apple's dynamic wallpapers that change throughout the day, simple light and dark desktops that switch based on your current theme, or Apple's included wallpapers. You can also choose from your Photos library, nominate a folder, or turn on the "Change picture" option to keep things fresh.

If you still use a screen saver you can change this here too. We recommend saving energy instead and changing the "Turn off display after" setting to something nice and short under System Preferences (System Settings) > Battery (or Energy Saver on a desktop Mac.)
You can also set any image in Safari as your desktop wallpaper by right-clicking (or two-finger clicking) on it and selecting "Use as Desktop Wallpaper" from the context menu.
Choose Between Light, Dark, and Auto Themes
macOS now has a dark theme available, which is much easier on the eyes when using your computer at night. You'll find this option under System Preferences (System Settings) > General where you can choose from light, dark, and automatic themes. If you go for Automatic, your Mac will change based on the time of day.

You'll also find a few other options here, like the macOS accent color (which is used to highlight objects like menu items or desktop icons).
Set a Custom User Icon
Your user icon is what you see when you first boot your Mac, so make it personal. You can change what is displayed under the System Preferences (System Settings) > Users menu. Make sure your user account is selected on the left, then click on your current user icon to change.
You can choose from animated memoji in various poses, static emoji, a monogram of your initials, a photo taken with your webcam, a photo from your Photos library, or one of Apple's bundled images in the "Suggestions" tab. You can also click and drag any image of your choosing into the circle in the lower-left corner of the screen to use an image you've found on the web or created yourself.
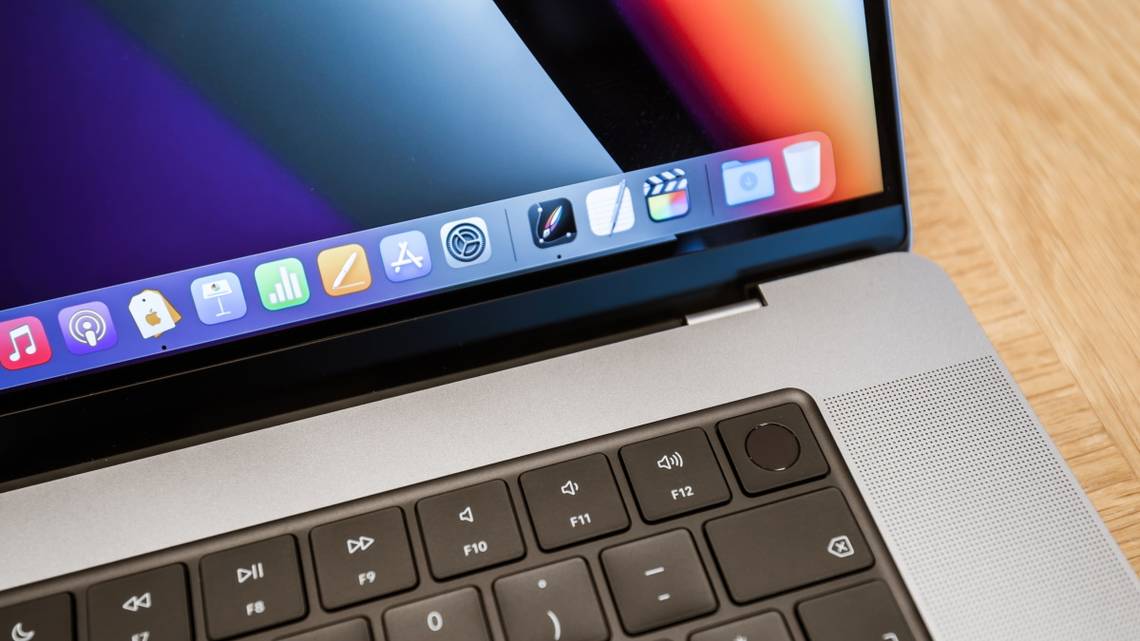
Customize the Dock
The Dock is one of the most functional aspects of your Mac desktop, so you should take some time to customize it so that it works for you. The first thing you should do is remove any icons that aren't useful by clicking one, dragging it out of the dock, and then releasing when you see the "Remove" label appear.
You can add items to your dock by clicking and dragging them from a folder like Applications or Utilities, or right-click an application that's currently open and choose Options > Keep in Dock from the context menu.

Head to System Preferences (System Settings) > Dock & Menu Bar to change things like the placement of your dock. Placing the dock on the left-hand side of the screen maximizes your available vertical screen space, useful if you have a MacBook with a smaller screen.
You can also remove the "Recent Applications" section of the dock if you don't find it useful to return to apps you've recently used. There are settings in this menu to auto-hide the dock, enable magnification, and change the animation styles used when minimizing and maximizing windows.

Perhaps one of the most useful things you can do is pin frequently-used folders to the dock. You can do this using the area on the far-right (or bottom, if you use a vertical dock) of the dock. Drag a folder into this section, then right-click on it to change how that folder is displayed (choose from Folder and Stack views, with the option to expand the folder in a List or Grid view).
You can then quickly access the folder from this section of the dock, or even drag items directly into that folder using the same shortcut.
Customize the Menu Bar
The menu bar is the thin strip of contextual and system preferences that runs along the top of the screen. On the left, you'll find the Apple menu and app-specific options like "File" and "Edit" while on the right you'll see the time and icons for currently-running apps and services.
You can tidy up this section of your menu bar using an app like Bartender ($16) or free alternative Dozer to hide unsightly icons while still being able to access them with a click. If you've not got enough stuff in the top-right corner of your screen, apps like iStatMenus (free to try) and Hot (free) can display information like CPU loads, read and write speeds, and internal temperatures at a glance.

Head to System Preferences (System Settings) > Dock & Menu Bar and click on "Clock" to change the way the time is displayed including options for a 24-hour clock and blinking second indicator. Click on "Battery" to add a percentage reading for your current battery level on MacBooks.
You can use other sections like Bluetooth and AirDrop to add dedicated icons to the menu bar or remove icons like Wi-Fi and Siri. It's also possible to auto-hide the menu bar under the "Dock and Menu Bar" option at the top of the list.
Customize Finder
Finder's sidebar contains favorites that allow you to quickly jump to different locations like Documents and Downloads. To remove any locations that aren't useful, right-click and choose "Remove from Sidebar" or launch a Finder window then click Finder > Preferences and use the "Sidebar" tab to check or uncheck items of interest.

You'll also find options to change which Finder windows display by default (under the "General" tab,) change tag labels and colors (under the "Tags" tab,) and change default Finder search behavior (under the "Advanced" tab.)
To add any other folders that you regularly use to your Finder sidebar (like an Invoices or Finance folder) click and drag the folder into the sidebar. Click and drag items within this area to rearrange them. If you can't see Finder's sidebar, you may have disabled it. Open a Finder window then use View > Show Sidebar at the top of the screen to turn it back on.
Lastly, if you want to display hidden files all of the time you can open up a new Terminal window, then type (or paste) the following, followed by Return:
defaults write com.apple.finder AppleShowAllFiles true; killall Finder
To hide them again, change true to false in the above command and run it again.
Add Some Widgets to Notification Center
macOS widgets are nothing groundbreaking, but a quick-glance month view calendar and world clock may be useful to you. You can access the notification center by swiping with two fingers from the edge of the trackpad. Outstanding notifications and widgets will be displayed here, you can click "Edit Widgets" at the bottom of the list to customize them.

Change Trackpad and Keyboard Behaviors
You might be happy with the default macOS keyboard and trackpad behaviors so you might want to leave these settings alone. Head to System Preferences (System Settings) > Trackpad to find options for turning on silent clicking (Tap to Click), change the trackpad sensitivity (Tracking Speed), modify haptic feedback (Click), or disable Apple's extra click (Force Click and haptic feedback) on the "Point & Click" tab.

Use the System Preferences (System Settings) > Keyboard menu to change the "Key Repeat" and "Delay Until Repeat" speed if you find typing feels a bit sluggish. We recommend this if you do a lot of typing and use text editing shortcuts like Shift+Arrow keys to select text. You can speed up the whole editing process by jacking up the repeat speed and having a shorter delay.
Make the Notch Disappear
Newer MacBooks like the 2021 MacBook Pro and 2022 MacBook Air have a notch at the top of the screen. Even though it's not really a big deal, you can make this feature practically disappear using apps like TopNotch, Forehead, and De-Notch-ifier. By adding a black background and rounded bezel to your current wallpaper, these apps make the whole menu bar blend into your MacBook's natural bezel.

Get Rid of Desktop Icons
If you like that clean desktop look you can turn off all of your Desktop icons, open a Terminal window, and type (or paste the following, followed by Return):
defaults write com.apple.finder CreateDesktop false; killall Finder
You can turn your icons back on by changing false to true in the above command. If you want fast access to this option with a simple click, you can use the Toggle Hide Desktop Shortcuts workflow. Be sure to enable Shortcuts in your macOS menu bar to make it easy to access.
Even with your Desktop icons turned off, you can still use the "Desktop" folder in Finder.
Organize Windows Faster
This is more of a productivity tweak than true customization, but it has the power to change how you use your Mac. You can quickly rearrange windows to make the most of your screen real estate using keyboard shortcuts and an app like Magnet ($7.99) or free alternative Rectangle.

Once installed you can use keyboard shortcuts like Control+Option+Left Arrow to place a window on the left half of your screen, and Control+Option+Right Arrow to place another on the right side. It's so useful you'll wonder why Apple didn't add it to macOS already.
Add a Windows-Style "Start" Menu
If you've come to macOS from Windows and miss a good old-fashioned Start menu, help is at hand. You can use uBar (free to try, $30) to completely replace the Mac dock with the familiar Windows-like interface you're used to. This includes quick launch icons, currently-open apps, and grouped windows. You can even hover to preview grouped windows.

The app may command a premium price, but if you simply can't get used to Apple's way of doing things it's a small price to pay to get your productivity back.
Consider Customizing Safari, Too
Safari is a solid browser, but it gets even better with a few extensions. Do more with Apple's browser by downloading some of the best Safari extensions from the Mac App Store.
Starting in macOS Ventura, expected in fall 2022, these extensions will even sync between iOS, iPadOS, and macOS. However, not all Macs will get macOS Ventura. If yours won't, you'll need to buy a new MacBook or desktop Mac to take advantage of these new features when Apple releases macOS Ventura.