Quick Links
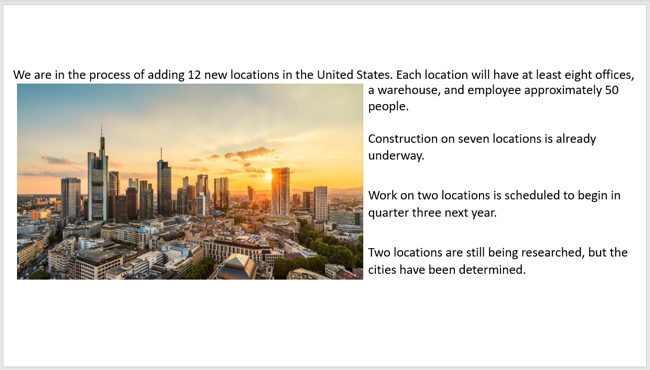
Placing text around an image brings a professional appearance to your presentation and makes the most of the space on your slide. Even though PowerPoint doesn't offer the same feature as Word for wrapping your text, there are a couple of ways to make it happen.
Option 1: Create the Wrapping in Word and Insert It in PowerPoint
This first method uses a combination of Microsoft Word and PowerPoint. You'll take advantage of the text wrapping feature in Word and then insert it as an object in PowerPoint.
Create the Wrapping in Word
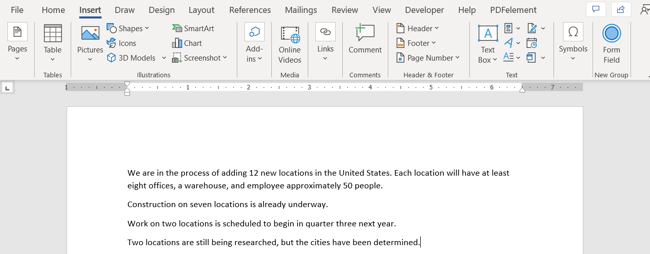
Open a blank document in Microsoft Word and enter your text.
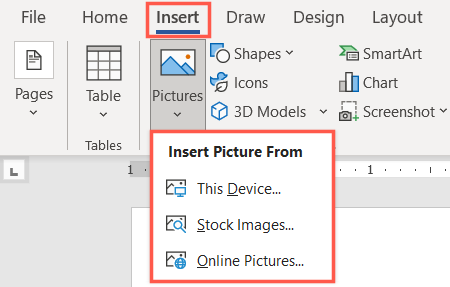
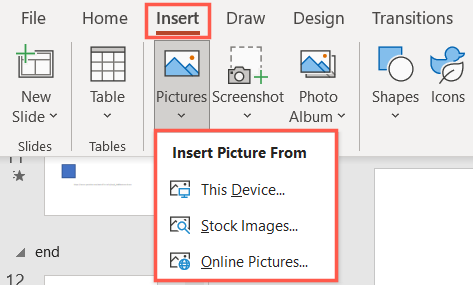
Add your image by going to the Insert tab. Click the Pictures drop-down arrow and choose the location of your image from This Device, Stock Images, or Online Pictures.
Locate and insert your image. You can resize it if necessary. Then, drag it inside of your text and click the Layout Options icon that appears in the right corner.
Pick the option you want to use below "With Text Wrapping" such as Square, Tight, or Top and Bottom per your preference.
You may need to move the image within the text so that it displays in the position you want.
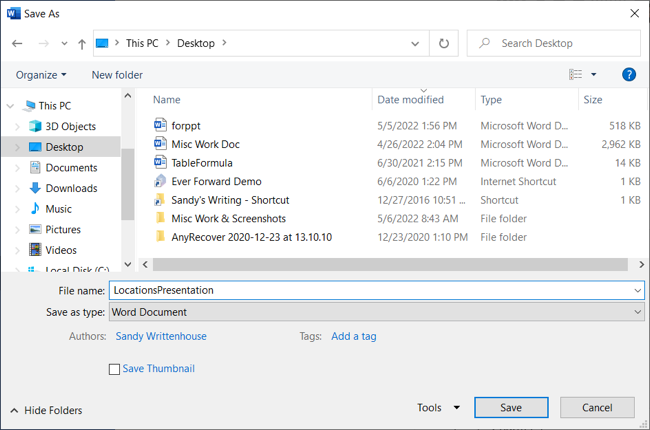
When you finish, save the document with an easy-to-remember name. Select File > Save, choose a location, enter a file name, and click "Save." Then, close the Word document.
Insert the Document in PowerPoint
Open your presentation in PowerPoint and go to the slide where you want to add the image and text. Select the Insert tab and click "Object" in the Text section of the ribbon.
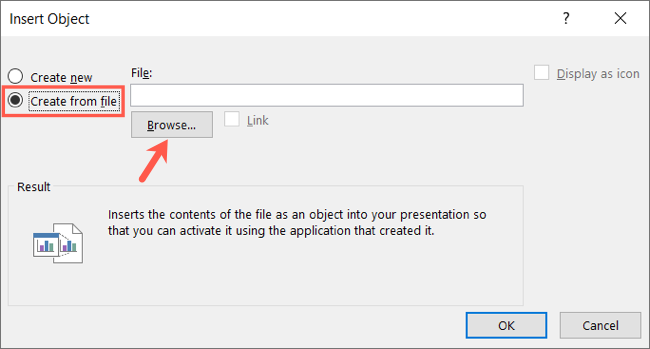
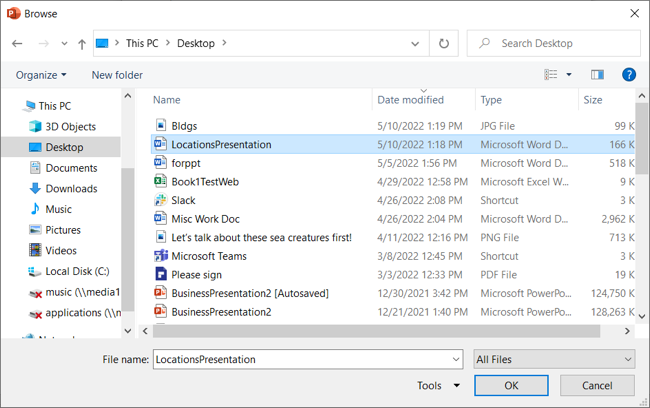
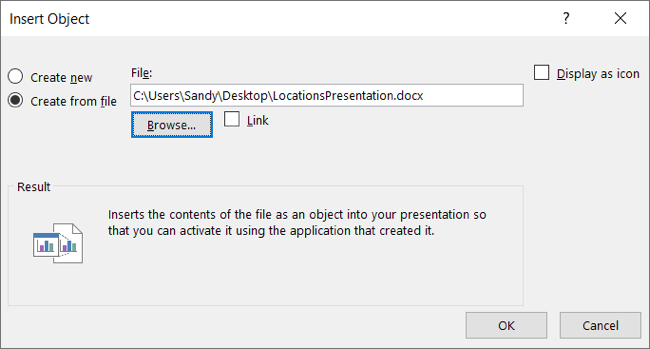
In the Insert Object box, choose the Create From File option on the left. Select "Browse" to locate the Word document you just saved and closed.
Select the file and click "OK."
You'll see the file path in the Insert Object box in PowerPoint so that you can confirm it's the correct one. Click "OK."
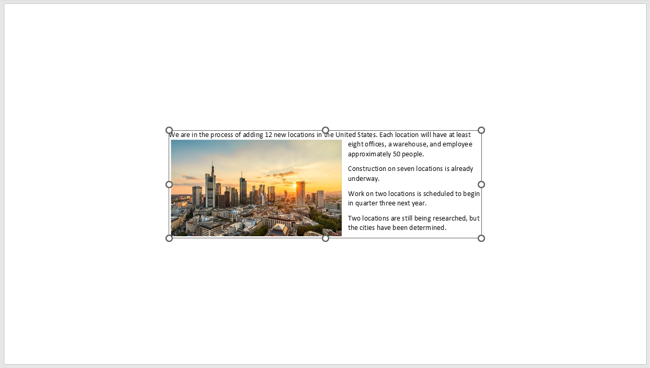
After a moment, you'll see the text and image from the Word document appear on your PowerPoint slide.
You can then move, resize, or place the object in line with your other slide elements as you like.
Keep in mind that you now have an object on your slide, not separate text and an image. So if you want to edit the text or the image, you'll need to do so in Word and then reinsert the updated object on your slide.
Option 2: Get Creative With Text Boxes in PowerPoint
While the above method works fine for wrapping text around an image in PowerPoint, it may not be ideal in your situation. You may want the ability to update the text as you go or format it on the fly. In this case, you can insert and arrange text boxes around your image instead.
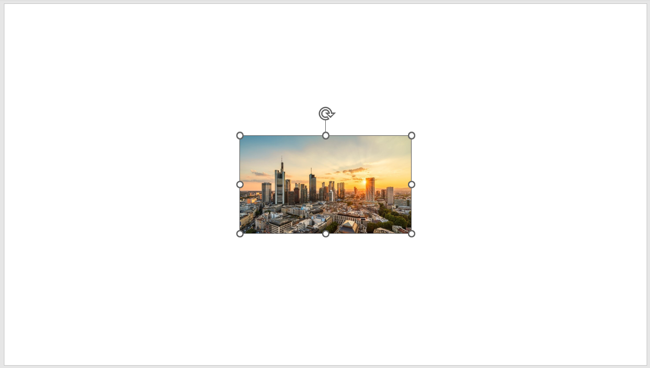
If you haven't already done so, go to the slide where you want the text-wrapped image and insert that image.
Select the Insert tab and use the Pictures drop-down arrow to locate and add your image. You have the same options as in Microsoft Word: This Device, Stock Images, and Online Pictures.
Locate the image and click "Insert" to add it to the slide.
You can then move the image by dragging it or resize it by dragging in or out from a corner or edge. While not necessary, it's helpful to have the image positioned and sized before adding the text boxes so that you can place those where needed.
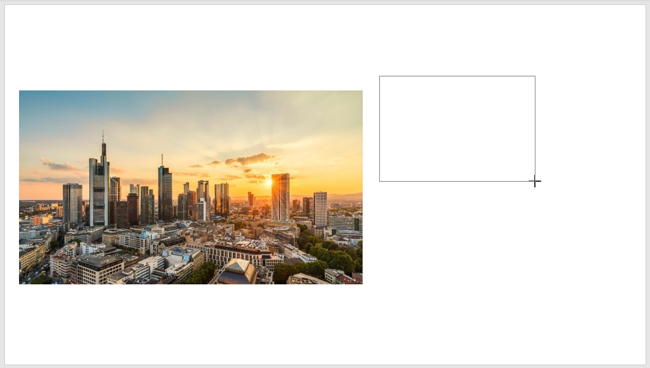
Next, return to the Insert tab and click "Text Box" in the Text section of the ribbon.
You can then either draw the text box in the size you want or simply click to place the box on your slide which will adjust as you add your text.
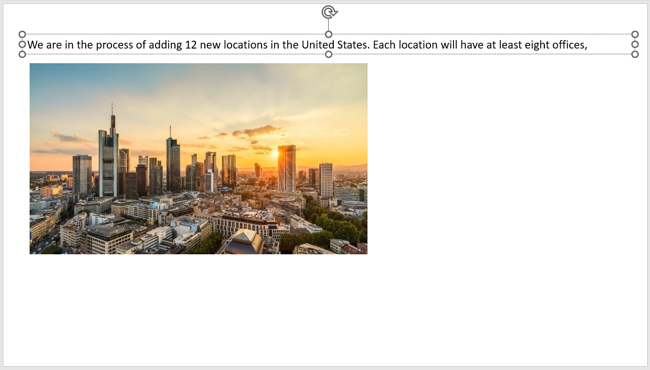
Enter your text or copy and paste it from your Word document (you'll need to reopen the file you saved.)
Try to add a small amount of text into the box. If you can break it up by sentences or fragments, this gives you more flexibility to move the text boxes around the image.
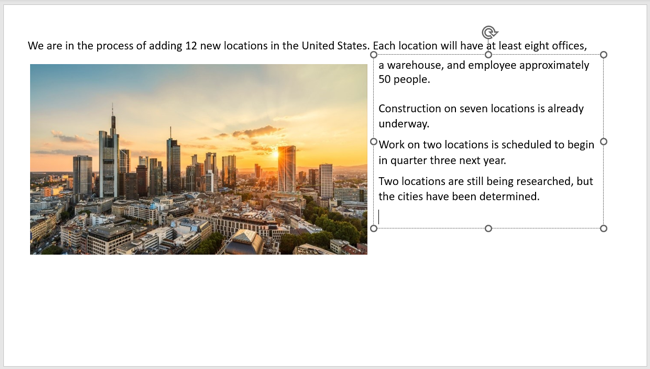
Continue to insert more text boxes, adding the text to each one. Then, drag the text boxes to place them around the image.
Unlike using the object from Word, you can resize the image, change the font size, and make adjustments to fit the elements exactly as you want on your slide.
You can also anchor the text to the image if you want it to move them together after your formatting and adjustments.
Until PowerPoint has the same type of text-wrapping feature that applications like Microsoft Word and Google Docs have, these options should have you covered.


