If you need to perform certain GPU-intensive tasks, like 3D modeling or playing top-tier games, it can be useful to know your Windows 11 PC's VRAM amount. There's an easy way to check this, and we'll show you how.
Fortunately, Windows 11 includes a built-in option to check the VRAM, so you don't have to install or use a third-party app. To check your PC's VRAM, first, launch Settings on your PC by pressing the Windows+i keyboard shortcut.
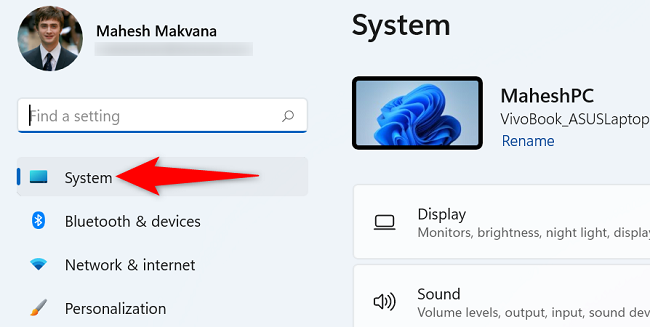
In Settings, from the left sidebar, select "System."
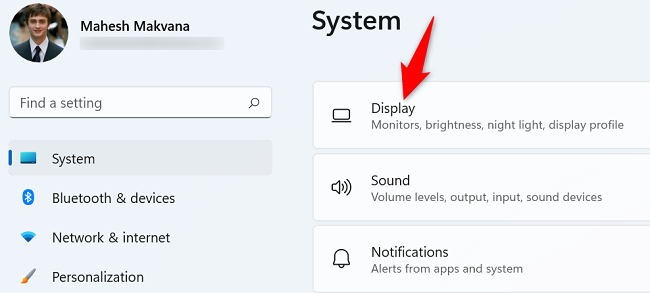
On the right pane, choose "Display."
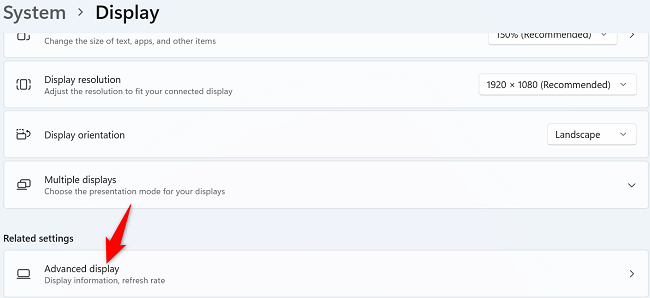
In the "Display" menu, at the bottom, click "Advanced Display."
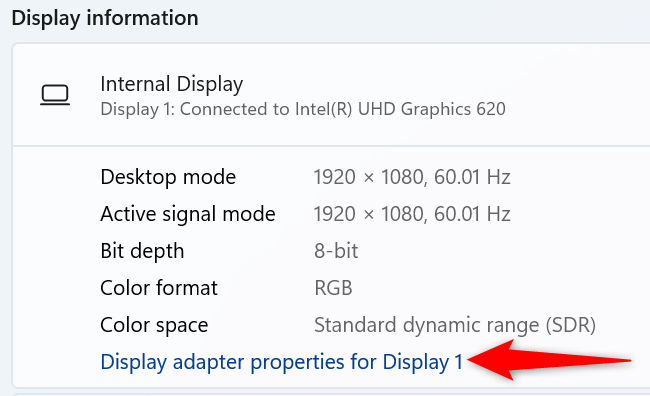
On the "Advanced Display" screen that opens, in the "Display Information" section, choose "Display Adapter Properties for Display 1."
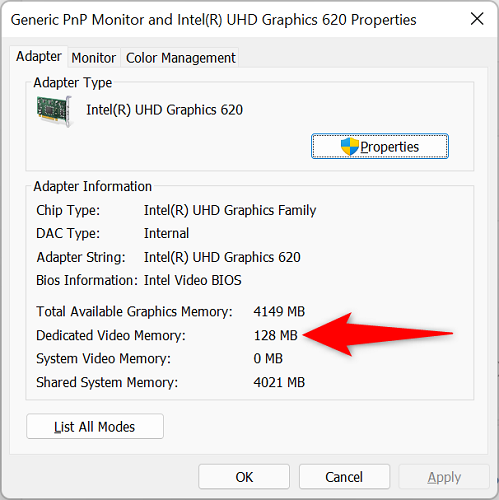
A window will open on your screen. In this window, next to "Dedicated Video Memory," you will see your PC's VRAM. In the below example, it's 128 MB.
And that's how you know what amount of memory your graphics card has on your Windows PC. Very useful!
If you're checking VRAM for gaming, also consider updating your graphics card drivers for maximum gaming performance.

