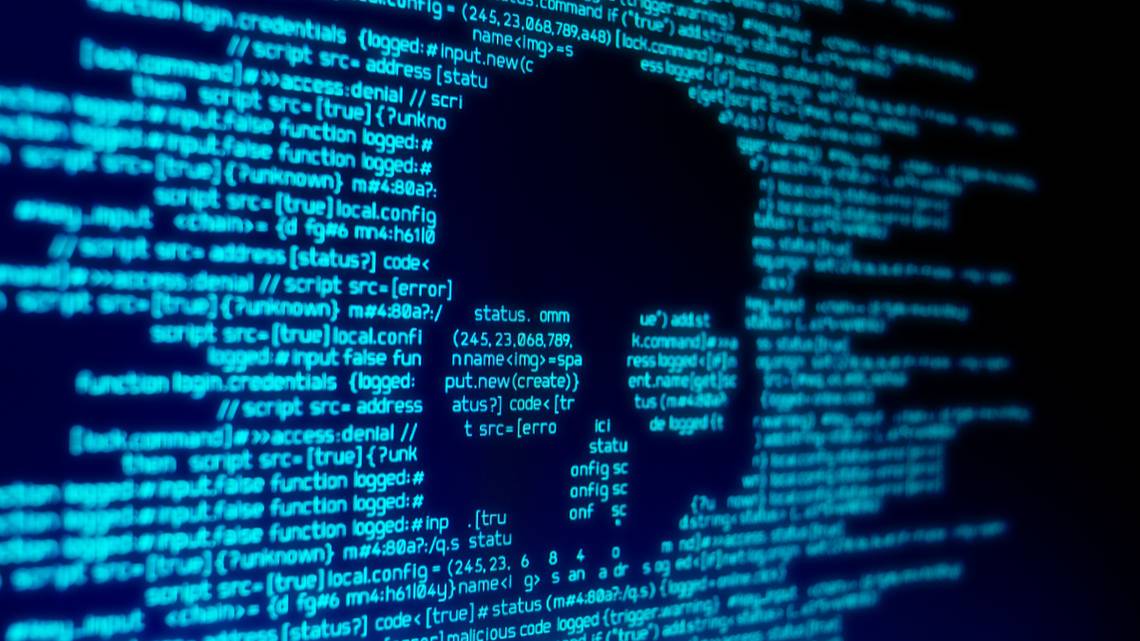
In March 2022, we published instructions for installing the Google Play store on Windows 11. The method involved an open-source project from GitHub. Unfortunately, it contained malware. Here's how to fix it.
Let's lead with the important part:
At this point in time, we don't have reason to believe that any of your sensitive information was compromised.
Here's What Happened
Windows 11 introduced the ability to install Android apps, but not via the Google Play Store. Naturally, people began looking for ways around this. The tutorial we published contained instructions to download a script from a third-party website. Over the weekend, a group working with the script discovered it contained malware.
Some other websites also recommended this script. Even if you followed another website's tutorial, you might have downloaded the script that contained the malware.
What the Script Did
The script downloaded a tool --- Windows Toolbox --- that includes a feature to install the Google Play store to your Windows 11 device. Unfortunately, the script that downloaded the Windows Toolbox did more than it advertised. It also contained obfuscated code that would set up a series of scheduled tasks and created a browser extension targeting Chromium-based browsers --- Google Chrome, Microsoft Edge, and Brave. Only Windows PCs with their language set to English were targeted.
The browser extension was then run in a "headless" browser window in the background, effectively hiding it from the user. At this time, the group that discovered the malware thinks the primary purpose of the extension was ad fraud, rather than anything more sinister.
The scheduled tasks also ran a handful of other scripts that served a few different purposes. For example, one would monitor the active tasks on a PC and kill the browser and extension being used for ad fraud any time Task Manager was opened. Even if you noticed your system acting a bit laggy and went to check for a problem, you wouldn't find one. A separate scheduled task, set to run every 9 minutes, would then restart the browser and extension.
The most concerning pair tasks created would use curl to download files from the original website that delivered the malicious script, and then execute whatever it downloaded. The tasks were set to run every 9 minutes after a user logged into their account. In theory, this could have been used to deliver updates to the malicious code to add functionality to the current malware, deliver totally separate malware, or anything else the author wanted.
Luckily, whoever was behind the attack didn't get there --- so far as we know, the curl task was never used for anything more than to download a test filed named "asd," that did nothing. The domain that the curl task downloaded files from has since been removed thanks to speedy action from CloudFlare. That means that even if the malware is still running on your machine, it cannot download anything else. You just need to remove it, and you're good to go.
To reiterate: As Cloudflare has removed the domain, the malware cannot download any additional software or receive any commands.
If you're interested in reading a detailed breakdown of how the malware delivery was staged, and what each task does, it is available on GitHub.
How to Fix It
There are two options available right now to fix it. The first is to manually delete all of the impacted files and scheduled tasks yourself. The second is to use a script written by the people who discovered the malware in the first place.
At the moment, no antivirus software will detect or remove this malware if it is running on your machine.
Cleaning Up Manually
We'll start by deleting all of the malicious tasks, and then we'll delete all of the files and folders it created.
Removing Malicious Tasks
The tasks created are all buried under the Microsoft > Windows tasks in Task Scheduler. Here's how to find and remove them.
Click Start, then type "Task Scheduler" into the search bar and hit Enter or click "Open."

You need to navigate into the Microsoft > Windows tasks. All you need to do is double click "Task Scheduler Library," "Microsoft," and then "Windows," in that order. That holds true for opening up any of the tasks listed below, too.
Once you're there, you're ready to begin deleting tasks. The malware creates as many as 8 tasks.
Because of how the malware works, you might not have all of the listed services.
You need to delete any of these that are present:
- AppID > VerifiedCert
- Application Experience > Maintenance
- Services > CertPathCheck
- Services > CertPathw
- Servicing > ComponentCleanup
- Servicing > ServiceCleanup
- Shell > ObjectTask
- Clip > ServiceCleanup
Once you identify a malicious service in the Task Scheduler, right-click it, then hit "Delete."
Do not delete any other tasks aside from the precise ones we mentioned above. Most tasks here are created by Windows itself or by legitimate third-party applications.

Delete all of the tasks from the above list that you can find, and then you're ready to move on to the next step.
Removing Malicious Files and Folders
The malware creates only a handful of files, and luckily, they're contained within only three folders:
- C:\systemfile
- C:\Windows\security\pywinvera
- C:\Windows\security\pywinveraa
First, open File Explorer. At the top of File Explorer, click "View," go to "Show," and then make sure "Hidden Items" is ticked.

Look for a slightly transparent folder named "systemfile." If it is there, right-click it and hit "Delete."
There have been some reports that the systemfile folder will remain invisible even if "View Hidden Folders" is enabled. We cannot duplicate this behaviour, but you should still check for yourself out of an abundance of caution. Enter the path "C:\systemfile" into the address bar of File Explorer and then hit Enter. If you can open the folder by entering the path manually, but cannot view it in File Explorer, you should use the script we attached to ensure the folder and all of its contents are deleted.
Be sure you correctly identify the folders we're about to delete. Accidentally deleting real Windows folders can cause problems. If you do that, restore them from the Recycle Bin as soon as possible.
Once you delete the "systemfiles" folder, double-click the Windows folder, and then scroll until you find the "Security" folder. You're looking for two folders: one is named "pywinvera" and the other is named "pywinveraa". Right-click each of them, and then click "Delete."

Deleting files and folders within the Windows folder will probably trigger a warning about needing administrative privileges. If prompted, go ahead and allow it. (Be sure you're deleting only the exact files and folders we mention here, however.)
You're done --- while annoying, this particular piece of malware didn't do too much to protect itself.
Cleaning Up With a Script
The same eagle-eyed folks that identified the malware in the first place also spent the weekend dissecting the malicious code, determining how it functioned, and ultimately, writing a script to remove it. We'd like to give a shout-out to the team for their efforts.
You're right to be leery of trusting another utility from GitHub considering how we got here. However, the circumstances are a bit different. Unlike the script involved in delivering the malicious code, the removal script is short, and we've manually audited it --- every single line. We're also hosting the file ourselves to ensure that it cannot be updated without giving us the opportunity to manually confirm it is safe. We tested this script on multiple machines to make sure it was effective.
First, download the zipped script from our website, and then extract the script anywhere you want.
Then you need to enable scripts. Click the Start button, type "PowerShell" into the search bar, and click "Run as Administrator."

Then type or paste
set-executionpolicy remotesigned
into the PowerShell window, and hit Y. You can then close the PowerShell window.

Navigate to your downloads folder, right-click Removal.ps1, and click "Run with PowerShell" The script will check for the malicious tasks, folders, and files on your system.

If they're present, you'll be given the option to delete them. Type "Y" or "y" into the PowerShell window, and then hit Enter.

The script will then delete all of the junk created by the malware.

Once you've run the removal script, return your script execution policy to the default setting. Open PowerShell as administrator, enter
set-executionpolicy default
, and hit Y. Then close the PowerShell window.
What We're Doing
The situation is evolving, and we're keeping an eye on things as it does. There are still some unanswered questions --- like why some people report an unexplained OpenSSH Server being installed. If any important new information comes to light, we'll be sure to keep you updated.
Editor's Note: Over the past 15+ years, we've seen many Windows applications and browser extensions turn to the dark side. We strive to be incredibly careful and only recommend trustworthy solutions to our readers. Because of the increasing risk that malicious actors pose to open-source projects, we will be even more diligent with future recommendations.
Additionally, we'd like to stress once again that there is no evidence your sensitive information was compromised. The domain the malware depends on has now been removed, and its creators can no longer control it.
Again, we'd like to offer a special thanks to the people that worked out how the malware functioned and built a script to automatically remove it. In no particular order:
- Pabumake
- BlockyTheDev
- blubbablasen
- Kay
- Limn0
- LinuxUserGD
- Mikasa
- OptionalM
- Sonnenläufer
- Zergo0
- Zuescho
- Cirno
- Harromann
- Janmm14
- luzeadev
- XplLiciT
- Zeryther