If you're looking for a unique way to spruce up your slideshow, check out the 3D model feature in Microsoft PowerPoint. You can insert a 3D image then resize it, rotate it, and even animate it with a nifty effect.
If you have your own 3D model, this is a great way to present it to your client or show it off. But you can also pick one from the online library with plenty of categories to match your slideshow's theme or mission.
Insert a 3D Model in PowerPoint
Open your presentation in PowerPoint and head to the slide where you want to add the model. Go to the Insert tab and click the drop-down arrow for 3D Models in the Illustrations section of the ribbon.
Choose either "This Device" to upload your own model or "Stock 3D Models" to pick one from the library.

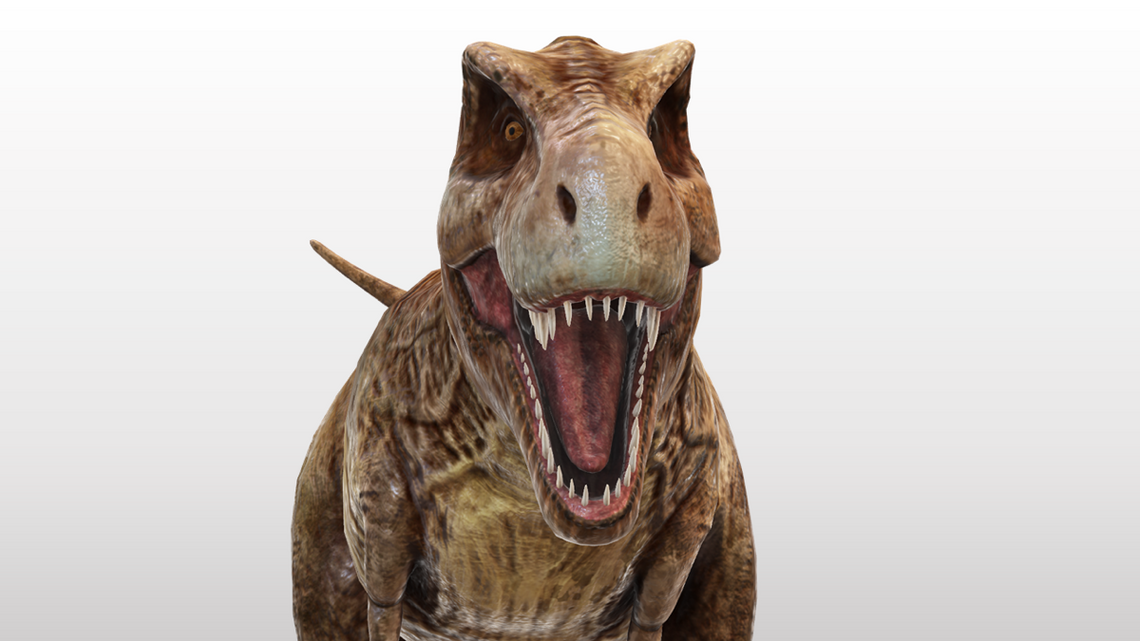
If you want to browse the Online 3D Models available, you'll see many categories. With everything from animals and avatars to vintage cartoons and vehicles, you're sure to find one to enhance your show. You can also use the Search 3D Models field to find a particular one.

Once you choose the model(s) you want to use from your device or the library, click "Insert" to pop it onto the slide.
Customize a 3D Model
After you insert the 3D model, you can move it anywhere on the slide by dragging it or resize it by dragging a corner inward or outward, just like an image. You can rotate it by dragging the icon in the center in any direction.

To customize it further, select the model and go to the 3D Model tab. You can choose a view for the model from a nice collection of options. Use the 3D Model Views section of the ribbon to pick the style you want.

Another useful customization option is the Pan & Zoom feature on the right side of the ribbon. With it, you can focus on a specific part of the 3D model.

To use Pan & Zoom, select the model and click the button in the ribbon. You'll see a magnifying glass appear on the right side of the image. Drag it up or down to zoom in or out. You can also move the image inside of its border, helping you get to the exact spot you want. Click the Pan & Zoom button when you finish to deselect the tool and turn it off.
You can then use the additional tools in the ribbon on the 3D Model tab to add alt text, bring the model forward, send it backward, or align it with other objects on the slide.

Animate a 3D Model
Maybe you'd like to add some motion to your model. PowerPoint offers a handful of animations specifically for 3D models that make them shine.
Select the model and go to the Animations tab. Choose an effect in the Animations section of the ribbon. You can pick from an Entrance (green), a few Emphasis (orange), and an Exit (red) effect for the 3D model.

After you add the effect, you can customize it like other animations in PowerPoint. Select the effect number, go to the Animations tab, and choose the Timing or Advanced Animation options.

Once you finish inserting, customizing, and even animating your 3D model in PowerPoint, you'll have an entertaining addition to your slideshow.
For more on enhancing your PowerPoint slideshows, take a look at how to add rolling credits or how to insert a video.