Quick Links
Key Takeaways
- To change the user name of a Microsoft account, log in to your Microsoft Account, click on your name, and then click "Edit name."
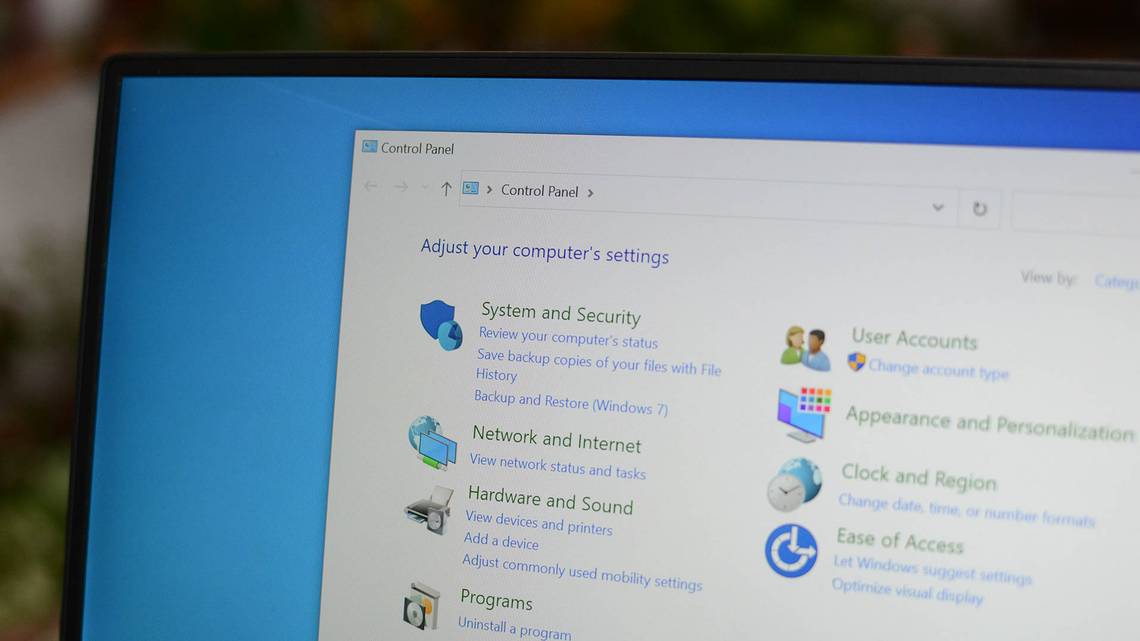
- To change the user name of a local account, use Control Panel. Click Start, type "Control Panel," click "User Accounts," and then click "Change your account name."
- Alternatively, you can change the user name using netplwiz. Press Windows+R, type "netplwiz," select the user name you want to change, click "Properties," and then enter the new user name.
If you want to change the user name associated with your Windows user account, you can — but there are different ways to change it depending on what kind of account you have. Here's how you do it.
How to Change a Microsoft Account Name
If you're signed in with a Microsoft account you have to change your user name on the Microsoft website.
To begin, log in to your Microsoft Account. Edge users will probably be logged in automatically. If you're not using Microsoft Edge as your default browser, you'll have to log in manually. You can also navigate to Settings > Accounts > Your Info and click "Manage My Account" to access the page.
Once you've logged in, click on your name at the top of the screen.

Then look towards the bottom-right side of the first section — click "Edit name."

Fill in your desired user name and the captcha in the popup, then click "Save."

How to Change a Local Account Name with Control Panel
The way you change a user name is different if you're logged in with a local account. You'll need to use Control Panel, since the option isn't available in the Settings App.
First, click Start. Then, type "Control Panel" into the search bar and hit Enter.
The user interfaces in Windows 10 and Windows 11 are not identical, though they are similar. Within Control Panel and subsequent menus, the differences are only cosmetic. If something looks a little different, don't worry about it.
Click "User Accounts" in the Control Panel.

Then, click "User Accounts" again.
Click on "Change your account name" in the list.

If User Account Control (UAC) presents you with a prompt at this point, go ahead and allow it. Then, type the new name you'd like in the text box. Finally, click "Change Name."

After you click "Change Name," close the user account screen.
How to Change a Local Account Name With netplwiz
Alternatively, you can change your user name using netplwiz. The netplwiz method works on both Windows 10 and Windows 11.
To start, hit Windows+r and type "netplwiz" into the run box, then hit Enter or click "Ok."

Select the user name you want to change, and then click "Properties."

Type the new user name in the box, click "Apply," and then click "Ok."

Whether you're using a Microsoft account or a local account, you should restart your PC to make sure the changes stick.
It is also important to note that your user folder will not be renamed or moved. Windows and many other applications store files and settings in sub-folders of your user folder — consequently, it is difficult to change the name of your user folder without breaking things. So if your original user name was Bill, and you changed it to Tom, your user folder will still be "C:\Users\Bill" rather than "C:\Users\Tom ."