Quick Links
If you need to transfer Oculus Quest 2 screenshots to your Windows PC or Mac, the method might not seem obvious, but it's actually pretty easy. For a PC, all you need is the proper USB cable. On a Mac, you'll also need to use a free utility. Here's how to do it.
Requirements and First Steps
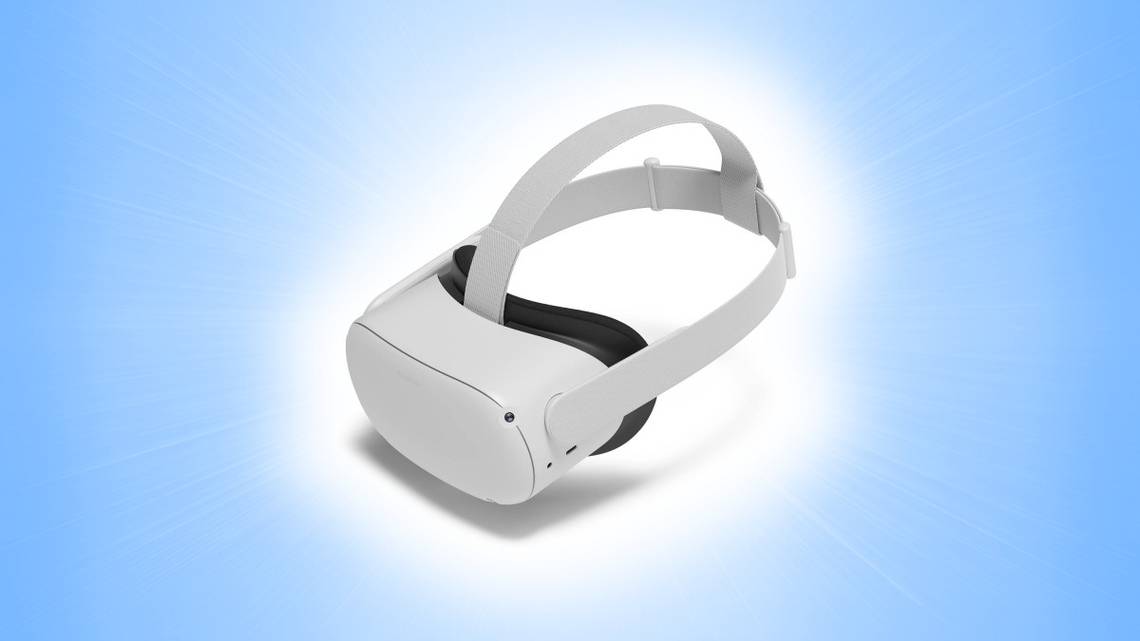
When you take a screenshot on the Oculus Quest or Quest 2, your VR headset saves them as 1024x1024 JPEG image files in a special folder on your Quest device. You can copy them over using a similar method to the way you might copy files from an Android smartphone.
Before you get started, make sure you have a USB-C cable that matches the type of USB port you have on your Mac or PC. If your computer has only USB-A ports, you'll need a USB-C to USB-A data cable. If your computer only has USB-C ports, you'll need a USB-C to USB-C data cable.
If you use a Mac, you'll also need Google's free Android File Transfer utility. Download and install it now. Windows PC owners do not need to use a utility.
Once you have the cable ready, power on your Oculus Quest 2 headset and log in to your PC or Mac. Using the USB-C port on the side of the Quest headset, connect the USB data cable between the Quest 2 and your computer, then put on the Quest 2 headset.

On the Quest screen, you'll see a message titled "Allow Access to Data" that warns, "The connected device will be able to access files on this headset." Using hand tracking or a Quest controller, select "Allow."

Next, take off your headset and read the appropriate section below with transfer instructions for Windows PCs or Macs.
How to Transfer Quest Screenshots to a Windows PC
To transfer screenshots from a Quest 2 to Windows (if you've already linked up---see the section above), first open File Explorer on Windows 10 or Windows 11. Under "This PC" in your sidebar, you'll see an entry for "Quest" or "Quest 2." Or you can open "This PC" and you'll see the Quest listed in the "Devices and Drives" category.

Open the Quest by double-clicking its drive icon, then navigate to the "Oculus" folder. Your screenshots are stored in a folder called "Screenshots." Click and drag the Screenshots folder to your desktop to transfer them all, or you can copy and paste individual screenshots wherever you'd like.

When you're done copying, you can optionally delete the screenshots in the
\Oculus\Screenshots
folder on your device using File Explorer. To finish up, unplug your Quest from your PC, and you can use your Quest as usual.
How to Transfer Oculus Quest Screenshots to a Mac
To transfer screenshots from an Oculus Quest 2 to a Mac (that you've linked using the instructions above), first open the Android File Transfer app on your Mac---if it didn't already open automatically when you plugged in your Quest.
When it opens, you'll see many folders listed. Double click the "Oculus" folder entry in the list.

Once you've opened the Oculus folder, drag the "Screenshots" folder to another location on your Mac, such as your desktop or another folder. This will copy all of the screenshots from your Quest to that location.

If necessary, you can also open the Oculus/Screenshots folder and copy out individual images. When you're done, unplug your Quest 2 from your Mac, and you're good to go. Happy gaming!