Read update
- The porting project Asahi Linux has published its first alpha release, complete with a usable desktop environment. The release is intended for "developers and power users," and several features and tools aren't yet working, but you're welcome to follow the project's instructions and try an install.
Quick Links
Native Linux support for Apple's new ARM-based architecture isn't yet ready, but you can run Linux on an M1, M1 Pro, or M1 Max using a virtual machine. This allows you to run 64-bit x86 Linux apps or try out different distros from the comfort of macOS.
You Can't Run Linux Natively on Apple Silicon (Yet)
Native Linux support for Apple Silicon chips is coming. If you can't wait any longer, you can run Linux right now in a virtual machine.
UPDATE: 3/22/22
The porting project Asahi Linux has published its first alpha release, complete with a usable desktop environment. The release is intended for "developers and power users," and several features and tools aren't yet working, but you're welcome to follow the project's instructions and try an install.
You can do this for free with a virtual machine (VM) app called UTM. There's also a paid $9.99 Mac App Store version that you can buy to support developers and gain access to automatic updates through the store interface.
You can use this app to emulate a large number of processor architectures, including x86-64 ("proper" desktop Linux) as well as ARM and PowerPC.
To get started, download UTM and a Linux distribution of your choosing, then get started on creating a virtual machine with UTM.
You can use UTM to run ARM64 versions of Linux at "near native" speeds, while lower performance emulation can be achieved in 32-bit and 64-bit x86 versions. It's up to you what you choose, but you'll need to match your version to your system architecture in the instructions below.
The Easy Route: Use UTM Gallery
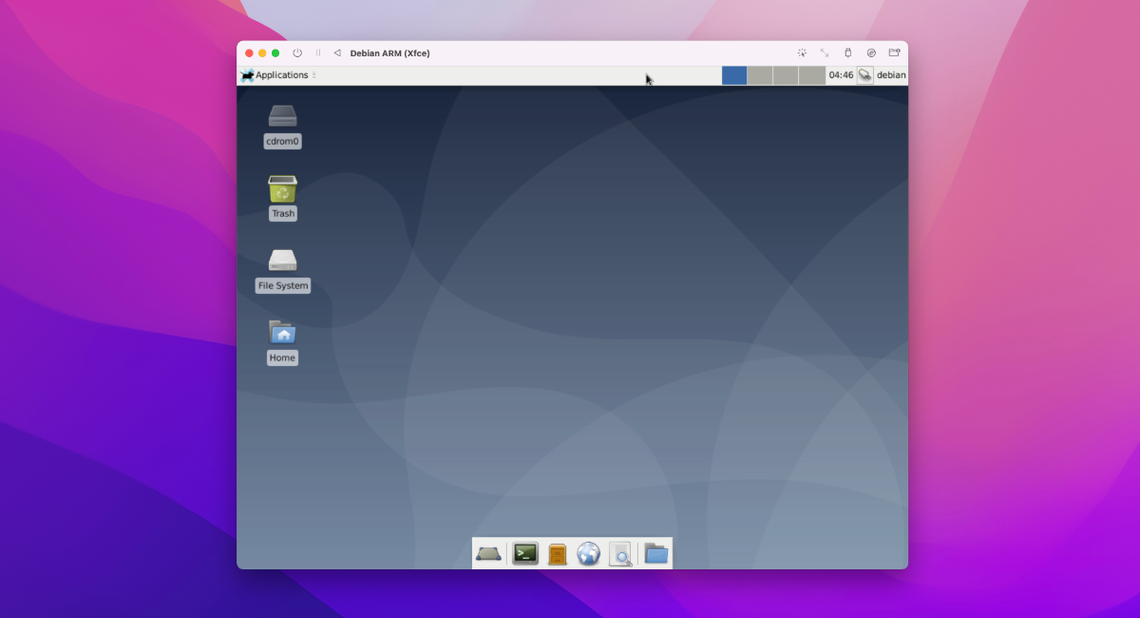
UTM provides some ready-made VMs that you can download and install, which lets you hit the ground running and not worry about configuring your own machine. This is by far the easiest route to take, with support for some popular distros like Arch Linux (ARM), Debian (ARM), Ubuntu (x86-64 and ARM).
For Linux and similar open source projects, the VM downloads are provided with everything you need including the disk image required to run the operating system.

You can also use this Gallery feature to download ready-to-run VMs for Windows 10 and 11, Windows XP, and macOS 9 but you'll need to provide your own disk images.
Simply head to the Gallery page and select the VM you would like to install. Click "Download" to save the configuration to disk, then open UTM and click File > Import Virtual Machine.
Select the UTM file you downloaded and it will be imported. In the case of Linux, all you have to do is click the "play" button and your VM will begin. We strongly recommend ARM64 images for performance reasons. In our testing the x86-64 version of Ubuntu ran at a glacial pace, even on an M1 Max processor.

If you receive an error like "Number of SMP CPUs requested (10) exceeds max CPUs supported by machine 'mach-virt' (8)" right click on your VM, and select "Edit", then head to "System" and check "Show Advanced Settings" then under "CPU Cores" enter 8 (or whatever the "max" is quoted as in the error).
Creating Your Own Virtual Machine With UTM
You can also create your own VM, but be prepared to do some troubleshooting to get everything working. As an example, we were able to get x86-64 Puppy Linux 9.5 to boot up to the point where the X window manager is launched, at which point it would (seemingly) hang.
Launch UTM and click on the "Create a New Virtual Machine" button, then give your new VM a name you can recognize in the "Information" tab:

Move on to the "System" tab and select your desired system architecture (you'll need to match this to the version of Linux you downloaded) and select the desired amount of RAM you want to dedicate to your machine.

Now head to the "Drives" tab and delete any existing drives by clicking the trash can icon next to them. Create a removable drive from which to install Linux by clicking "New Drive" then checking the "Removable" box and choosing "USB" as the interface.

Click on the "New Drive" button again and create a non-removable installation drive with a size of your choice, choosing "IDE" as the interface.

Confirm that your removable USB drive is at the top of the list (if it isn't, click the "up" arrow to move it above your installation drive so that the VM looks for your virtual USB drive before your empty virtual hard drive.
Click the "Save" button and highlight the machine you just made. Click on the "CD/DVD" drop-down box and locate the Linux ISO you would like to boot.

Finally hit the "Play" button to start your virtual machine and wait for Linux to load.

If you encounter problems you may want to change "System" type on the "System" tab, and check "Show Advanced Settings" to see even more options you can change. You may have joy emulating some of the settings provided in ready-to-run UTM gallery VMs, as per the section above.
Parallels Works Too
UTM is free but not without its quirks. If you already own Parallels or you want to use Parallels to get a more stable Windows 10 experience, you can also use Parallels to create Linux VMs on Apple Silicon.
You may also be interested in our guide to getting Windows 11 working on Apple Silicon.