In Windows 11, fonts put personality into your writing with new typeface styles. In addition to the default fonts, you can easy to install new fonts---or remove fonts you don't need. Here's how to do both.
How to Install a Font on Windows 11
To install a new font in Windows 11, you'll need a compatible font file. You can download free fonts from the web, copy them over from another system, or purchase them online. Windows 11 supports TrueType (.ttf), OpenType (.otf), TrueType Collection (.ttc), or PostScript Type 1 (.pfb + .pfm) formats.
Next, open File Explorer and locate the font file you'd like to install. Double click the font file to open it.

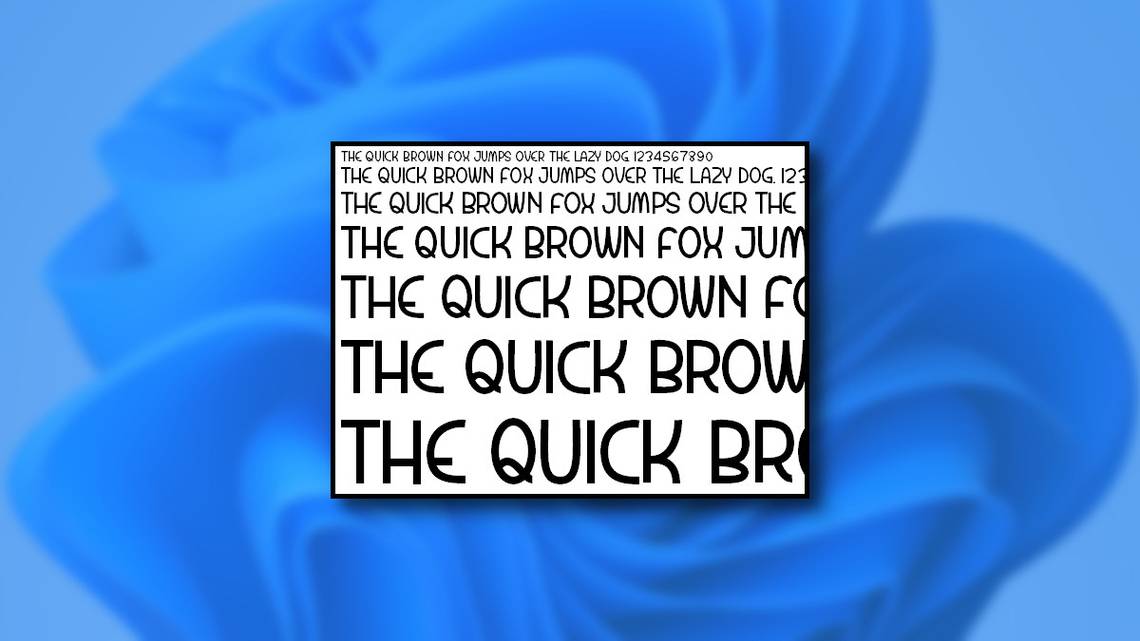
Windows will open a sample of the font in a special font preview window. Click "Install" to install the font. This will automatically move the font file to your Windows system fonts folder (which is
C:\Windows\Fonts
by default).

And that's it! Your font is now installed and available as an option in Microsoft Word and other applications. Repeat as often as you'd like to install other fonts.
In the future, you can also install a font by right-clicking a font file, selecting "Show More Options," then clicking "Install" in the context menu.
How to Uninstall a Font on Windows 11
Uninstalling a font in Windows 11 is as easy as a trip to the Settings app. First, open Settings by pressing Windows+i. Or you can right-click the Start button and select "Settings" in the list that appears.

In Settings, select "Personalization" in the sidebar, then click "Fonts."

In Fonts settings, you'll see a list of all installed fonts in the "Available Fonts" section. To quickly locate the one you want to uninstall (if you know its name), click the "Type here to search box," then type the name of the font you want to remove. When it appears in the list, click it.

On that font's preferences page, click the "Uninstall" button.

Windows will remove the font from your system. If you need to remove more fonts, search for them in Settings > Personalization > Fonts and repeat the process. When you're done, close Settings.
By the way, installing and removing fonts works a similar way in Windows 10. Happy typing!