Quick Links
The Oculus Quest can work as a standalone headset, but you can also connect it to a PC for a full PC VR experience. The process is relatively easy, works with a wired connection or wirelessly, and gives you full access to SteamVR and a large universe of PC VR games.
What You'll Need
To play PC VR games with your Oculus Quest or Oculus Quest 2, you'll need a few things:
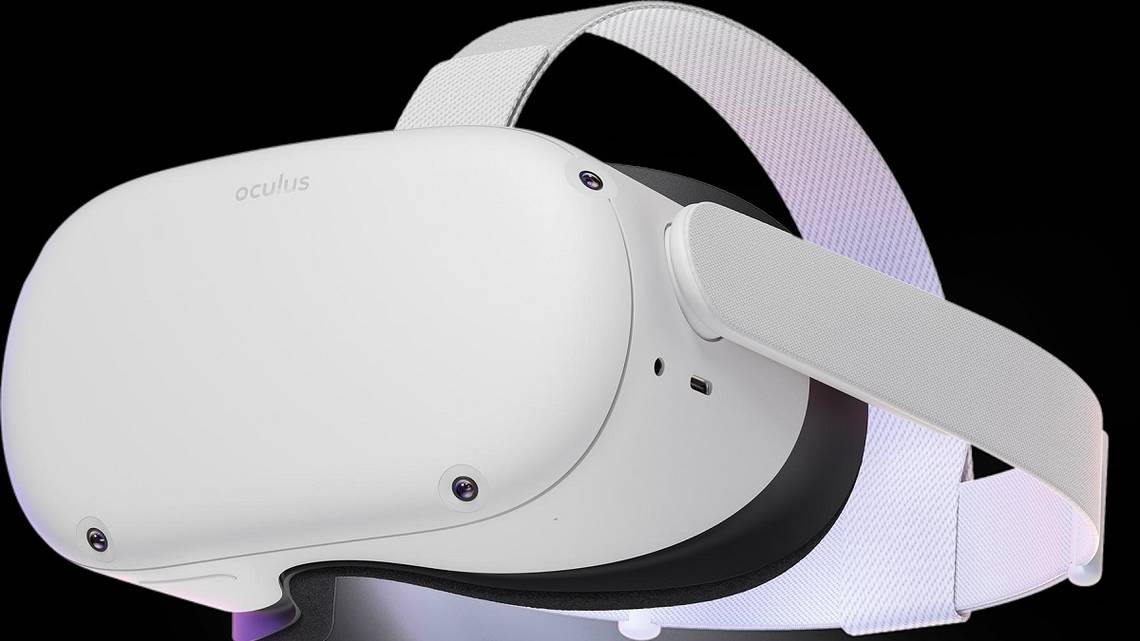
- An Oculus Quest (obviously!)
- A VR-capable PC.
- A USB 2.0 cable (USB 3 or better strongly advised) with a USB-C connector for a wired connection. Oculus offers an official Oculus Link cable. If your PC doesn't have USB-C connectors, Oculus previously recommended this Anker PowerLine USB-A to USB-C cable.
- A 5Ghz 802.11ac/WiFi 5 (or better) router connected to the VR PC via Ethernet.
- The Oculus Quest Software for Windows.
- At least one PC VR game (like Half-Life: Alyx).
The USB cable should be long enough to accommodate the type of VR experience you want to play. If you only want to play seated or stationary standing experiences, you can get away with a shorter cable than room-scale play would require. We're using a 16-foot USB 3.1 cable in this case, which seems like a good general-purpose length for VR.

Oculus Link Cable
The official Oculus Link cable is 16 feet in length and guaranteed to work with the Oculus Quest, but other cables might also work.
Preparing Your Guardian
Before connecting your Quest to your PC, you need to set up your play space boundary. You'll do this using your Quest in standalone mode. Whenever you put on your Quest in a space that has no stored boundary information, you'll be asked to create one. So put on your Quest in the area you want to play and then either confirm that a proper boundary is in place or create a new one when prompted. This will be the same boundary when you use PC VR.
How to Set Up a Wired Connection
The first time you use your Quest with a PC, there will be some initial setup work to do first. We're assuming that you've already set up your Quest as a standalone headset and will only deal with the process of PC VR using Quest here.
First, download the Oculus software for Windows. It's an installer named OculusSetup.exe. Run the installer and simply follow the prompts of the guided installation. It may take some time to download the approximately 5GB of data the application needs.

During installation, you'll be asked to either create or log in to your Oculus account. Be aware that, for Quest 2 users, a linked Facebook account is mandatory. For original Quest users, a linked Facebook account will become mandatory in the future, unless Facebook changes its plans.
Once you're actually logged in to the Oculus application, it's time to get your Quest set up for PC VR.
First, select "Devices" from the lefthand sidebar. Then click "Add Headset."

Choose the correct model of headset. In this case, it's the Quest 2 for us.

Next, choose the connection method. For a wired connection, choose "Link (Cable)." We'll handle Air Link (Wireless) separately below.

Now, plug one end of your cable into the PC and the other end into your Quest. Be sure to use a USB 3 port if you're using a USB 3 cable.
Next, you'll be given the opportunity to test your cable. We strongly recommend you do this, to make sure that you've got enough real-world bandwidth to get the best experience. If you're using a USB 2 connection, you'll get a warning. You can still play on USB 2, but you'll get a more compressed image and performance may not be as consistent.

Once you've reached the "Setup Complete" screen, click close and then put on your still-connected headset.

Inside the headset, you'll see a prompt asking you whether you want to enable Oculus Link. Say yes and you'll be moved from the Quest environment to the PC Oculus environment. Now you're ready to play some games!
How to Play Native Oculus Games
Playing native Oculus PC games with Quest is no harder than playing native Quest games. Once you're in the PC Oculus virtual space, all you have to do is access your library and select the game you want to play.
Of course, if you've never done this before you'll have to start off by actually buying and downloading some games. Some Quest games give you both PC and Quest versions of a game, so you may already see some titles in your PC Oculus library.
You don't have to buy or install games from within the headset. It's easier and more comfortable to do this using your standard monitor, mouse, and keyboard.
How to Play SteamVR and Other VR Games
What if you want to play games that are not to be found in the official Oculus Library? The good news is that any game that's compatible with the old Oculus Rift, is also compatible with Quest using Oculus Link.
SteamVR, which essentially encompasses all VR games sold on Steam, is the platform most Quest users are likely to use besides the native Oculus store. Before you attempt to run a SteamVR game using your Quest, first make sure that SteamVR is installed on your system. Simply search the Steam storefront for "SteamVR" and install it if it isn't already.

There are a few ways to launch a SteamVR game to play with your Quest, but all of them require that the Oculus software be open.
The easiest way is to simply launch a SteamVR game from your Steam library from the desktop after connecting your Quest and opening the Oculus software. Then simply put on the headset and play.
You can also launch it the same way from within the PC Quest environment, but pressing the desktop button on your Oculus VR interface and then opening the game via Steam.
The third method is to first launch SteamVR itself, this will take you to Steam's own VR home environment. From here you can adjust universal Steam VR settings and launch the games from the library within VR.
Apart from SteamVR, other VR games will work with Quest as long as they list the Oculus Rift as a supported headset. For example, all we had to do in order to play the Epic Game Store version of Trover Saves the Universe was to click the three dots on the game in the EGS library and select "Launch in Oculus VR."
How to Set Up a Wireless Connection
The final piece of the Quest PC VR puzzle is Oculus Air Link. This is effectively the same as the cable-based Oculus Link method, but it uses WiFi, which means you can play your PC VR games with no cable holding you back.
At the time of writing in September 2021, Air Link is still experimental. So you need to enable it under Settings > Beta in the Oculus PC software. You'll also have to enable it in your Quest settings while in the standalone mode under Experimental Features.
Once it's enabled on both devices, make sure both the PC and Quest are on the same network. The PC should preferably be connected to your router using Ethernet. The Quest should be connected to the router using the 5Ghz frequency band using 802.11ac Wi-Fi (also known as Wi-Fi 5) or Wi-Fi 6 (also known as 802.11ax wireless). If your router isn't up to the task, you may need a new router.
If that's sorted, select the quick settings within your Quest and then select Air Link. You'll see a list of Air Link-enabled PCs on the network. Choose the PC you want to use and you'll be transported to the Oculus PC environment. From here, things work exactly as they do with the cable. Apart from Air Link, you can also use the third-party app Virtual Desktop, although this will cost an additional $20.