Quick Links
The PlayStation 5 embraces user-upgradeable storage in a way we've never seen in another Sony console. While this provides console owners with the freedom to shop around that will ultimately drive down the cost of an upgrade, it's not quite as straightforward as rival Microsoft's proprietary slot-driven upgrade.
Preparing Your Console Storage Upgrade
Internal storage expansion was limited to members of Sony's beta program until the September System Update was released on September 15, 2021. Make sure you have updated your console to the latest available firmware under Settings > System > System Software > System Software Update and Settings. If you have automatic updates enabled then the update will download and install without you having to do anything.

With your console ready to accept a drive, the next step is to select a drive that meets Sony's exacting specifications. Make sure you read our guide to choosing the right NVMe SSD for your PlayStation 5. You can also check out Review Geek's recommended SSDs for Sony's console.
Don't forget your drive will also need a heatsink to ensure it won't overheat and suffer performance issues. You'll also need a #1 Philips head screwdriver (or similar cross-head tool).
Installing Your New NVMe Drive
The first thing you need to do is turn off your PlayStation 5 by pressing and holding the power button for three seconds. Remove all cables including the power, HDMI, and any network cables, and place the console on a steady surface. If the console is hot, allow it to cool before proceeding.
If you have the base plate attached to the bottom of your console you will need to remove it by unscrewing a single screw. If you lie your console down horizontally, unclip the stand. This allows you to slide the side panel off easily.
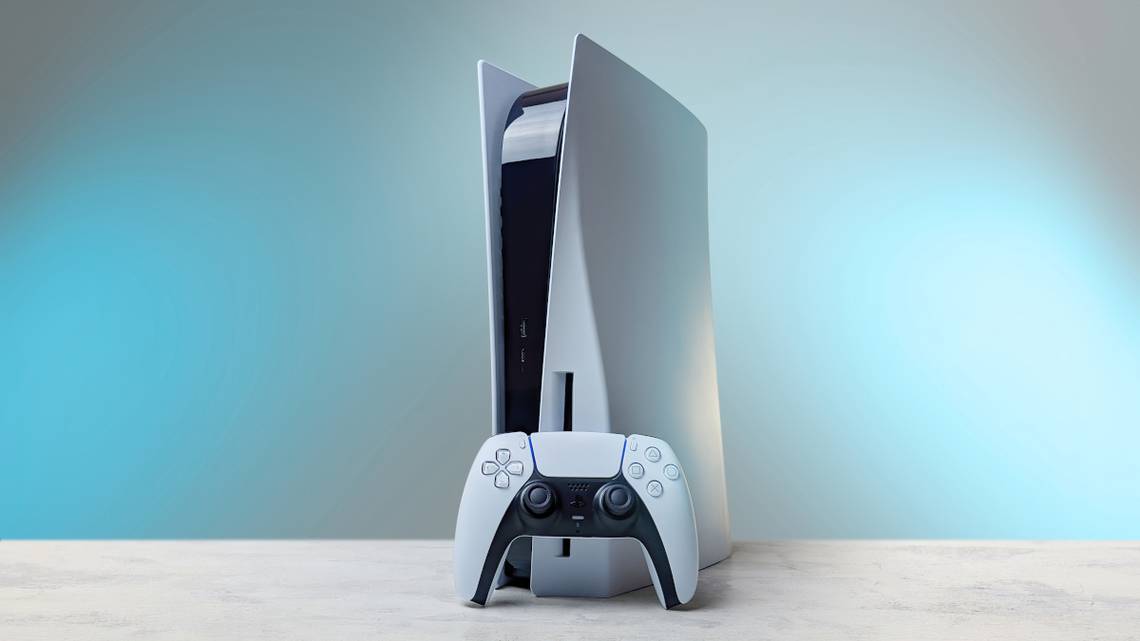
Place the console in a horizontal position so that the disc drive is on top and facing you. If you have a digital edition without a disc drive, this would be considered "upside-down" with the power button on your left and the PlayStation logo not visible.

From this perspective, grip the left most corner that is furthest away from you (as per the diagram above) and gently pull the cover upwards. The panel will click as you remove it and slide out.

You should now see an exposed fan cover, the disc drive assembly (if you don't have a digital console), and an expansion slot cover (labeled A in the diagram above). If you don't see the expansion slot cover, you removed the wrong side plate so flip it over and try again.

Remove the screw holding the cover in place, remove the cover, and place both to the side. Next, remove the screw in the expansion slot and the small spacer. The spacer should correspond with the size of your NVMe drive, so place it in the correct slot ready to fit the drive.

Now, install the drive by aligning it with the connector and sliding it in, at which point you should feel a click. Push the drive down to meet the spacer you adjusted and use the screw you just removed to secure the drive in place.

You can now reattach the expansion slot cover and screw you placed aside. Clip the side panel back in place, attach the base stand, then place the console back in its permanent position. Attach any cables you removed and turn the console on.
Now Test and Format Your Drive
When you turn your PlayStation 5 on, the console will check the drive is up to par and format it before it's ready for use with your console. Be aware that any data that was previously stored on the drive will be erased.
You can now use the drive to run native PlayStation 5 games. Looking for a cheaper and easier way to run backward compatible PS4 games? You can do this with a regular old external drive.