Are you creating a very long document, but hate the thought of dealing with Word’s master document feature? The Master document feature in Word has been known in the past to corrupt documents.
There is a way around using a master document. You can keep a separate file for each section of your document and create a common table of contents in another file. It requires some manual formatting, but it’s not that hard. To do this, you must use the built-in heading styles in Word in all your separate section documents. Also, to simplify the process, we recommend you place all the separate section files and the table of contents file in the same directory.
Create a new Word document for the table of contents, indicating in the file name that is contains the table of contents.

Click the Insert tab on the ribbon. In the Text group, click Quick Parts and select Field from the drop-down menu.

The Field dialog box displays. In the Please choose a field box, scroll down in the Field names list and select RD, which stands for Reference Document.
In the Field properties box, enter the name of the first Word document to be included in the table of contents. If the Word file is not in the same directory as the table of contents file, be sure to include the full path to the file.
NOTE: This is where it’s helpful if you keep all the Word files to be included in the table of contents in the same directory as the table of contents Word file.
If the Word file you are including is in the same directory as the table of contents file, select the Path is relative to current doc check box in the Field options box.
Click OK.

If you don’t see the field code in the document, click the Home tab and click the paragraph symbol button to display hidden text.

Follow the instructions above for each Word document you want to include in the table of contents.

We want to insert the table of contents at the beginning of the document before the field codes, so put the cursor before the first field code and press Enter. Then, click the References tab on the ribbon and click Table of Contents in the Table of Contents group. Select one of the Automatic Table options.

The table of contents is inserted at the cursor. If you only see a field code displayed (similar to the RD codes you inserted), put the cursor in the field code and press Alt + F9 to see the table of contents.
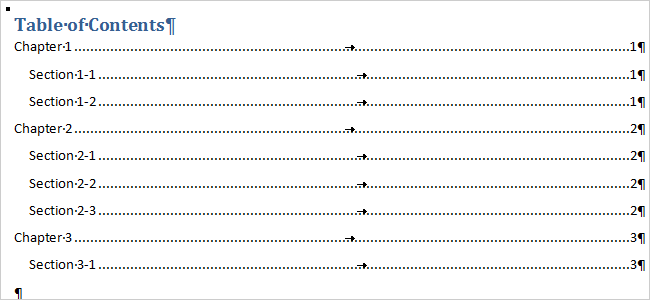
You will notice that all the pages are numbered “1.” Each of our documents is only one page and start with “1” as the first page number. This is where the manual tweaking comes into play. You need to change the starting page number for each of the documents included in the table of contents.
NOTE: This can be time consuming if you have a lot of documents. Every time you update a document and the paging changes, you must update all the documents after that one to start with the correct page number.

Open the second document included in the table of contents. If there are no page numbers yet in the document, click the Insert tab on the ribbon and click Page Number in the Header & Footer group. Select where you want to place the page number from the drop-down menu and then select the style from the submenu.

To change the starting page number, click Page Number again in the Header & Footer group and select Format Page Numbers from the drop-down menu.

On the Page Number Format dialog box, enter the starting page number in the Start at edit box. When you enter a value in the box, the Start at radio button is automatically selected. Click OK.

Repeat the steps above for changing the starting page number for each of the documents included in the table of contents. When all the documents have been updated, open the table of contents Word file again. Put the cursor the Table of Contents field. Some options display above the table of contents. Click Update Table.

If you added additional headings to any of the included documents, the following dialog box displays asking if you want to update just the page numbers of the entire table, which includes adding any new headings and removing deleted headings. Select the desired option and click OK.

The page numbers update to reflect the changes made in the separate documents.

This is a tedious process if you have a lot of separate documents to include in the table of contents, but it is a way to avoid using master documents. This solution is not perfect, but it does work.