If This Then That (IFTTT) is an online service that can connect all sorts of different products and services together, so you can automate just about anything your heart desires. Whenever someone tags you on Facebook, send that photo to Dropbox. Get an email when a new item appears on Craigslist matching your search terms. You can do almost anything.
An IFTTT "applet"---as they're called---consists of a trigger and an action. The trigger is something that happens that will then produce the action. To use the above example: a new Facebook photo getting tagged with my name is a trigger. The action is uploading the resulting photo to Dropbox.
That's just one small example out of the literally thousands and thousands of applets that you could create. Here's how to get started with IFTTT creating your own applets.
Signing Up for an IFTTT Account
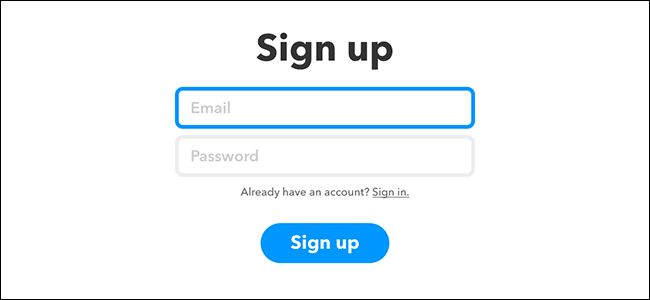
The first thing you'll want to do is sign up for an account with IFTTT if you don't already have one. So navigate to the IFTTT website and click "Sign Up" in the upper-right corner.
Enter in your email address and create a password for your IFTTT account. Then click "Sign up" below that.
You'll then be introduced to the service and be given a brief tutorial on how the service works, but eventually you'll be taken to the home page.
Creating an Applet
Now it's time to create your first applet. You may already have one in mind, but for this how-to, we'll use the example mentioned above and create an applet that will automatically upload any new Facebook photo that I'm tagged in to my Dropbox folder.
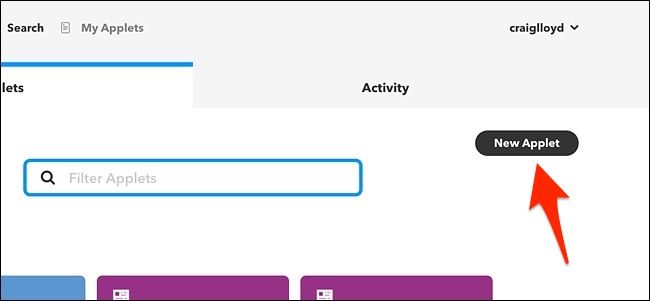
From the home page, click on "My Applets" toward the upper-right corner of the screen.
Next, click on "New Applet".
Click on "This" highlighted in blue.
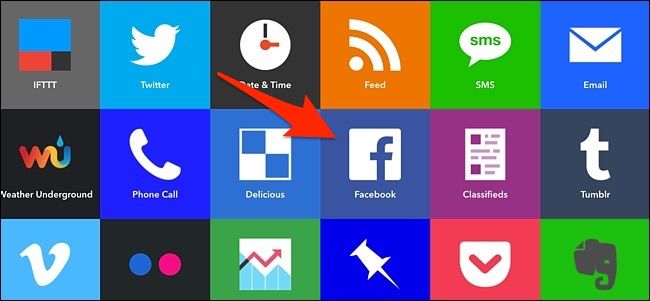
Type "Facebook" in the search box or find it in the grid of products and services below that. Click on it when you find it.
Next, you'll need to connect your Facebook account to IFTTT so that they can communicate with each other, so click "Connect".
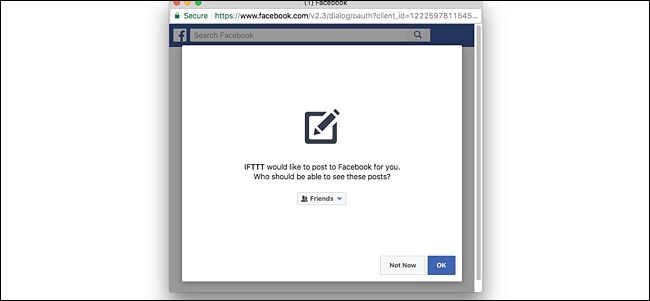
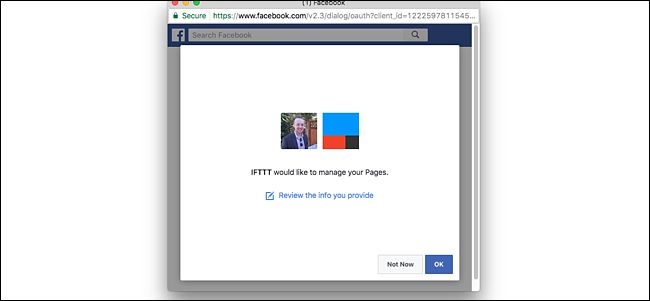
A pop-up will appear asking permission for IFTTT to access your Facebook account. Click "OK".
You'll also be asked permission for IFTTT to manage your Facebook pages, but this isn't necessary for this applet, so click "Not Now".
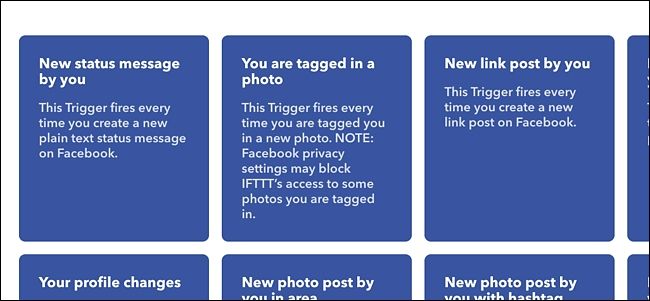
Next, you'll choose the trigger. In this case, the trigger is when we're tagged in any new Facebook photo that someone uploads, so click on "You are tagged in a photo".
After that, it's time to create the action that will occur when the trigger is fired, so click on "That" highlighted in blue.
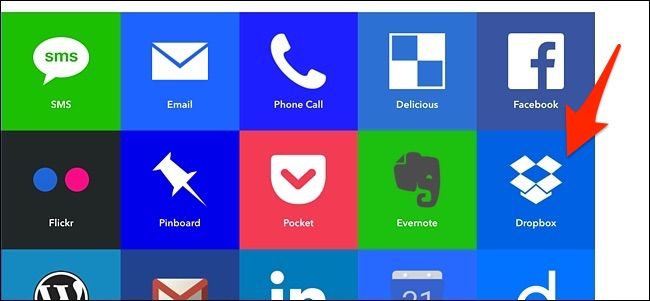
Find the "Dropbox" channel and click on it. You'll need to connect it to your IFTTT account just like you did with your Facebook account earlier.
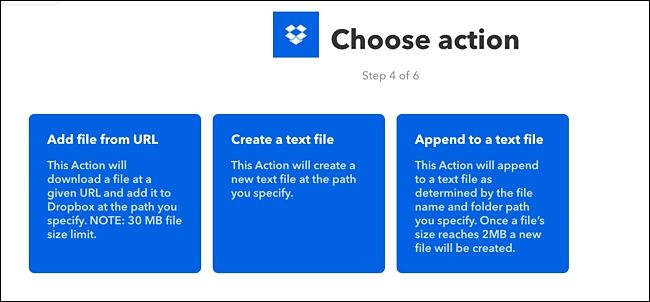
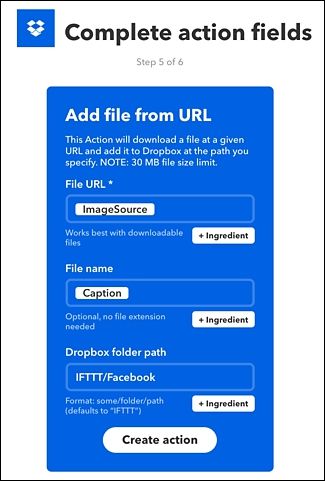
After you do that, select "Add file from URL" when you get to the "Choose Action" screen.
You can leave all of the text fields as is, but if you want you can give the folder that your photos will be uploaded to a custom name under "Dropbox folder path". By default, photos will be placed in a "Facebook" folder within an "IFTTT" folder. When you're done, click "Create Action" at the bottom.
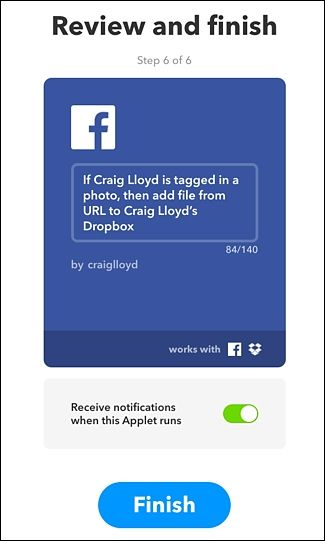
The last step is to confirm the applet and give it a custom name if you choose. When you're ready, click on "Finish" at the bottom and your applet will be enabled. From now on, whenever you're tagged in a photo on Facebook, that photo will automatically be uploaded to your Dropbox folder in a separate custom folder.
This is just the tip of the iceberg when it comes to IFTTT, and there's so much you can do with the service. Take time to familiarize yourself even more with IFTTT and experiment with different applets. You'll quickly come to find that it's a service that you'll have a hard time living without.
You can also get IFTTT on your iPhone or Android device from the iTunes App Store and Google Play, respectively.


