Quick Links
You've probably heard of sending disappearing messages in popular messaging apps, but did you know you can also set an expiration date for emails sent through Gmail, making the content within the message inaccessible after the set time? Here's how it's done.
Add an Expiration Date to Gmail (Windows and Mac)
You can add expiration dates to emails by using Gmail's Confidential Mode feature. When you add an expiration date to an email, the recipient can't access its contents after the set date.
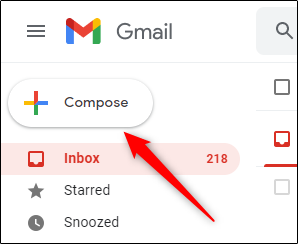
To add an expiration date to an email, log in to your Gmail account using your browser of choice on Windows 10 or Mac, then click "Compose" in the top-left corner of the window.
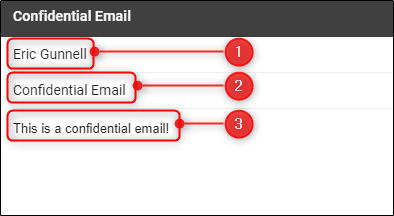
In the email composition window, enter (1) the recipient's email address, (2) the subject of the email, and (3) the content of the email.
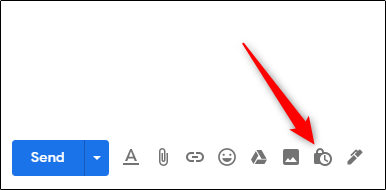
Next, at the bottom of the composition window, click the lock button that has a clock in front of it. This is the Confidential Mode icon.
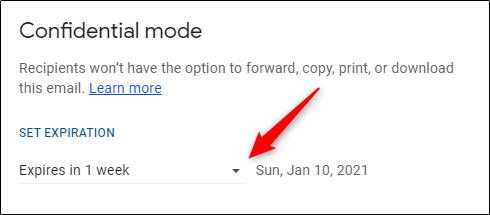
Once that's been clicked, the "Confidential Mode" window will appear. In the "Set Expiration" section, click the down arrow to display a list of different expiration times.
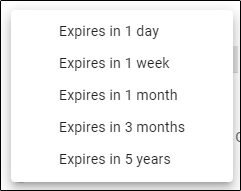
The expiration times range from one day to five years. Select the desired expiration time by clicking it.
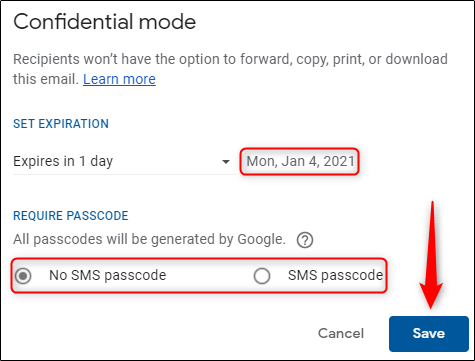
The expiration date will now appear to the right of the selected time. In addition, you can also require a passcode. Choosing "No SMS Passcode" will let the recipients immediately open the email, while choosing "SMS Passcode" will require the recipient to first enter a password that they'll receive via SMS text.
You'll need to enter their phone number if you choose the latter option.
When ready, click "Save."
The email will now have a set expiration date. A message will appear at the bottom of your email confirming this. Click "Send" to send the email.
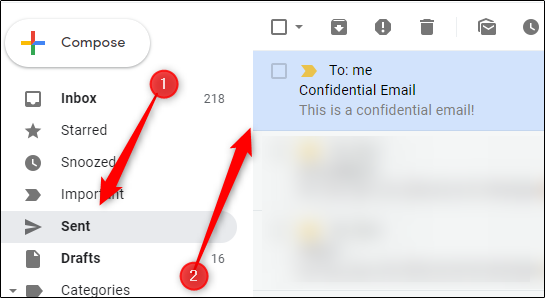
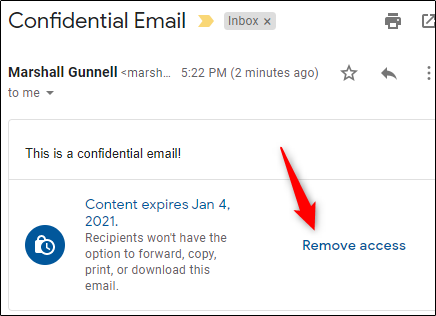
If you want to remove access to the email before the set expiration date, click "Sent" in the left-hand pane, then select the message with the expiration date from the list of emails.
At the bottom of the email, click "Remove Access."
Now, the recipient can no longer access the email.
Add an Expiration Date to Gmail (iPhone, iPad, and Android)
You can also add expiration dates to emails that you compose on the Gmail app for iPhone, iPad, and Android.
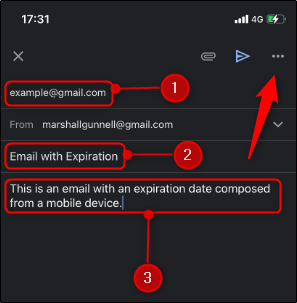
To do so, log in to your Gmail account in the mobile app, then tap "Compose" in the bottom-right corner of the screen.
Next, enter (1) the recipient's email address, (2) the subject of the email, and (3) the content of the email. Once this is finished, select the three horizontal dots (three vertical dots on Android) in the top-right corner of the screen.
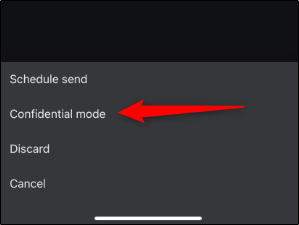
In the menu that appears, tap "Confidential Mode."
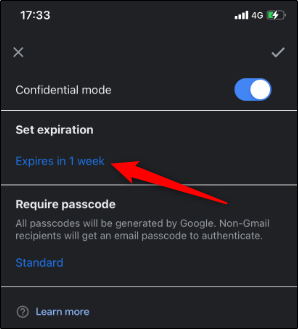
In the "Set Expiration" section, tap the "Expires in #" text highlighted in blue.
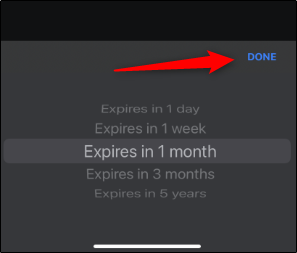
A list of different expiration times will appear, ranging from one day to five years. Position the one that you want in the middle of the list by swiping up or down, then tap "Done."
As with the desktop version, you can also set a passcode for the email.
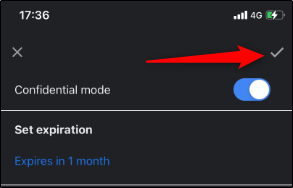
Once you're ready, select the checkmark in the top-right corner of the screen to confirm the settings.
The expiration date is now set. Tap "Send" to send the email.
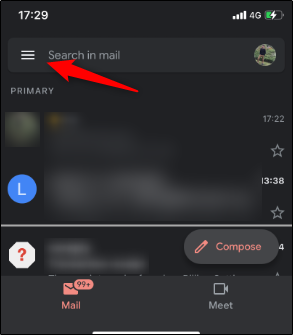
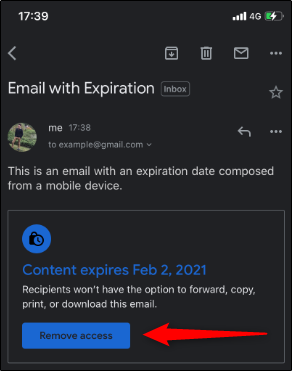
If you want to remove access to the email before the set expiration date, tap the three-line hamburger menu icon in the top-left corner of the "Mail" tab.
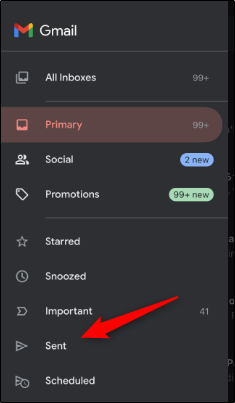
From there, tap "Sent."
Select the email with the expiration date to open it, and at the bottom of your email, tap "Remove Access."
The recipient will no longer be able to open or access the email.

