Extensions can add a wide range of new features and functionality to Google Chrome, but sometimes you need to remove or disable one or more of them. Here's how to do it.
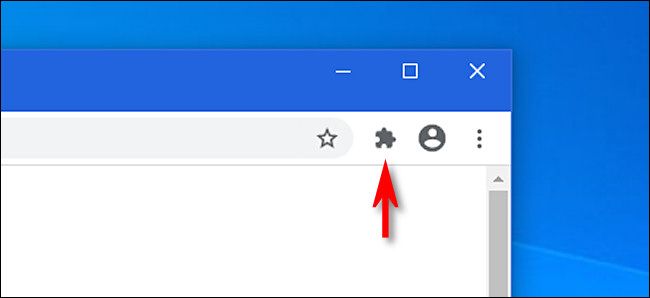
First, open Google Chrome. In any window, look for the "Extensions" icon in the toolbar, which looks like a jigsaw puzzle piece. Click it. (Alternately, you can open the main menu by clicking the three dots button and select More tools > Extensions.)
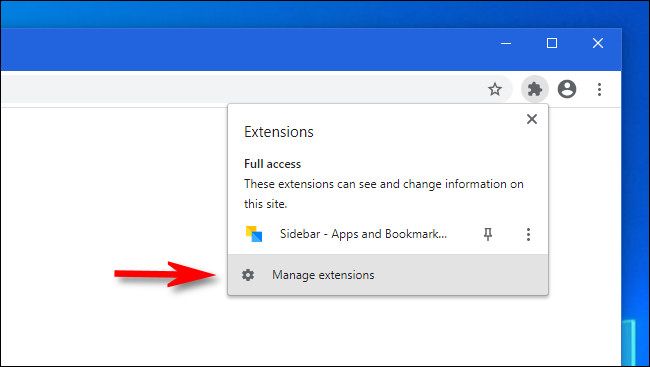
When a menu pops up, select "Manage Extensions."
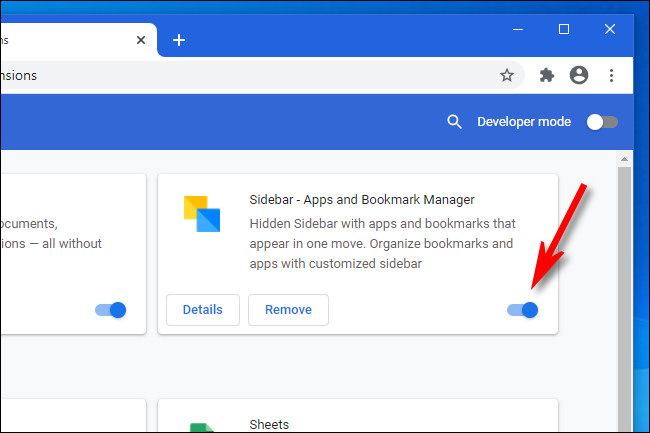
In the "Extensions" tab that appears, locate the name of the extension you'd like to uninstall or disable. Each extension has its own box on the Extensions tab.
If you'd like to disable the extension but not uninstall it, click the switch beside it to turn it off. At any time you can return to the Extensions tab and re-enable it by flipping that switch again.
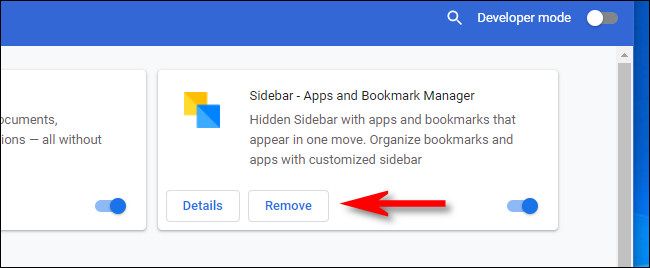
If you'd like to uninstall the extension permanently, click the "Remove" button. This will completely remove the extension from Chrome and you won't be able to use it any more (unless you reinstall it later).
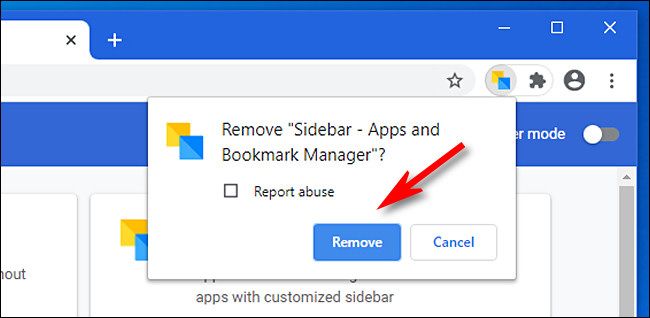
When a confirmation window pops up, click "Remove" again.
The extension will be removed completely.
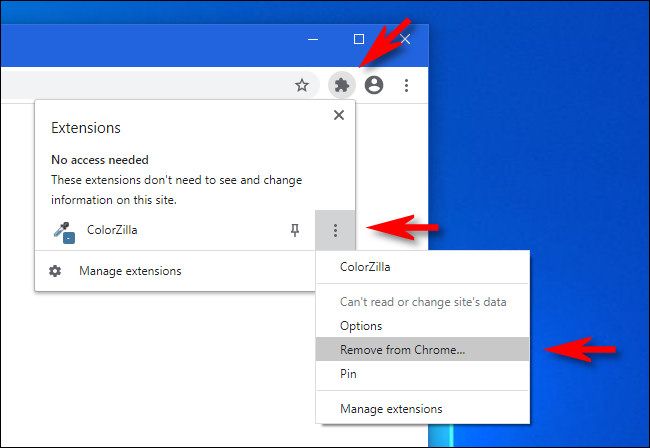
Alternately, to quickly remove an extension, you can also click the "Extensions" button in the toolbar, click the vertical ellipses button beside the extension's name, then select "Remove from Chrome" from the menu.
If you ever need to reinstall the extension you just removed, you'll have to visit the Google Chrome Web Store and download it again. Happy browsing!


