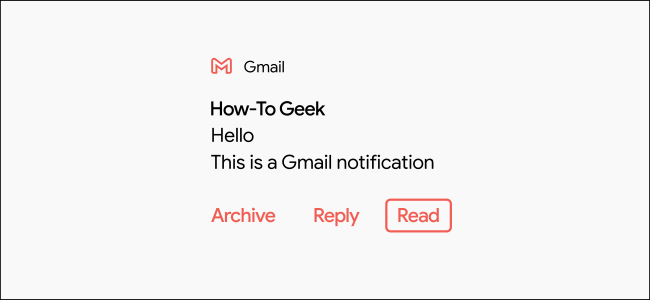
The best way to stay on top of emails is to address them as they come in. On Android, Gmail notifications give you two options: "Archive" and "Reply." We'll show you how to add a "Mark as Read" option, too.
"Archive" and "Reply" are useful, but marking an email as read also really comes in handy. There are many times when you can't reply to an email right away, but want to save it in your Inbox so you can answer it later. The ability to do this from the notification is also a big time-saver.

Gmail does allow you to choose if you want the second option to be "Archive" or "Delete," but that's where the customization ends. To add "Read," we're using a paid app called AutoNotification.
The app intercepts Gmail notifications, replicates them, and adds a "Read" option. However, this is only possible if you allow the app to read your emails. This is a privacy trade-off you'll have to decide if you're comfortable with.
To get started, download AutoNotification from the Google Play Store on your Android phone or tablet.

When you first open the app, you have to grant it permission to access the photos, media, and files on your device; tap "Allow."

You'll see an introduction explaining what the app can do. Use the Back gesture or button to close this message.

Next, tap "Gmail Buttons."

Tap "Add Account" to link your Google account to AutoNotification.

A warning appears letting you know the notification intercept service isn't running. This is how the app detects Gmail notifications, so tap "OK" to enable it.

You'll be redirected to Android's "Notification Access" settings; tap "AutoNotification."

Toggle-On the "Allow Notification Access" option.
If you're comfortable with what the app will be able to access, tap "Allow" in the confirmation pop-up message.

Tap the back arrows at the top left until you're back on the "Gmail Buttons" menu in the AutoNotification app. Tap "Add Account" once again.
Another warning will appear, explaining that this feature won't work with emails that contain labels. Tap "OK" to continue.
Here's where the cost comes in. You can tap "Start Trial" for a free seven-day trial to see if you like the app, or you can pay a one-time fee of 99 cents to unlock it forever.
After you start the trial or unlock the feature, you'll be asked to agree to the privacy policy. Tap "Read Policy," and then tap "Agree" whenever you're ready.
Finally, the "Choose an Account" window will appear. Select the Google account to which you want to add the "Read" option.
Tap "Allow" to grant AutoNotification permission to "View Your Email Messages and Settings" and "View and Modify But Not Delete Your Email." This is how the app replicates your Gmail notifications.
Tap "Allow" in the pop-up message to confirm.
You'll then receive some Google Security Alerts about AutoNotification having access to your Google account---these are normal.
The "Read" option will now be present in your Gmail notifications! You can stop here if you're satisfied.
"Read" isn't the only button you can add. To see more options, head back to the "Gmail Buttons" section in the AutoNotification app, and then tap "Buttons."
Select the checkbox next to any option you want to add to your Gmail notifications.
With these new options, your Inbox will never be out of control again!