Quick Links
While purchasing apps or media content with an Apple ID, most people enter a credit or debit card. But if you'd prefer to use PayPal to buy apps from the Apple App Store or the Mac App Store, it's easy to set up on your iPhone, iPad, or Mac. Here's how.
How to Add PayPal as an App Store Payment Method on iPhone and iPad
Before we begin, we'll assume that you already have an Apple ID that you use to purchase apps. If not, it's easy to create one. Apple IDs are cloud-based accounts that apply to Apple services across all Apple devices.
On an iPhone or iPad, it's easy to add PayPal as an Apple ID payment method from the Settings app. It's worth noting that once you add it using your iPhone or iPad, the payment method will apply to your Apple ID on any platform, including the Mac. Here's how to set it up.
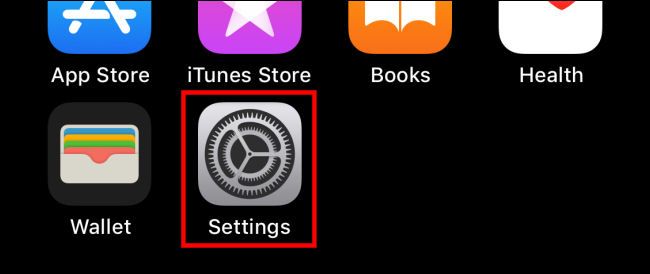
First, open "Settings" on your iPhone or iPad.
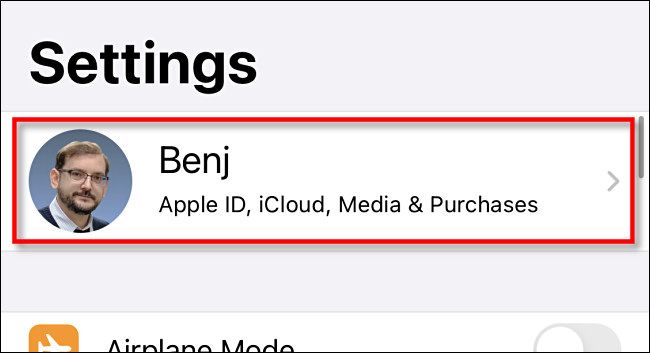
At the very top of Settings, tap your Apple ID account name.
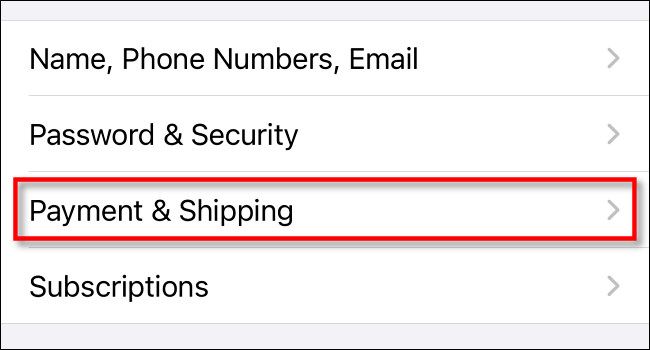
In your Apple ID settings, tap "Payment & Shipping."
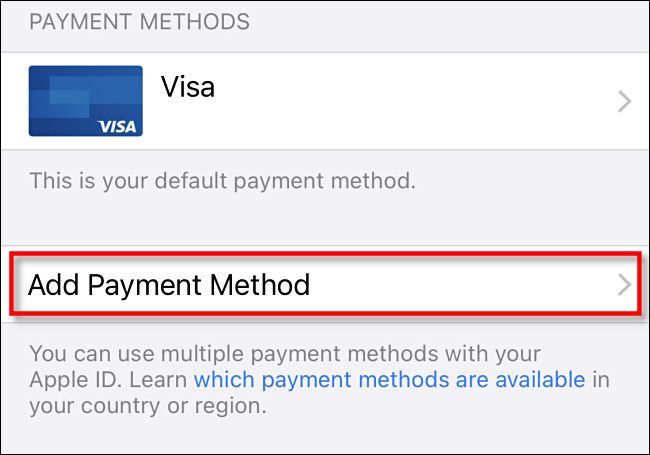
In "Payment & Shipping" settings, tap "Add Payment Method."
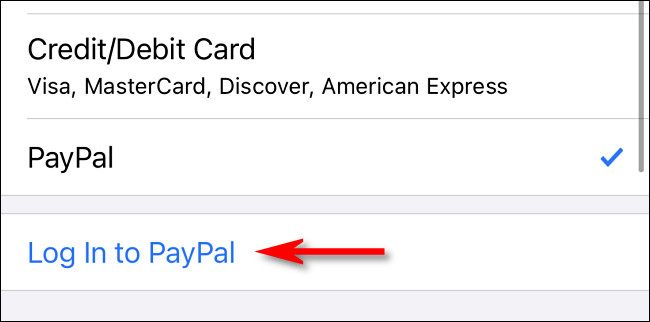
In the list of options, tap "PayPal," then tap "Log In to PayPal."
Next, log into PayPal using your PayPal account. You also have the option to create a new PayPal account during this step. Once you're logged in, review your PayPal payment options and click "Agree & Continue."
After that, PayPal will be added to your payment methods list on your Apple ID. By default, Apple will use it to charge your account when you purchase apps from the App Store.
How to Add PayPal as an App Store Payment Method on Mac
You can also add PayPal as a payment method for your Apple ID using your Mac.
It's worth noting that if you share an Apple ID between all of your devices and you've already added PayPal as a payment method using your iPhone or iPad, you don't have to do it again with the Mac. The PayPal option will already be set up.
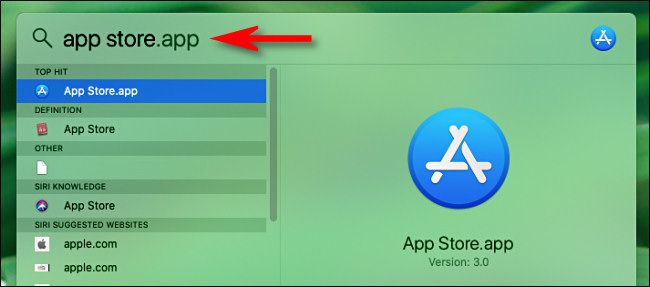
The easiest way to associate PayPal with your Apple ID on a Mac is by using the Mac App Store, which you can find quickly by opening Spotlight by clicking the magnifying glass icon in the menu bar and typing "App Store."
First, open the "App Store" on your Mac, then click your Apple ID name in the corner.
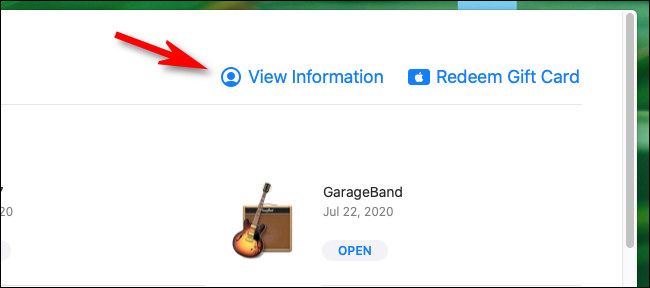
On the next page, click "View Information."
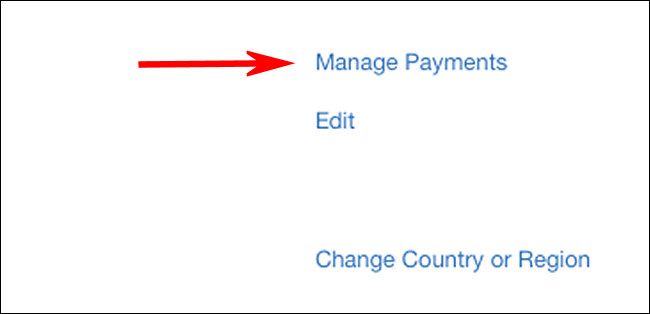
On the "Account Information" screen, look for the "Apple ID Summary" section. Then click "Manage Payments."
On the "Manage Payments" screen, click "Add Payment."
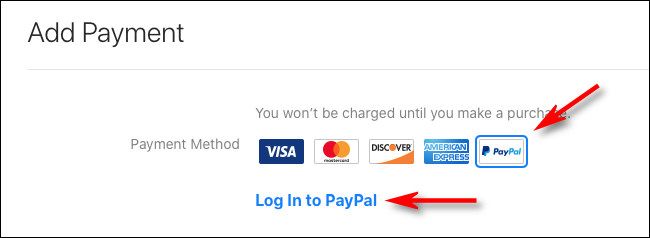
When the "Add Payment" screen appears, select the "PayPal" logo from the list of payment methods, then click "Log In to PayPal."
Follow the PayPal login process and accept the terms. When you're done, PayPal will be added as a payment option to your Apple account.
How to Remove PayPal as an App Store Payment Method
If you change your mind and would like to remove PayPal from your Apple ID payment methods, you can do it through any interface where you can manage your Apple ID account.
On an iPhone or iPad, navigate to Settings > Apple ID > Payment & Shipping, then tap the "PayPal" method from the list and select "Remove Payment Method."
On a Mac, the procedure is similar. Open the App Store and visit Apple ID > View Information > Manage Payments, then click the "PayPal" option and click "Remove Payment Method."

