Quick Links
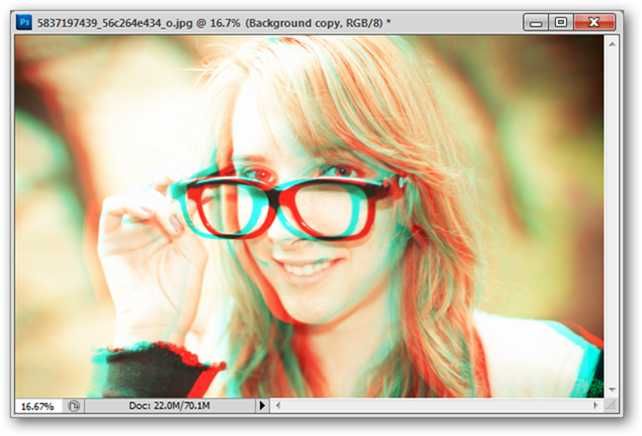
Want to make photos really stand out? Create a fun Red/Cyan 3D effect that will pop off the page and screen, just because it’s a heck of a lot of fun. Grab your 3D glasses, and either Photoshop or GIMP!
While stereoscopic effects like Cyan/Red 3D are often created with fancy photography tricks, we’ll be creating one today with simple trick image editing. Dive right on in and see how simple it can be, with a simple version for Photoshop beginners, and an optional second part for users that want to give their image a little more oomph. Keep reading!
Part 1, Beginner: A Simple Red & Cyan 3D Effect
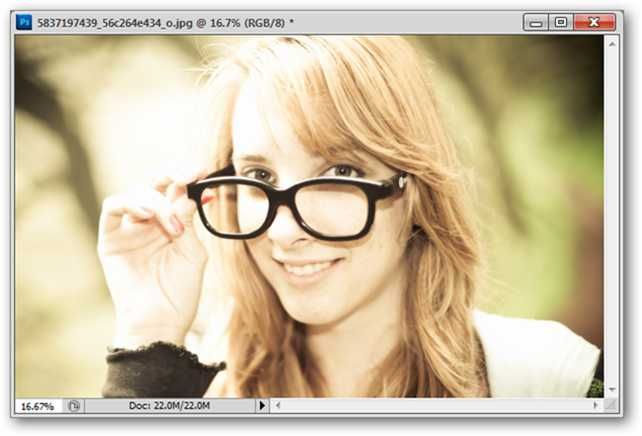
The technical term for a 3D image is an Anaglyph, which are usually created by photographing a subject from two separate vantage points, then combining the images. Today, we won’t be doing that, but we will achieve the same effect by digging through our image channels. Open up a worthy image and let’s get going!
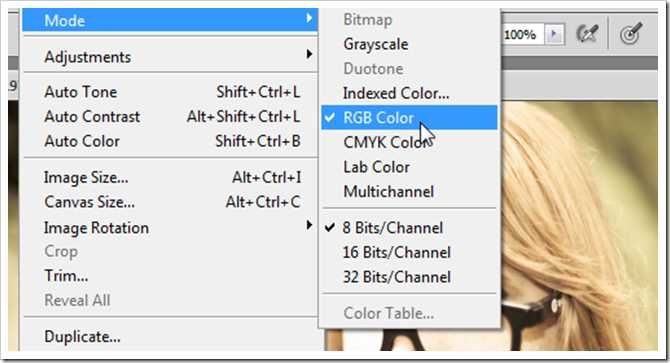
You can use any kind of image for this how-to, but you’ll need to be in RGB Color mode. So if you start in Grayscale, Indexed Color, or CMYK, you should convert to RGB by going to Image > Mode > RGB Color (in Photoshop).
Author’s Note: This method is appropriate for any image editor that lets you mess around in channels, like Photoshop or GIMP. Photoshop Elements and Paint.NET do not allow this sort of image editing out of the box.
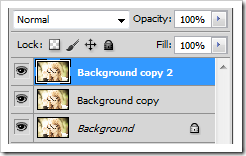
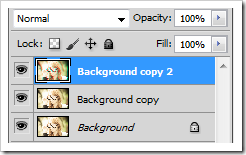
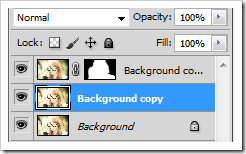
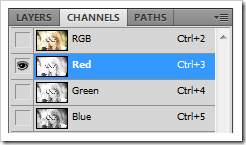
Start editing your image by making multiple copies of your photograph (left hand screenshot). One of the easiest ways to do this is by right clicking your “Background Layer” and picking “Duplicate Layer.” With two copies made, select the topmost one, and jump to your channels panel. You may have to show it by going to Window > Channels.
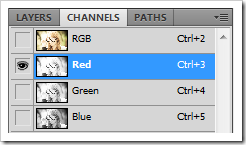
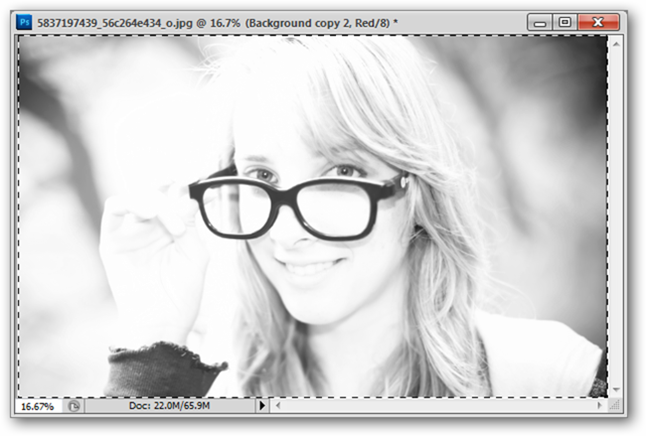
When you’ve reached your channels panel, pick your Red channel as shown above right.
Press
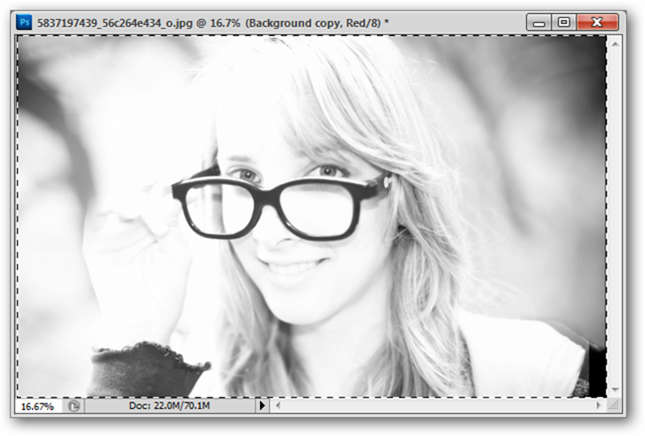
(same keyboard shortcut in Photoshop and GIMP) at this point to Select the entire canvas. Your isolated Red channel will look like an incomplete grayscale version of your image, so if your photo looks like the image above, you’re doing the right thing.
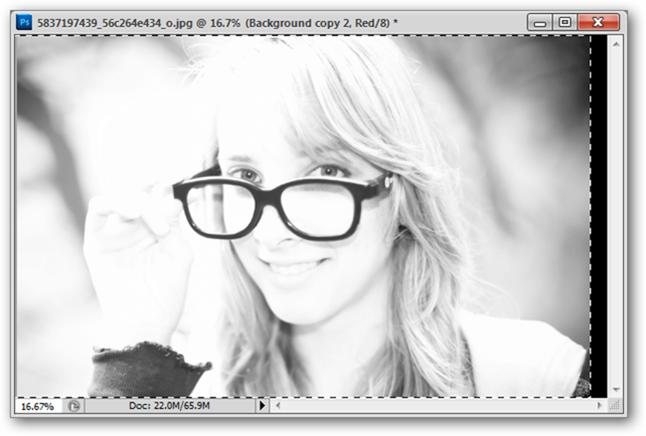
Press
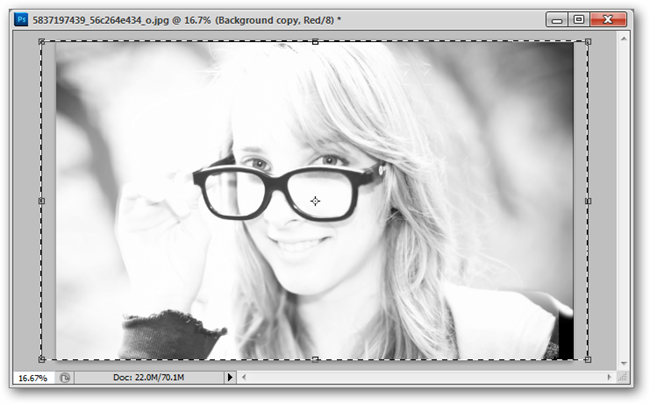
to select your Move Tool (GIMP shortcut key “M”) and move the red channel over to the left as shown.

|
When moving your channel, you may want to make sure that your “background” color is black, as shown to the left. You can set it to black by clicking the background swatch in the tools panel and changing it in the color options dialog.GIMP users have a very similar tool, also in their Toolbox. It looks and functions very much like this one from Photoshop. |
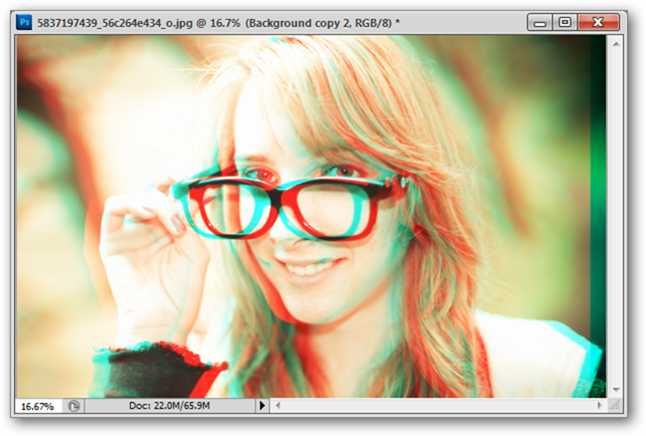
will return to your RGB in Photoshop CS5. In other versions, simply return to your layers panel and pick a new active layer. You may decide to stop at this point, as this, by itself, is a halfway decent 3D effect. But let’s take it one step further, and add some depth to our image.
Part 2, Advanced: Adding Depth to Our 3D Image
You should have several copies of your original photo layer at this point, so let’s return to the topmost layer in which we created our 3D effect.
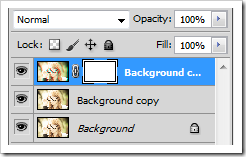
Create a mask, as shown on the right, by selecting the layer and clicking the
in the bottom of the layers panel. In GIMP, you can simply right click your layer and choose “Add Layer Mask,” choosing “White for Full Opacity.”
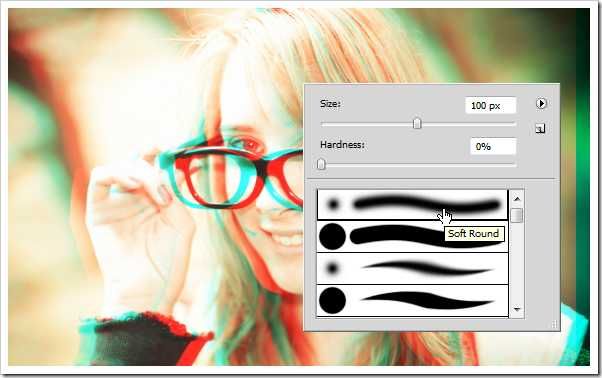
Grab the brush tool and a soft round brush to paint out the areas you want masked out of this topmost layer. Our goal is to return part of our image to the original appearance of the photo.
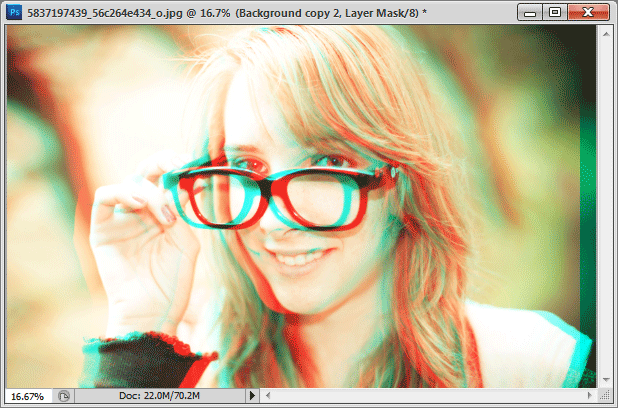
Here’s the before/after. The background is masked out of the layer with the 3d effect, reverting it to the copy below without the 3d effect.
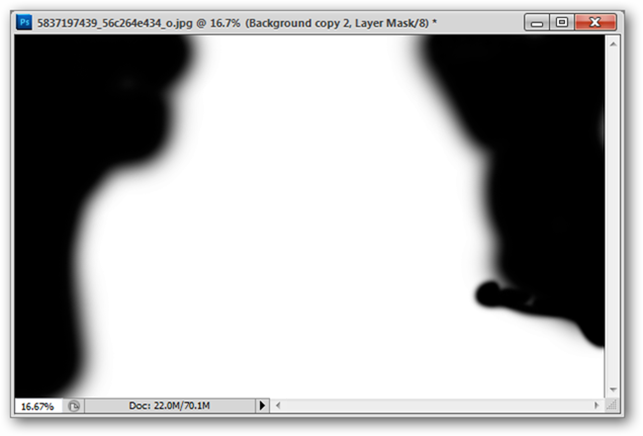
Here’s a shot of the areas that are painted out in the mask. The black represents the areas that are hidden, the white the areas that are shown.
With your 3D effect layer masked off, you can safely jump to a lower layer for some additional editing. With that layer selected (shown left) jump to the channels panel and select the Red channel again.
This is probably looking very familiar.
to select the entire canvas again, this time to add a slightly different effect to the background.
to select “Free Transform” in Photoshop. Enlarge the Red channel of this layer in some unusual way. In this example, it was stretched horizontally. You can scale it up, skew, rotate, or simply offset it as we did before. This will allow our foreground and background to look somewhat different from each other.
In GIMP, you’ll want to use the “Scale Tool,” shortcut key Shift + T.
And our finely tuned image is complete, with our 3D effect applied separately to the foreground and background. If you have a pair of Cyan-Red glasses, you can test it for yourself, or just enjoy the effect for what it is. For those of us that don’t have a set of 3D glasses but want a pair, you can always check out youtube for some tutorials on how to make your own.
Have questions or comments concerning Graphics, Photos, Filetypes, or Photoshop? Send your questions to ericgoodnight@howtogeek.com, and they may be featured in a future How-To Geek Graphics article.
Pretty Teen with 3D Glasses by Chris Willis, via Flickr, available under Creative Commons.


