To help secure your new Windows 7 machine, you might want to take a look at changing the Guest account name. Today we take a look at how to rename the Guest account which will help prevent unauthorized access of your machine. The Guest account is for users who need to log on infrequently to check email, search the net, quick document processing...etc. It is disabled by default, but if you want to enable it, changing the name increases machine security. Change Guest Account Name First go into Control Panel and click on Administrative Tools.

In the Administrative Tools window click on Local Security Policy.

Under Local Security Policy go to Security Settings \ Local Policies \ Security Options and under Policy on the left side select Accounts: Rename guest account.

Now change the name to whatever you want. Just make sure it is something different than other user accounts so you remember it's the Guest account. When you're done click Apply and Ok and close out of the remaining windows.

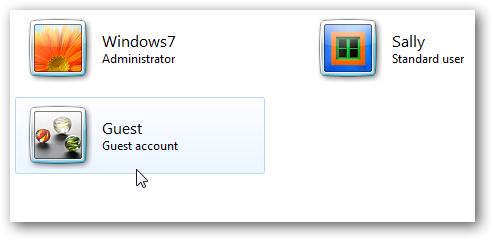
Now when you go look at your User Accounts, notice the name of the Guest account has been changed.

This simple tip helps guard your computer against a person trying to guess a username and password combination if they're trying to access your machine. For more on user accounts including on how to enable the Guest account, check out our previous article.