Quick Links
Key Takeaways
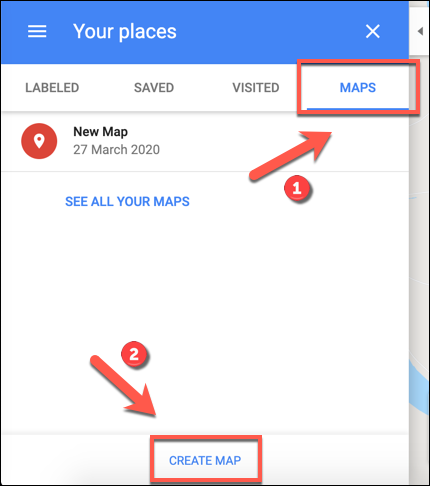
Go to maps.google.com and select "Saved" from the side menu. Go to the "Maps" tab and click "Create Map." From here, you have a number of options of creating a custom map that does not show up on the public Google Maps.
You don't need any special software to create a custom map for yourself or others. Google Maps is all you need, allowing you to add your own pinpoints, shapes, and directions to a custom map. Here's how.
You'll need to use Google Maps on your desktop to do this. If you're having problems with a blank Google Maps screen, you'll also need to clear your site data.
Creating a Custom Map in Google Maps
A custom map in Google Maps doesn't allow you to create a new landscape---you're stuck with planet Earth. What it does allow you to do, however, is add your own landmarks, routes, and locations.
You can also draw your own shapes onto the existing map to add more detail. While you can view a custom map in the Google Maps app for Android and iOS, you can only create it using the web version of Google Maps on your desktop.
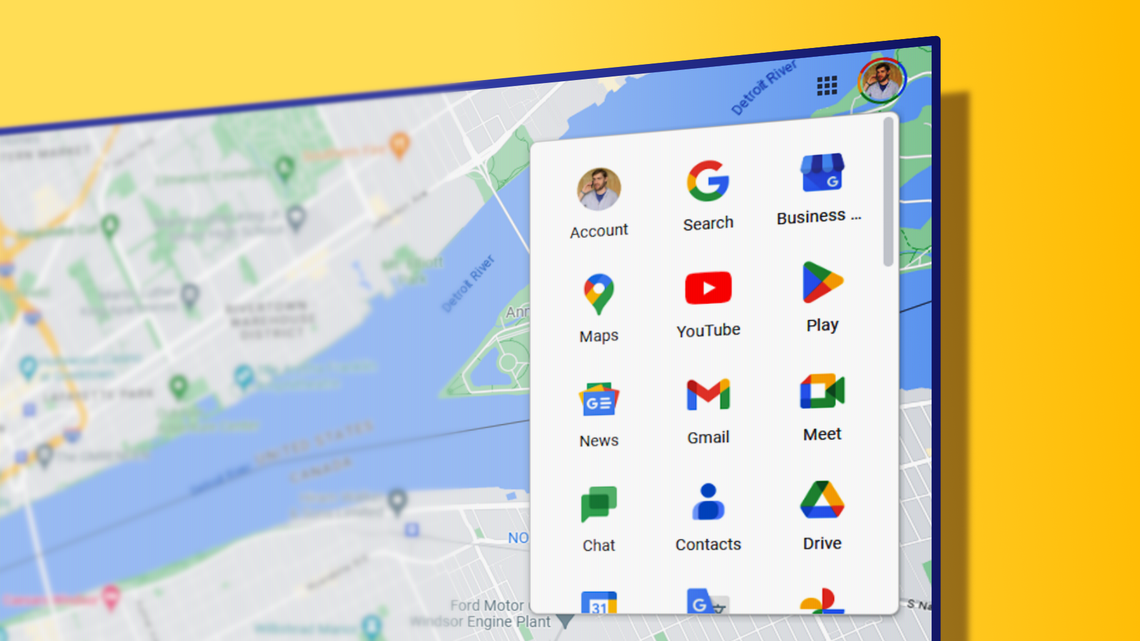
To start, head to the Google Maps website, and sign in using your Google account. Once you're signed in, press the Put icon in the top-left.

In the options menu, click the "Saved" option.

In the "Your Places" menu that appears on the left, click the "Maps" tab. At the bottom of the menu, select the "Create Map" button.
The map creation window will appear in a new tab. To name it, select the "Untitled map" text at the top of the menu on the left.

In the "Edit map title and description" menu, add a name and description for your map and then click "Save" to save it.
Custom Map Layers
Your custom map is made up of layers, with the "Base Map" layer (the main Google Maps view) at the bottom.
You can customize the appearance of the "Base Map" layer by selecting the options arrow next to "Base Map" and choosing a different map theme.

When you create a new custom map in Google Maps, a new "Untitled Layer" is added by default.
You can add as many layers as you want to your custom map, allowing you to separate the different components of your new map from each other, by clicking the "Add layer" button.

If you want to rename this layer, select the three-dot menu icon next to the layer and then click "Rename Layer" in the drop-down menu.
To delete it, select "Delete Layer" instead.

Adding Components to a Custom Map in Google Maps
A custom map in Google Maps can be customized with various different components. You can add marker points, shapes or lines, as well as directions directly onto the map.
To start, make sure you're in the custom map editor by heading to the Google Maps website and selecting the hamburger menu > Your Places > Maps > Create Map.
Adding a Marker Point
A custom marker point is a pinpoint that appears on the map. You can use this to add additional descriptions to an area, as well as to point map users to a location or area that isn't specified on the "Base Map" layer.
To add a new marker point to your map, make sure you've located a suitable area on the "Base Map" layer. When you're ready, select the "Add Marker" button in the menu below the search bar in the custom map editor.

Using your mouse or trackpad, click on an area of the map. This will bring up the marker editor---add a suitable name and description and then select "Save" to add it to your map.

Adding Lines or Shapes
You can add custom lines and shapes to your custom map to emphasize certain areas.
To do this, click the "Draw a Line" option in the menu below the search bar and then select the "Add line or shape" option.

In a suitable area on the map, draw a line using your mouse or trackpad---use multiple lines to create a joined-up shape. Press the Enter key to submit lines.

Add a custom name and description to your object in the pop-up menu before selecting "Save" to confirm.

Creating Custom Directions
A custom map can also be used to share directions from A to B by creating a directions layer.
To do this, click on the "Add Directions" option in the menu below the search bar to create this layer.

The directions layer will appear in the menu on the left. Add your departure point to the "A" text box and the arrival point to the "B" text box.

Once both the "A" and "B" boxes are filled, the map will update showing the route between your specified locations.
Sharing Custom Maps in Google Maps
Once you've created your map, you're free to access it yourself from within Google Maps (hamburger menu > Saved > Maps) or from the Google My Maps website.
Only you can view your custom map by default, but you can share it with others. To do this, head to the Google My Maps website, sign in, and then select the "Owned" tab where your custom map should be listed.
To share it with others, click the "Share Map" button. This will give you options to share your custom map on various social media platforms, through email, or by embedding it on your website.
Select one of these options to proceed.

You can also grab a custom link to your map that will allow you to share it with others directly.
In the "Owned" tab of the Google My Maps website, select your map to return to the map editor and then click the "Share" button in the left-hand menu.

This will bring up the "Share Map" options menu. You can choose to allow anyone with the link to view your map, and make it searchable on the internet if you'd like.

Utilizing the power of Google Maps for your own custom maps is an awesome thing to be able to do. Along with "Local Guides," it's one of the lesser-known features of Google Maps. Keep in mind that this is not the same as suggesting missing places or missing roads for the public map.