Quick Links
Game controllers are magnets for dirt and grime. It doesn't matter if you take really good care of your pads, they'll eventually need a deep clean to remove skin, debris, and bacteria. Here's how to do it without damaging your hardware.
Before You Clean
Before you start cleaning your controllers, it's good to check the following "problem" areas, where grime is most likely to have built up:
- The "grip zone" where your hands hold the controller while you play.
- The small gap around the edge of the controller where the front and back plates join.
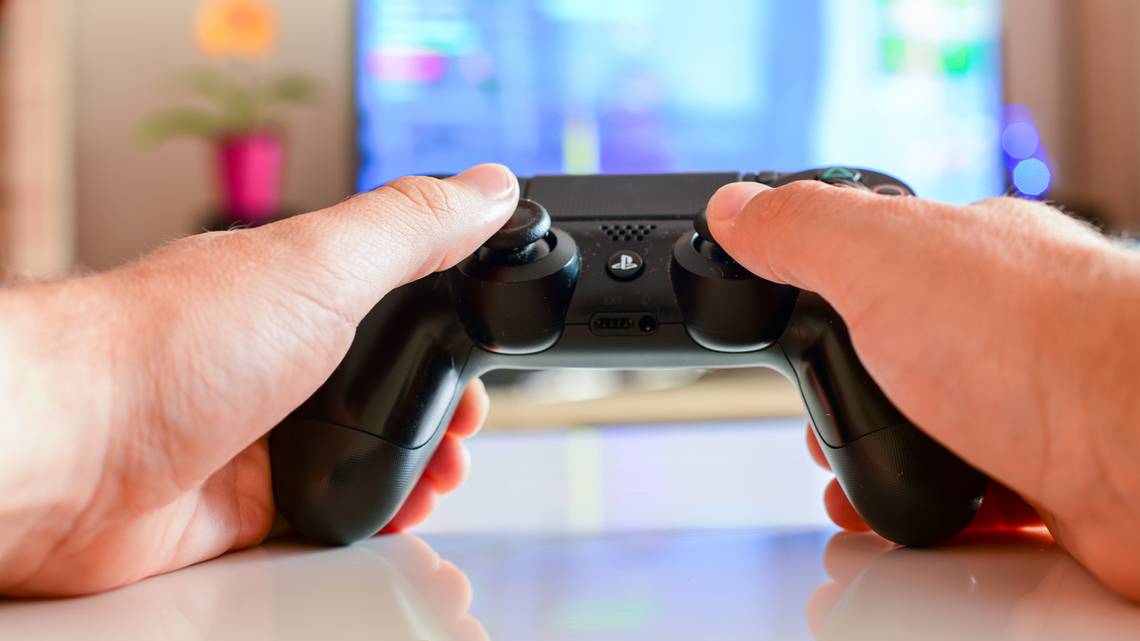
- The analog sticks.
- The charging, headset, and expansion ports.
- Any tight angles on the controller that aren't easily wiped.
In order to clean your controller thoroughly without disassembling it, you'll need the following items:
- A soft, lint-free cloth
- Distilled water
- Isopropyl alcohol (at least 70 percent; higher is better)
- Q-tips
- A sheet of paper or wooden toothpick
- A misting pump bottle (optional)
- A plastic straw (optional)
You should always use water or rubbing alcohol to clean your controllers. Most gamepads have a nice grippy finish on them, and harsh cleaners, like bleach, could ruin the look and feel of the plastic.
It's also a good idea to avoid compressed air, as the force of the air can damage components inside the controller.

How to Clean a Lightly Soiled Controller
First, clean the controller with a soft, damp, lint-free cloth. Use a bit of water to start, and avoid any and all abrasive cleaners. Wipe the controller all over and remove any obvious grease or grime.
Work the damp cloth into any nooks and crannies that aren't normally accessible. Xbox One and PlayStation 4 owners will want to pay close attention to the wells from which the analog sticks protrude. It's easy for grime to build up in these tight corners.

Now, turn your attention to the analog sticks. Be careful, though---the sticks are coated with a soft rubber that's prone to wearing away (particularly on Sony's original DualShock 4 controllers). Get underneath the analog sticks and remove any dust and dirt that has accumulated.
You can also hold a direction and rotate the stick while you wipe the "ball" underneath. This won't fix a sticky analog stick, but it might prevent such problems from occurring in the future.

Use Isopropyl Alcohol to Dislodge Stubborn Grime
Isopropyl alcohol is a relatively safe cleaning agent. It helps break down grime that can be easily dislodged, making it an effective cleaning solution that evaporates when you're finished.
One of the most effective ways to use rubbing alcohol is to dilute it 1:1 in water, and then apply it with a misting pump. Give your solution a good shake, mist the controller lightly, and then clean it with a soft cloth. The alcohol should help remove any lingering dirt and kill bacteria in the process.

For really stubborn grime, soak a Q-tip in alcohol and apply it to the soiled area. The alcohol will cut through whatever's causing the dirt to adhere to the controller, and then you can simply wipe it away.
You can also use antibacterial wipes that are already soaked in alcohol. Since there are so many uses for isopropyl alcohol, it's a good idea to always have some around.
How to Clean the "Seam" and Thin Gaps
Now, let's take a look at the "seam" that runs right around the edge of the controller, where the front and back snap in place. This tiny gap attracts all sorts of grime and bacteria, but it's not impossible to clean.
Fold a piece of paper a few times, until it's sturdy but still thin. Run the edge of the paper through the gap. As you do so, you should see the dirt accumulate on the edge of the paper. Wipe it away and repeat until the controller looks clean.
You can also use a thin wooden toothpick to clean this area. The wood is soft enough to get into the gap without scratching the plastic, although, the tip might not survive very long.
Avoid using metal objects, like paper clips or knives, as these could easily scratch the controller. You could also hurt yourself if your grip slips.

You can also apply the rubbing alcohol directly with a Q-tip before you clean the seam with the toothpick. In fact, you can do this for any of the fine edges on the controller, including around the touchpad button on the DualShock 4 if you use one.
How to Fix Sticky Buttons and D-Pads
If you've spilled something on your controller, the face buttons might be sticky. They might feel mushy and not depress properly, or they might be stuck entirely. While you can open up the controller to attempt a fix, there are a few other things you can try first.
Before you attempt to clean these areas, make sure the controller is off and disconnect any removable batteries if you can. Take care not to turn on your controller while attempting this fix.
Soak a Q-tip in alcohol and drop a small amount of it around the edge of the affected buttons. Then, use the Q-tip to clean any obvious grime in these areas. Press the buttons repeatedly to work the alcohol into the contact mechanism and loosen any grime.

Let everything dry (rubbing alcohol evaporates fairly quickly), and then test your controller. Repeat the process a few times if necessary, until the buttons feel normal again. This might not be enough to salvage your controller, but it's a lot less of a hassle than opening it up, so it's worth a try.
You can also slice a plastic straw down the middle to form a semicircle shape. Then, you can slide it down the side of the affected buttons. Also, maneuver the straw around the edge of the buttons to dislodge any grime that might be causing them to stick.
How to Clean the Ports and Speaker Grills
A dirty charging port could prevent the charger from making proper contact and charging your controller. However, controller ports are sensitive, so it's a good idea not to stick anything into them too deep. If you do, you could bend or break the pins inside.

Dip the Q-tip in rubbing alcohol, and then use it to clean the entrance of any ports. Again, take care not to force it too deep.
Repeat this process on any speaker grills or other smaller areas you might have missed.
When All Else Fails, Take it Apart
Taking your controller apart is risky if you don't know what you're doing. You could lose small components, like springs or screws, or even give yourself a small shock. That's why you should always do your homework before you attempt to disassemble it.
After you disassemble your controller and disconnect the battery, you can clean the affected areas with either alcohol or soap and water. Let everything dry completely before you attempt to reassemble it.
DualShock 4
iFixit has a hub dedicated to Sony's original and revised DualShock 4 controllers. First, follow the guide and disassemble the controller into three sections.
Then, you can move on to more complex guides, like replacing the face buttons or the battery.
Xbox One Controllers
iFixit has also covered most Xbox One controllers, including several revisions of the basic wireless and Elite, which was classed as a whole separate peripheral.
Nintendo Switch Joy-Con
There's also an iFixit hub dedicated to Nintendo's removable Joy-Con controllers. You can learn how to replace the joystick, switch out the battery, or get some pointers on sync issues, too.
Xbox 360 Controllers
There's a detailed guide to tear down an Xbox 360 wireless controller to clean it on iFixit. Head to the wireless controller hub to see guides on replacing face buttons or analog stick covers.
DualShock 3 Controllers
Sony's PlayStation 3 era controllers are also covered on iFixit. You can replace the battery, the motherboard, or even fix the charging port if you need to.
Keep Your Controllers Clean
Ideally, you want to prevent your controllers from becoming a health hazard in the first place. Here are some things you can do:
- Wipe down your controller after each use, preferably with an antibacterial wipe.
- Wash your hands before you pick up your controller.
- Don't eat while you play, especially chips or other finger foods.
- Clean the nooks and crannies regularly to avoid having to do a full deep clean.
Unfortunately, accidents do happen. If you spill something on your controller and it affects the button actuation, follow one of the videos or iFixit guides we included above. It's worth an attempt before you shell out the cash for a new controller.
While you're at it, your laptop could probably use a good cleaning, too.