If you need to give credit to multiple people who contributed to your PowerPoint presentation, you can add rolling credits to the final slide by using the scrolling text animation. Here’s how to do it in your next presentation.
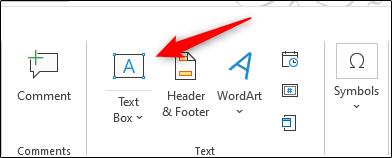
First, navigate to the final slide of your presentation and insert a blank text box. You can do so by clicking the “Text Box” icon in the “Text” group of the “Insert” tab.
Your cursor will turn into an arrow and, after you click, a crosshair. Click and drag the cursor to draw the text box.
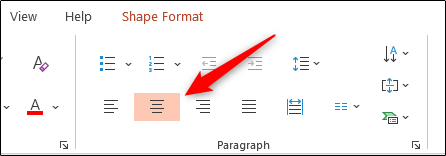
Since credits are typically aligned in the center of the page or screen, we’ll set ours up the same way. In the “Home” tab, select the “Center” icon in the “Paragraph” group. This will place your cursor in the center of the text box.
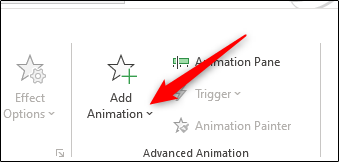
Next, enter the names of the people you would like to credit. Once finished, it’s time to give the text box an animation. Click the text box and, in the “Animations” tab, select the “Add Animation” button in the “Advanced Animation” group.
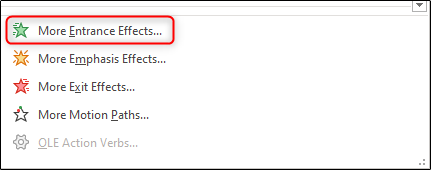
A drop-down menu will appear. At the bottom of the menu, select “More Entrance Effects.”
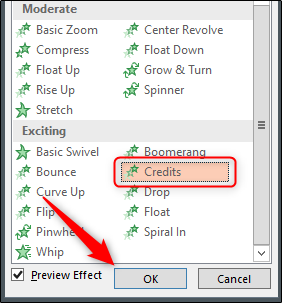
The “Add Entrance Effect” window will appear. Scroll down to the “Exciting” group, select “Credits,” and then select the “OK” button to finalize your effect choice.
The rolling credits animation will now be added to your PowerPoint presentation. Enter Presenter view to see the rolling credits in action.


