If you've ever bought a new computer with Windows already installed, you might be annoyed by the default name of your PC. Or maybe you're just ready for a change. Here's how to rename your PC to whatever you like.
Changing your PC's name involves paying a visit to the "System Properties" window. Starting with Windows 7, it's a little harder to get to, but here are several routes you can take:
- Type "sysdm.cpl" into the Start menu search box or the Run box.
- Head to Control Panel > System and Security > System, and then click the "Advanced system settings" link.
- In Windows 7, right-click on the "Computer" option on the Start menu, and then click the "Advanced system settings" link.
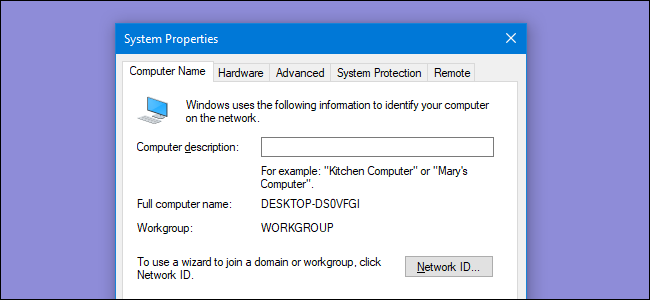
We're going to go with the easiest way. Hit Start, type "sysdm.cpl," and then click the "sysdm.cpl" entry.

In the "System Properties" window, on the "Computer Name" tab, click the "Change" button.

In the "Computer Name/Domain Changes" window, type the new name for your PC into the "Computer name" box. Optionally, if you've got several Windows PCs on your local network, you may want to change the workgroup name while you're here. When you're done, click the "OK" button.

Windows will now need to restart, so save any files you have open, and then click "OK."

And once Windows restarts, your PC will have its new name.