Quick Links
The dumb phones of the 90s and early 2000s were widely marketed as devices that could potentially save your life in an emergency. With an Apple Watch strapped to your wrist, getting help in case of an emergency gets a whole lot easier.
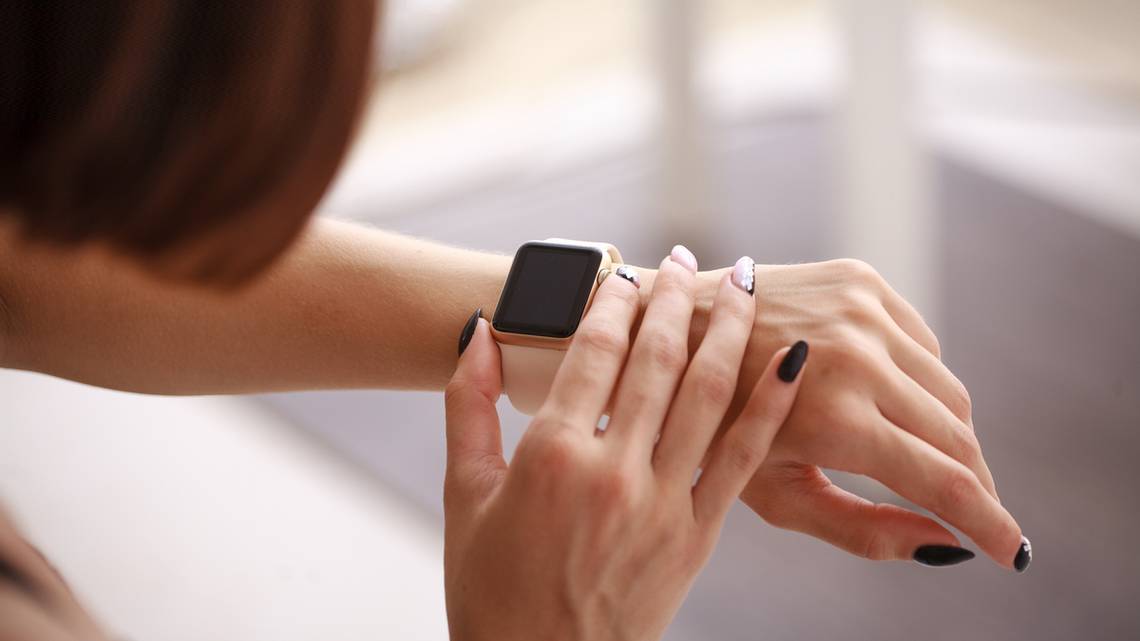
Here's how to use perhaps the most important feature on your Watch.
Make an Emergency SOS Call on the Apple Watch
Making an emergency call on your Apple Watch is the same as dialing 911 in the US, 999 in the UK, or 000 in Australia. It will connect you to the emergency services where you will speak to an operator to confirm whether you need police, fire, ambulance, or another emergency service in your region. If you have an Apple Watch with cellular connectivity, you can use the feature anywhere. If you have an Apple Watch without built-in cellular connectivity, you'll need to be within range of your iPhone for it to work.
To make an emergency call directly from your Apple Watch:
- Press and hold the side button (not the digital crown) until you see the Emergency SOS slider appear.
- Keep holding the side button until an alert sounds, and you see the emergency countdown begin. Alternatively, slide the "Emergency SOS" slider to the right.
- To end the call, press firmly on the screen (Force Touch) and tap End Call.

If you have set up a Medical ID and nominated emergency contacts, your Apple Watch will send a text message with your current (live) location to anyone listed. You have the option of canceling this on-screen before the message is sent. Your Apple Watch will temporarily turn on Location Services to get a GPS fix even if you have disabled the feature.

During the call, your Apple Watch will attempt to share your location directly with the emergency services. Not all regions support this feature, so you may still need to tell the operator where you are. If you have an Apple Watch with GPS and cellular, you will be able to use your Apple Watch to call emergency services even if you're traveling abroad or away from your iPhone.
Create a Medical ID with Your Emergency Contacts
A Medical ID is a quick way to provide medical professionals and other first responders with important information about yourself. This could include any chronic health issues, severe allergies, blood type, and any emergency contacts or next of kin that should be contacted in the event of an emergency.
To view a Medical ID on your Apple Watch, you or a first responder can hold down the side button until the Medical ID slider appears then move the slider to the right to view your Medical ID.
You can set up a Medical ID on your iPhone, and your Apple Watch will show the same details:
- Head to Settings > Health > Medical ID and tap on Edit.
- Fill in any relevant sections, including medical conditions, allergies and reactions, current medications, and blood type.
- Scroll down to "Emergency Contacts" and tap "Add Emergency Contact," then pick one from the list.
- Give your emergency contact a label to describe their relationship with you, like "father" or "partner."
- Tap Done to save your Medical ID.

We strongly recommend leaving "Show When Locked" enabled so that anyone who discovers you in a condition where you are unable to unlock your devices can still gather crucial medical information. This will affect your iPhone more than your Watch since your Watch should remain unlocked all day until you take it off.

Remember that not all medical professionals will know to look for a Medical ID, but many others will. Some first responders are trained to look for the information on smartphones and wearables, so it's always worth keeping your Medical ID information up to date.
How to Find Someone Else's Medical ID
In case you find yourself in a situation where you need to check someone else's Medical ID, you can do so either on an iPhone or Apple Watch.
To check a Medical ID on an Apple Watch:
- Press and hold the side button (not the digital crown) until you see the Medical ID slider appear.
- Swipe the Medical ID slider to the right to view it.
To check a Medical ID on an iPhone:
- Wake the phone and swipe up to attempt an unlock (or press the Home button if the phone has one).
- On the passcode entry screen, tap Emergency in the bottom-left corner.
- On the emergency phone call screen, tap on Medical ID in the bottom-left corner.

Set Up and Use Apple Watch Fall Detection
Fall detection is an Apple Watch feature that can detect the impact of a fall and monitor whether the individual moves afterward. If the Watch doesn't detect any movement, it will automatically call the emergency services and share your location. Any emergency contacts you have nominated in Medical ID will also be notified.
The feature has already been credited with saving lives, like in the case of New Jersey man James Prudenciano who fell down a cliff or Norwegian man Toralv Østvang who took a tumble while home alone. The feature is primarily aimed at older users and remains off by default unless you are over 65 years old.

You can manually enable fall detection on your Watch if you want the added protection, though there are some potential drawbacks to doing so. Apple explains that the feature is designed with the elderly in mind, rather than active young people. The potential for a false-positive is much higher if you are an active individual.
There's a risk that the Watch will call emergency services and notify your emergency contacts when you don't require it. Not only will this unnecessarily worry your loved ones, but it may also land you with a nasty bill too.
If you still want to turn the feature on manually:
- Launch the Watch app on your phone and then, on the My Watch tab, select Emergency SOS.
- Scroll down to Fall Detection and toggle the feature on.
- Confirm that you understand the disclaimer and that you want to use the feature anyway.
Other Ways Your Apple Watch Can Protect You
Your Apple Watch can also monitor your heart health and notify you of unusual symptoms. These include high heart rate notifications when you appear to have been inactive, low heart rate notifications, and irregular rhythm notifications.
High and low heart rate notifications are available in all territories. Launch the Watch app on your iPhone and tap on Heart to set threshold amounts or leave the defaults of 120 bpm and 40 bpm, respectively.

Irregular rhythm notifications are only available in select regions. Some countries (like Australia) require the Apple Watch to be approved as a medical device for the feature to function, and Apple doesn't seem too interested in rushing that approval process through. You can see which regions can use the ECG features of the Series 4 and 5 Apple Watch on Apple's website.
It's important to understand that if you receive an alert relating to an irregular rhythm that you do not necessarily have atrial fibrillation. Most thorough ECG tests use 12 lead points, whereas the Apple Watch only uses one. If you are receiving irregular rhythm notifications, you will be tested thoroughly using a dedicated ECG monitor before any conclusions can be drawn.
You can turn off the irregular rhythm notifications under the Watch app on your iPhone, just tap Heart, then disable Irregular Rhythm from the list.
Want to Disable "Hold to Call" for Emergency SOS?
By default, pressing and holding the side button on your Watch will call emergency services. If you're concerned that you might accidentally call emergency services by holding the button too long, you can disable the feature. When you do this, you'll have to slide the "Emergency SOS" slider to the right to initiate the call.
- Launch the Watch app on your iPhone, then on the My Watch tab select Emergency SOS.
- Uncheck the "Hold Side Button" option to disable it.
We think this is probably left at the default setting unless you have already accidentally triggered an emergency call using this feature in the past.
Spread the Word
The Apple Watch is a handy device that can help you work out, keep in touch on the go, and even keep you safe in an emergency. Take a moment to consider how many friends or family members also have an Apple Watch and whether they understand how features like Emergency SOS work.
It could be worth running through the procedure with them or showing them this article. Stay safe and remember what a valuable tool your Apple Watch can be.