Quick Links
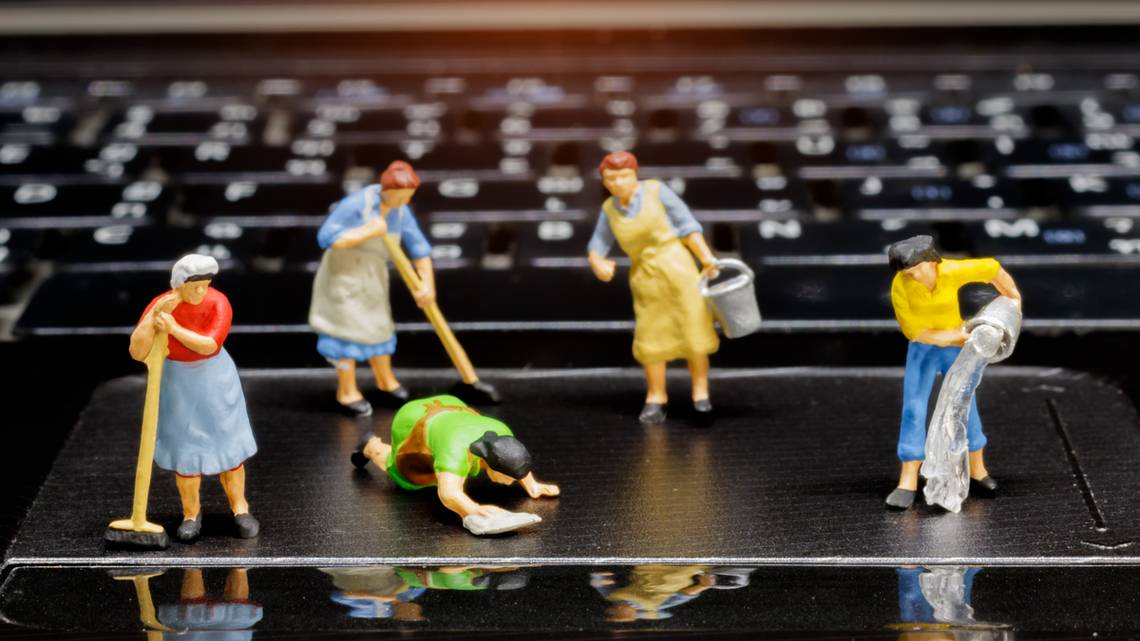
Like any computer, laptops are dust and grime magnets. But a dirty laptop isn't just a cosmetic nightmare---it can also cause poor performance and overheating. So, how can you clean your laptop properly?
Cleaning a laptop is arguably more tedious than cleaning a desktop. You have to clean the keyboard, the internals, the screen, and the case itself. Still, you can easily give your laptop a makeover in under one hour, provided you have canned air, some 90%-100% isopropyl alcohol, cotton swabs, and a microfiber cloth.
Start on the Inside
Most of the dirt and grime you see on your laptop is purely a cosmetic issue. While everyone wants their laptop to be beautiful on the outside, it's really the inside that counts. But the dust, crust, and crumbs that accumulate inside your laptop can clog fans, vents, and heat sinks, which result in overheating and poor performance.
We'll start by cleaning your laptop's internals. This will be easier on some laptops than for others, but it's mostly the same process across the board. Take your laptop somewhere dust-friendly (a garage or outside), prepare your compressed air or eco-friendly canless air (don't use a vacuum), and get to work!

- If Your Laptop Opens: Power it down, remove the battery (if you can), and then unscrew the back panel. This may void your warranty, but that's the price you pay for beauty. Use short bursts of compressed air to push dust from the center of your laptop toward its vents. Then, push all of that dust out the vents with gentle bursts (if the fans spin too fast, they might break). That's it! You're done. Screw your laptop back together.
- If Your Laptop Doesn't Open: Most modern laptops can't open, which makes cleaning less of a science and more of a guessing game. Power down your laptop and push some quick bursts of compressed air into its vents. Be patient and don't shove the compressed air stick into the vents. You could hit a wire or push canned air condensation right against the board.
It's rare to find anything other than dust, hair, and crumbs inside of your laptop. If you do happen to see some stains on or around the board, clean them off with 90%-100% isopropyl alcohol and a cotton swab. Make sure that you apply the alcohol to the cotton swab, not the board, and never use household cleaners on your laptop (or other electronics).
Hit That Nasty Keyboard
Once your laptop is beautiful on the inside, it's time for a Princess Diaries makeover. We'll start with the keyboard since it's probably covered in years of small stains and finger grease.
Cleaning a laptop keyboard is a strange process. Unlike a desktop keyboard, which can usually be disassembled, laptop keyboards are a fairly surface-level operation. You'll need a microfiber cloth, cotton swabs, some 90%-100% isopropyl alcohol, and compressed air. Never use household cleaners to clean electronics and don't use vinegar instead of alcohol---it could seep into the keyboard and corrode its components.

- Start with a dry microfiber cloth: Use this to wipe down your keyboard before you get into the more detailed work. It'll pick up most of the dust so you can focus on the grime.
- Hit it with compressed air: Like the microfiber cloth, compressed air can get some dust off your keyboard before you get into detailed work. Remember to use short bursts or condensation can form under the keys.
- Whip out the alcohol: Apply some 90%-100% isopropyl alcohol to a cotton swab (don't pour it on your laptop) and start rubbing down your keyboard. Get between those keys, and don't be afraid to use a dry (preferably unused) toothbrush to deal with tight spots.
- If there are crumbs under your keys: Laptop keyboards are hard to take apart. Do a Google search on yours to see if the keys are removable. If so, remove them with a small, flat tool (a guitar pick works well), and then hit the troubled spot with a cotton swab of alcohol or a short burst of compressed air. If the keys can't come off, aim a quick blast of canned air under your troubled keys and pray for the best. Don't go overboard or you'll end up with condensation under the keys.
If you have trouble getting the crud out from under your keyboard, consider sending it to the manufacturer for repairs or take it to a local service person. There's no point ripping apart your laptop when someone else can do it for you.
Make That Screen Beautiful Again
Improper cleaning is a quick way to end up with a broken laptop screen. Your laptop's LCD screen is incredibly delicate. It needs to be cleaned properly and semi-regularly.
We're going to keep this simple. Don't use paper towels or rags to clean your laptop screen. They leave dust behind and may scratch your screen. Don't use alcohol, vinegar, glass (or glasses) cleaner, Windex, or any cleaning chemicals. And if you see a product being marketed as a screen cleaner, don't use it on your laptop screen. That stuff is snake oil!

The only thing that should touch your laptop screen is a microfiber cloth. They're cheap, so don't substitute. You may also want to use some canned air, but it isn't necessary unless the screen is particularly dusty.
- Prepare the screen: Turn off your laptop and wait for the screen to reach room temperature. If it's super dusty, then give it a few short, sideways bursts of compressed air. If it isn't noticeably dusty (most laptop screens are just smudgy), then skip the canned air.
- Lightly wipe the screen: Take your clean microfiber cloth and run it across the screen in a gentle horizontal or vertical motion. Don't push and don't make circular motions. Otherwise, you risk leaving circular smudges or scratches. Light pressure and wide movements are ideal.
- For tough, greasy screens: If your screen is particularly nasty, lightly dampen your microfiber cloth with water and use the same sweeping movements and light pressure we just discussed. If your screen ends up too damp, gently dry it with a clean microfiber cloth.
- For impossible stains: We said earlier that you shouldn't use vinegar to clean your laptop screen. You should only use vinegar as an absolute last resort. If there's some nasty sticky crap on your screen, prepare a solution of 50% water and 50% white vinegar, dampen your microfiber cloth, and gently wipe the screen with wide sweeping motions.
Now that your laptop's screen, keyboard, and internals are all clean, it's time to take care of its case. This is by far the easiest part of cleaning a laptop, provided it hasn't accumulated any sticker residue.
Cleaning a Laptop Case
Unlike your laptop's delicate keyboard and screen, its case can handle some tough love. Just be sure to avoid harsh chemicals, and never apply liquids directly to your laptop. All cleaning solutions go on your microfiber cloth, not on the laptop itself.
- For quick cleaning: You can clean a laptop's case with a range of solutions, but we recommend using a microfiber cloth (paper towels leave dust) with white vinegar, or isopropyl alcohol, or water (don't mix them). Lightly apply the cleaning liquid to the cloth and wipe down the laptop's case. Don't be afraid to use some elbow grease on trouble areas and be sure to dry off your laptop with a clean cloth when you're done.
- Cleaning off sticker residue: If your laptop is covered in nasty sticker residue, now's the time to clean it off. Simply apply 90%-100% isopropyl alcohol to a microfiber cloth and start scrubbing. If it doesn't come off, try using a little bit of Goo Gone. Don't use a hairdryer to warm up the adhesive as the heat can damage your laptop.
And that's that! Now your laptop is clean from head to toe. If you did a good job, then its fans should be a bit quieter, and you might even notice a slight performance increase. Be sure to clean your laptop thoroughly every few months to maintain its performance and appearance.