PowerPoint’s Slide Master lets you keep consistency throughout your presentation. If you want to customize a presentation’s fonts, headings, or colors in one place so that they apply to all your slides, then you’ll need to create a Slide Master.
Creating a Slide Master in PowerPoint
Open your presentation, head over to the “View” tab, and then click the “Slide Master” button.
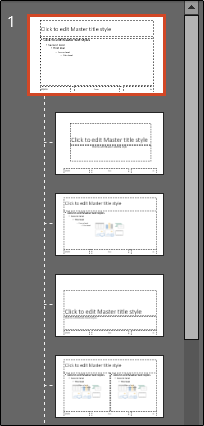
The Slide Master will appear in the left-hand pane. The Slide Master is the top thumbnail that appears in the pane, and each sub-thumbnail represents each slide layout available in your theme. Edits you make to the text of the Slide Master will affect the text in each slide layout. Alternatively, you can select and customize each slide layout.
Edit the Slide Master Theme
If you plan to use a specific theme with your presentation, it’s best to go ahead and select it now before making any other edits, as each theme will have its own unique text and image placeholders.
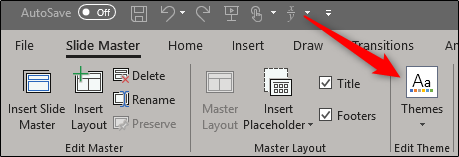
To edit the theme of the Slide Master, click “Themes” on the “Slide Master” tab.
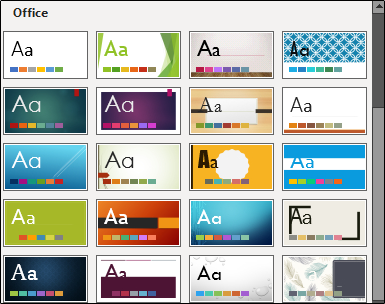
A drop-down menu will appear, showing a large library of Office themes. Select the one you want to use.
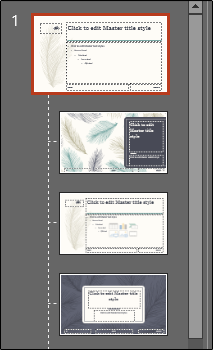
Your Slide Master will now take on the selected theme.
Fine-Tune Your Slide Master
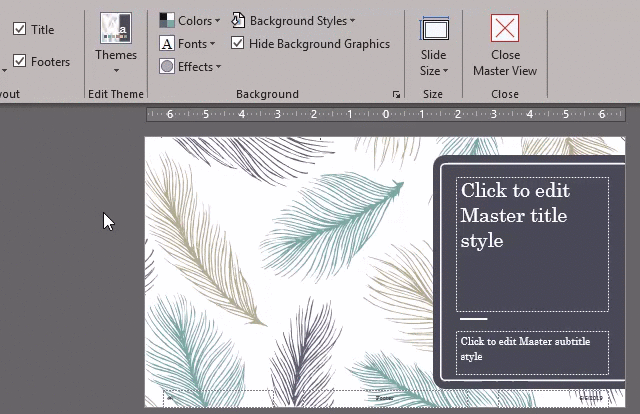
Now it’s time to customize the font, color, and background of the presentation. In the “Background” group of the “Slide Master” tab, you’ll have all of these options available to you. However, using the options provided here will affect all of the slide layouts in the presentation, as they are predefined schemes. You can hover your mouse over the available options for a live preview.
If you don't find a scheme you like, you can create your own or customize each slide the way you want by using the tools provided in the "Home" tab.
Also, note that any objects or text you place on the slide master will appear on all your slides. So, for example, it's a great way to put a company logo or disclaimer text that you might want to appear throughout your presentation.
Create Multiple Slide Masters
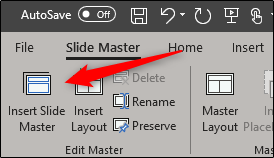
You can create multiple Slide Masters in a presentation. To do this, head over to the "Slide Master" tab and click "Insert Slide Master."
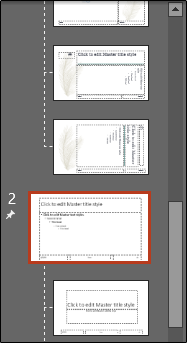
The additional Slide Master will now appear in the left-hand pane.
Edit the new Slide Master. Once you're finished, select "Close Master View" in the "Close" group.
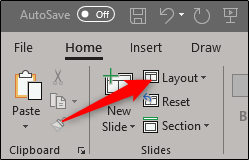
In the "Slides" group of the "Home" tab, select "Layout."
A drop-down menu will appear. You'll now see both themes with your customized slide layouts!
Save Your Customized Slide Master
You can save your customized Slide Master as a PowerPoint template for future use. To do so, head over to the "File" tab and select "Save As."
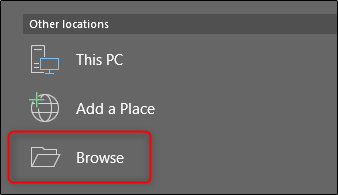
Next, click the "Browse" button in the "Other locations" section.
Navigate to the location of your Custom Office Templates folder, usually found here:
C:\Users\user\Documents\Custom Office Templates
Once there, select the arrow in the "Save as type" box.
In the menu that appears, select "PowerPoint Template."
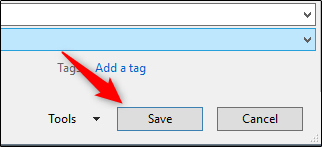
Next, click "Save" at the bottom-right of the window.
Your template with your customized Slide Master is now saved!


