If you've ever played Portal, then you know just how delightfully creepy GlaDOS's voice can be. Here's how to create your own GlaDOS-themed sound clips so you can spread the Portal-based horror.
Image by Digital Sextant
What You'll Need
- Audacity, to record, clean up, export audio. Check out the How-To Geek Guide to Audio Editing: The Basics to get started.
- Melodyne Studio, to create the actual effect. It runs on Windows and Mac OS, and you can use the demo version if you meet the next requirement, otherwise you may have to buy it.
- "Stereo Mix" enabled on your computer, to bypass having to buy the full version of Melodyne Studio. Check out our article, How To Enable "Stereo Mix" in Windows 7 (to Record Audio), for more information related to this.
- A decent quality microphone, if you want to record your own source audio.
Source Audio
Obviously, we'll need a recording of some type of phrase to work with. The way Valve did it for Portal was they had a professional voice actress, Ellen McLain, do her best impression of a text-to-speech engine. They used TTS to record her lines, then played them back to give her a basis for her voice acting. While we may not all be professional voice actors, it's pretty easy to get the same effect at home. I used the AT&T Labs Natural Voices Text-to-Speech Demo to get a basis, then used the array mic on my netbook to record my best impression (with a few changes for emphasis). Mac users can record the output of the "say" command, or you can mix it up with whatever TTS program you prefer. You can always just use TTS output instead of your voice, but using a real voice makes the difference.
I recorded my voice in Audacity and did some quick noise removal to clean it up. If you chose to record your own audio, check out our article The How-To Geek Guide to Audio Editing: Basic Noise Removal. When I recorded it, it gave it to me as a stereo track. I stripped it down to a mono track, and exported it as a .wav.
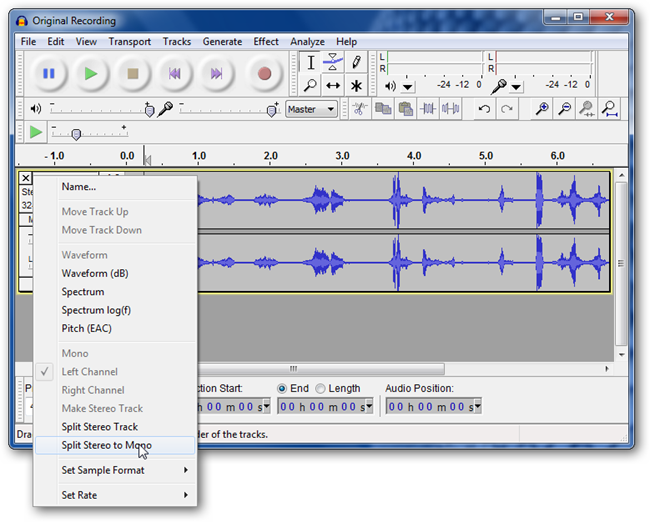
Click on the title of the sound clip (next to the "X") and select "Split Stereo to Mono."
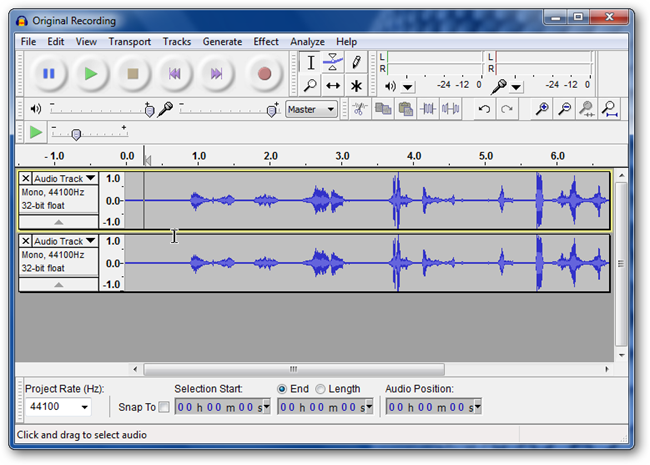
You'll end up with something like this:
I chose the slightly better track by selecting and playing one at a time, and got rid of the other by clicking the "X" button on the top-left of the track info.
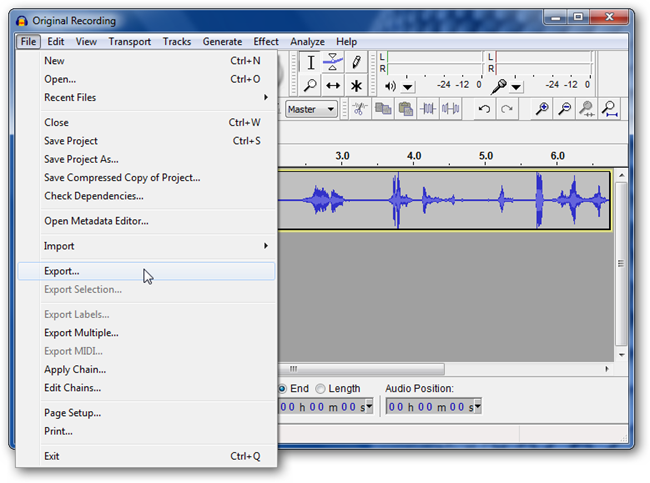
Next, go to File > Export.
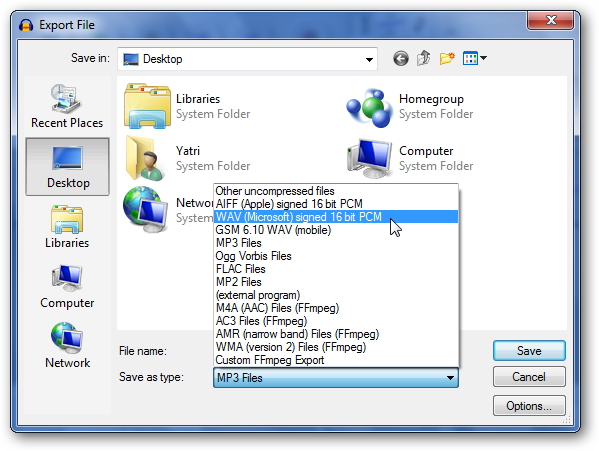
You'll see the Export dialog come up.
You can just export it as a WAV, as everything else will be done in Melodyne Studio.
Editing in Melodyne
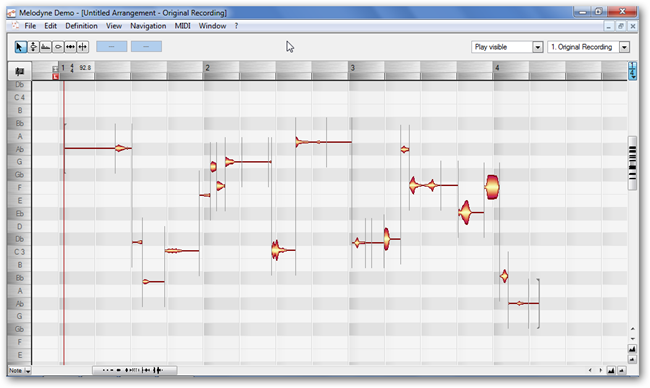
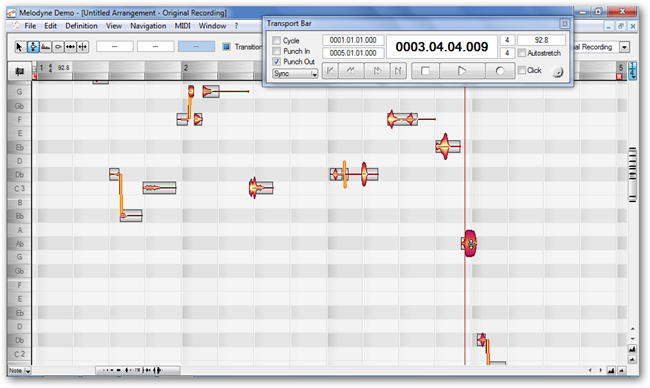
In the Melodyne Studio demo, open up your .wav file. You'll end up seeing a screen like this:
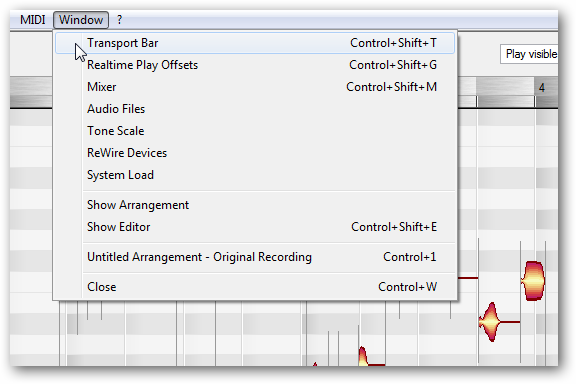
We want some playback controls, so go to Window > Transport Bar.
You'll see the Transport Bar pop up.
This'll come in handy to play and stop the audio.
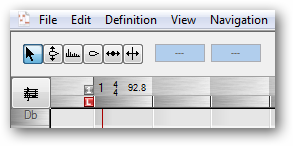
Next, take a look at the upper right portion of the screen. Those are the controls we'll be using. You can see that right now, the selection tool is highlighted.
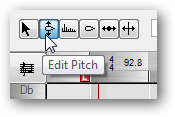
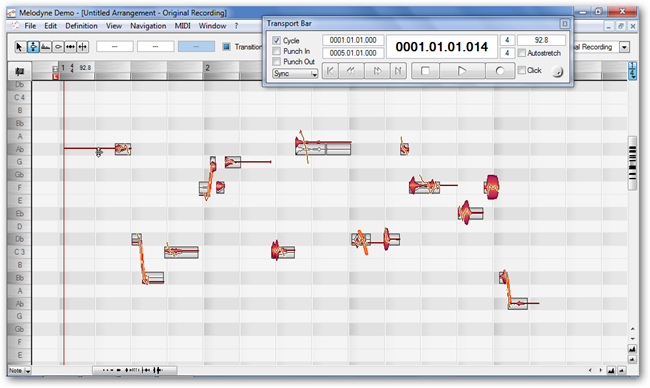
The first thing we're going to do is put everything in the same musical key. Hit CTRL+A to select all, then click on the Edit Pitch control.
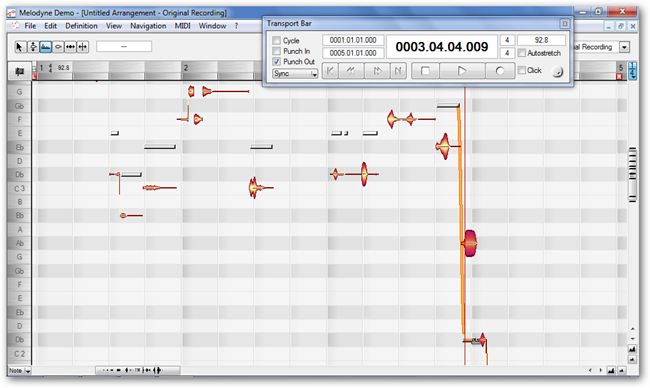
You'll see the display change slightly, to this:
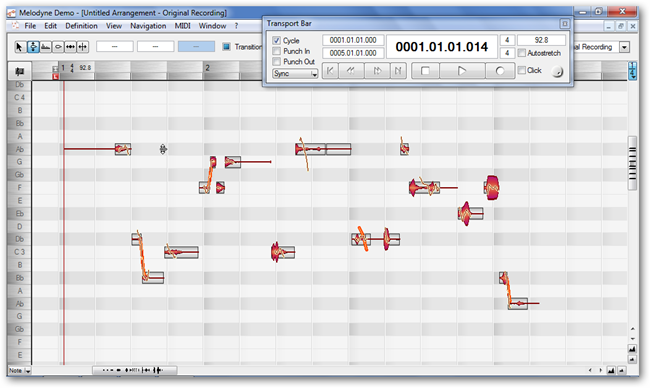
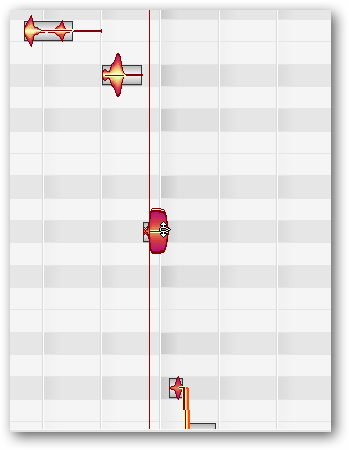
Double click on one of the sound bubbles, and you'll see all of them "snap" to the nearest note.
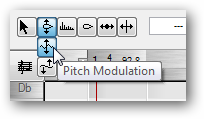
Next, we'll remove pitch modulation. This smoothes out the sound of your voice, so it sounds more consistent and robotic. Click and hold on the "Edit Pitch" control to pop up the other controls, and go down to Pitch Modulation.
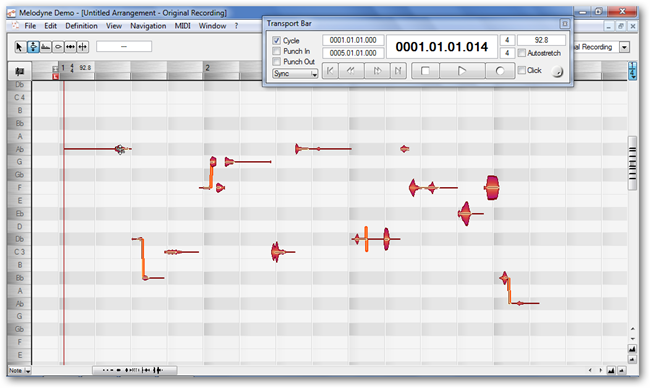
Once again, hit CTRL+A to select all. Double click on any of the sound bubbles to remove modulation. The result will look something like this:
You'll see that some of the hanging lines between the bubbles have disappeared, and the line running through each bubble is flat.
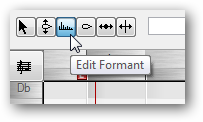
Next, we'll change the formant, which sort of sounds like you're changing the size of the vocal chords of whoever spoke the audio. Choose the Edit Format control.
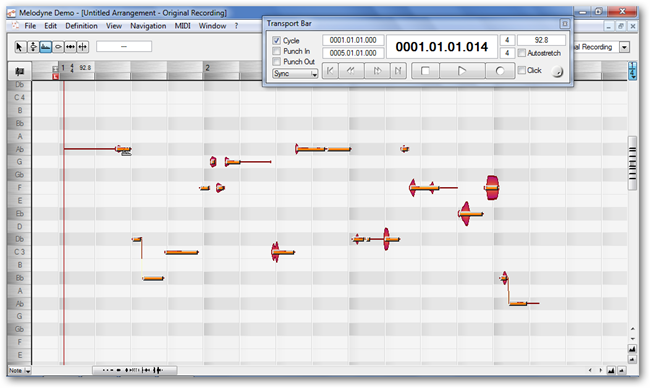
Once again, the view will change, and you'll want to hit CTRL+A to select all. Here's what you'll see:
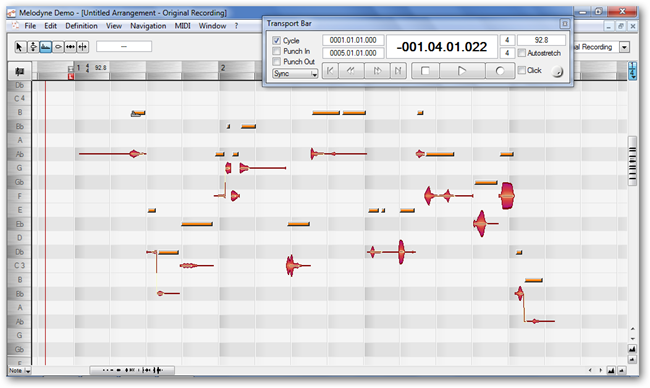
You see those bars over each sound bubble? Click on any one of them and drag up, probably about 3 steps. When you play back, you'll immediately hear the difference; it sounds like a child is saying it now. Here's what it looks like after the change.
Splitting Notes
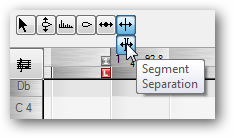
If you want to split up a word and move them into two separate notes, you can do what's called "segment separation." Choose the segment separation control:
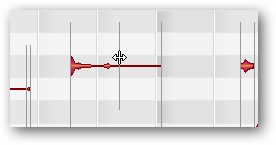
Then, you can find a line over one of the sound bubbles, and slide it over to where you want to break up the audio.
Then, you can edit the pitch of that segment separately from the others.
Sarcasm Quotes
GlaDOS will often employ sarcasm when speaking certain words in Portal. The sound quality is grossly different but it's the same effect as what we've been doing, just in the opposite direction.
In my example, I have two syllables I need to change at the very end. You can select multiple sound bubbles with the selection tool by clicking and dragging and creating a box around what you need to edit. Here's the section I'm editing in my file:
To get that weird sarcasm effect, we're going to first lower the pitch by almost 5 steps. Once again, select the Edit Pitch control, and slide everything down.
To finish the effect, we're going to drop the formant on those bubbles from 3 steps above to 4-5 steps below. Your finished product will look like this:
Getting the Finished File
The Melodyne Studio demo doesn't allow exporting the finished sound or saving the project midway through. To work around this, make sure your mic is disabled and "Stereo Mix" is the default recording device. Then open up Audacity.
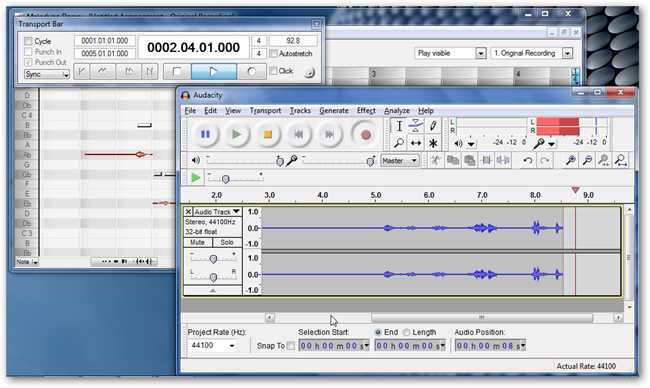
What you need to do is hit record in Audacity and then hit play in Melodyne, and then stop both once their done. That's it. Here's a shot of it in action.
You can edit the file in Audacity easily. Just select the silent portions of the track at the beginning and end, and hit Delete to remove them. All done! Go to File > Export, and you can choose to do it as an mp3.
As a bonus for you readers, you get to hear my horrible voice all modulated and reformed. You can grab the mp3 below.


