According to Microsoft, Windows 10 no longer optimizes external storage devices for "better performance" as of the October 2018 Update. Instead, it optimizes them for "quick removal." Here's what that means---and how to change it if you like.
We don't think every Windows user has to change this option. Despite how tempting "better performance" sounds, the default "quick removal" policy is fine for most people.
Quick Removal vs. Better Performance

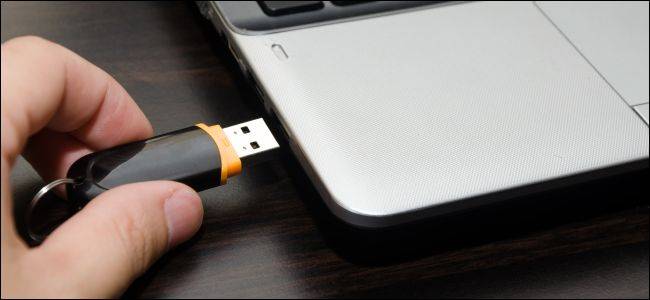
Windows has different "policies" you can select for external storage devices connected via USB or Thunderbolt, whether it's a USB thumb drive or external hard drive. Each individual storage device has its own specific policy setting so that you can select different policies for different devices.
By default, Windows 10 now uses the "quick removal" policy. Whenever you write to the drive, Windows writes the data to the drive as quickly as possible. This ensures you can remove the USB drive without using the "Safely Remove Hardware" option---in theory. A program may be writing to your USB drive in the background anyway, so we recommend against it. This does dramatically reduce the risk of data corruption if you're in the habit of safely removing storage devices before unplugging them.
However, this can slow down your applications. For example, when you're saving a file to the external drive, the program you're using may stop and wait for the save process to finish before you can continue working.
The "Better performance" option eliminates this slowdown. With this option, Windows will cache write operations to the drive and let applications proceed as if they had already written the data. Windows then performs the write operation in the background. That can make applications snappier.
On the other hand, this can result in data loss in some situations. Users think their files are saved and remove the drive---but the data wasn't actually saved, and now the files on the drive may be corrupted. That's why you should use the "Safely Remove Hardware" option before unplugging a drive in Windows. It tells Windows to write all that cached data to disk, ensuring all your data is safe before removing the drive.
It's unclear how much "better performance" you'll experience in practice. This will depend on the speed of your external storage device, how the application you're using handles writing data, and how much data you're writing at any given time. Microsoft clearly thinks the default "quick removal" is good enough for most people and that avoiding data loss is a priority. After all, many people don't bother with "safely removing" devices before unplugging them. That makes "quick removal" a superior solution for many people, as it will reduce the risk of data loss when not safely removing a drive.
How to Enable Better Performance
If you'd like to enable "better performance," you'll have to do it individually for each external storage device you connect to your computer. However, Windows will remember this setting. So, if you change this option for one USB flash drive, it will be used whenever you plug that same USB drive into your current PC. The option won't be remembered if you plug a different USB drive into your current PC or if you take the USB drive to another PC.
First, ensure you've connected the external storage device to your PC. You can then control this setting from the Disk Management tool. To open it, right-click the Start button on Windows 10 and select "Disk Management." (If you're using Windows 7, you can press Windows+R, type "
diskmgmt.msc
" into the window, and press Enter to launch the Disk Management tool.)

Locate the name of the disk at the bottom of the Disk Management window, right-click it, and select "Properties." You have to right-click the name at the left side of the list.
If you're not sure which disk is your external storage device, look at the drive letter displayed here. You can check File Explorer to see which drive letter your external storage device is located at, if necessary.

Click the "Policies" tab and select "Better performance" under Removal policy to use this policy. Microsoft recommends you also activate the "Enable write caching on the device" setting under Write-caching policy if you select Better performance.
Do not enable the "Turn off Windows write-cache buffer flushing on the device" option unless the external storage device has a separate power supply. This can cause data loss if your computer experiences a power failure.

Click "OK" to save your changes. This change only applies to this specific USB device, and you'll have to repeat this process to apply it to additional devices.
Remember to safely remove devices before physically unplugging them from your PC!

If you change your mind, you can return to the device properties window and select "Quick removal (default)" instead.
Microsoft's statement that this is a new default in the latest version of Windows 10 is a little confusing to us. We noticed "quick removal" was the default on some of our devices even back in Windows 7. Perhaps it was only the default on some devices and is now the default on all devices. Either way, you'll have to enable "Better performance" manually---if you want it.