Quick Links
There's an open standard for calendars called the iCalendar specification that lets programs like the Calendar app on macOS subscribe to online calendars and auto-update. Most calendar apps will support this format, including Google Calendar.
How to Add a New Calendar Subscription
Open the Calendar app from the Dock or your Applications folder. From the main window, you can add a new calendar subscription by choosing File > New Calendar Subscription from the top menu bar, or by pressing Option+Command+S.

This will open up a window asking you for a URL, which should be a link to a file ending with an
.ics
extension. Depending on what calendar you're trying to subscribe to, the method of getting this link may vary. We'll be using Google Calendar in this example.

For Google Calendar, you can find the link by opening Settings, clicking on the calendar in the sidebar, and scrolling to the very bottom to find a box labeled "Secret address in iCal format."

Copy this address and paste it into the Calendar app's dialog. You'll get an error message if the URL wasn't an iCalendar link, but if it worked, you'll see this screen with the subscription settings.

The main things to note here are the name you'd like it to be called in the Calendar app and how quickly it will sync with your Google Calendar. The default is once a week, but you can make it refresh every five minutes (or not at all). You can also change the color of the events with the dropdown next to the name.
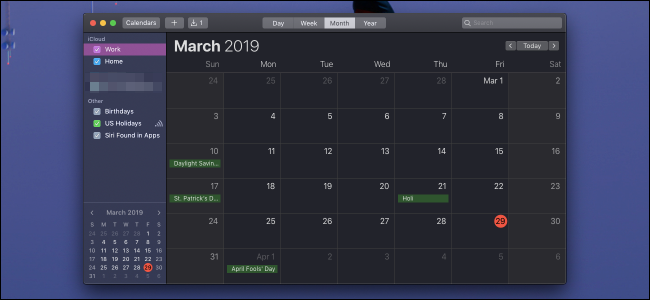
Press "OK" once you're done changing the settings. If everything worked, you'll see a new checkbox in the sidebar and new events on your calendar.

You can toggle this to show and hide the subscription, and you can remove the subscription entirely by right-clicking it in the sidebar and selecting "Unsubscribe." You can edit the settings from the same context menu by selecting "Get Info," where you can change how often it updates.